- SAP Simple Finance - Home
- SAP HANA - Introduction
- SAP Simple Finance - Introduction
- SAP Simple Finance - Architecture
- Extend G/L Coding Block
- Universal Journal
- Document Number
- Display Financial Tables
- Deployment Options
- Post & Reverse Documents
- Reporting Options
- SAP Simple Finance - Migration
- Manual Reposting of Costs
- SAP Simple Finance - G/L Accounting
- Create a Primary Cost
- Create a Secondary Cost
- SAP Simple Finance - Ledger Mgmt
- Asset Accounting
- Create an Asset
- SAP Simple Finance - Asset Scrapping
- Create Default Account Assignment
- Management Accounting
- Profitability Analysis
- Period Lock Transaction
- New Period Closing Program
- SAP Simple Finance - Integration
- SAP Simple Finance - IBPF
- Consultant Capabilities
Post and Reverse Documents
In SAP Simple Finance system, you can post and reverse many simple FI documents. When a document is posted, SAP system updates the transaction figures in the accounts to which the document is posted. You may also need to reverse an incorrect document. Document reversal is required in the following scenarios −
The document contains no cleared items.
The document contains only customer, vendor, and G/L account items.
The document was posted with Financial Accounting.
All entered values (such as business area, cost center, and tax code) are still valid.
To post a simple FI document following are the steps.
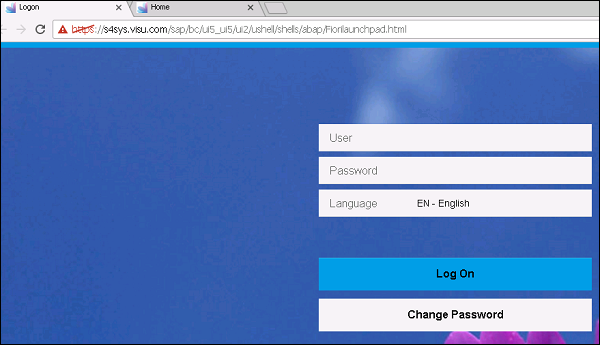
Step 1 − Navigate to SAP Fiori Launchpad and login using the user name and password.
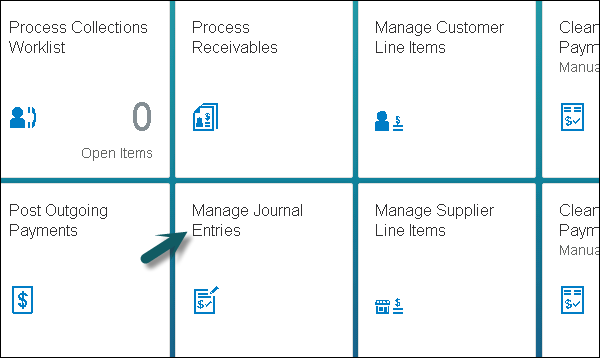
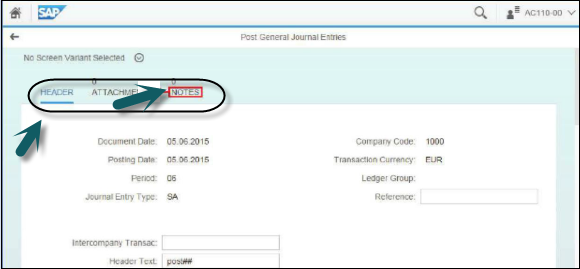
Step 2 − Navigate to Manage Journal Entries, and enter the document date and other details.
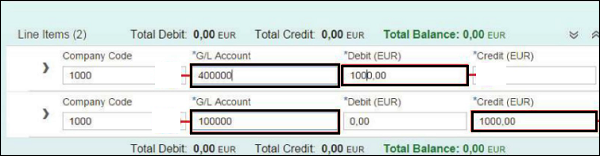
Step 3 − In the Posting window, enter the following details −
- Company Code
- Debit
- G/L Account
- Credit
Step 4 − Scroll up and enter any Attachment, Notes, or Header value to this entry. You can add a note at any time and they are logged by user and time.
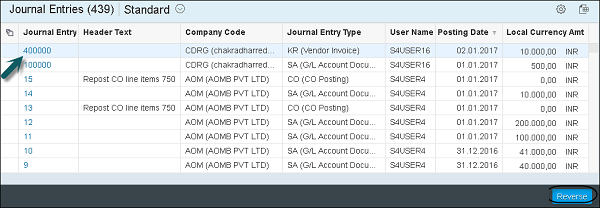
Step 5 − To post the journal entry, click the Post button next to the Simulate button and document # will be generated.
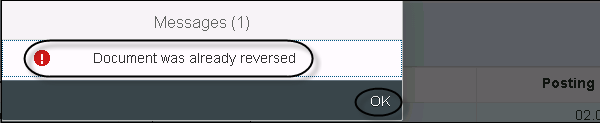
Step 6 − To perform reversal for any journal entry, select the entry in Manage Journal entry and click Reverse.
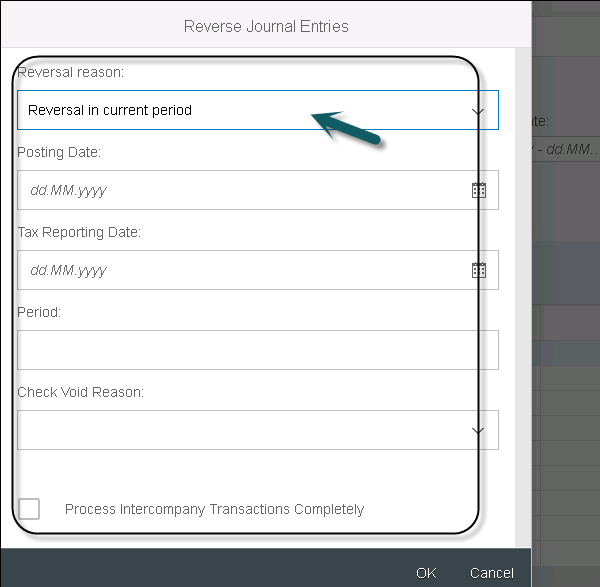
Step 7 − Select Reversal period from the dropdown list.
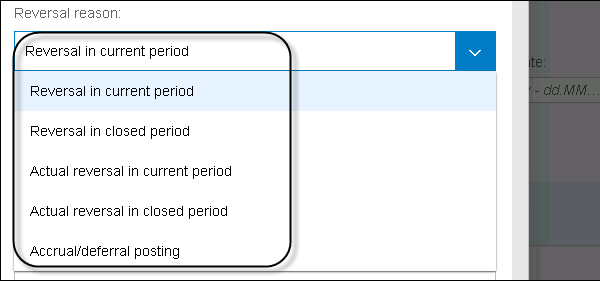
You have the following Reversal Reason option −
Step 8 − Enter the Posting Date as todays date, the Tax Report Date as todays date and click OK. When you reverse a document multiple times, you get the following message −