
Article Categories
- All Categories
-
 Data Structure
-
 Networking
-
 RDBMS
RDBMS
-
 Operating System
-
 Java
Java
-
 MS Excel
-
 iOS
iOS
-
 HTML
HTML
-
 CSS
CSS
-
 Android
-
 Python
-
 C Programming
-
 C++
C++
-
 C#
C#
-
 MongoDB
-
 MySQL
MySQL
-
 Javascript
-
 PHP
PHP
-
 Economics & Finance
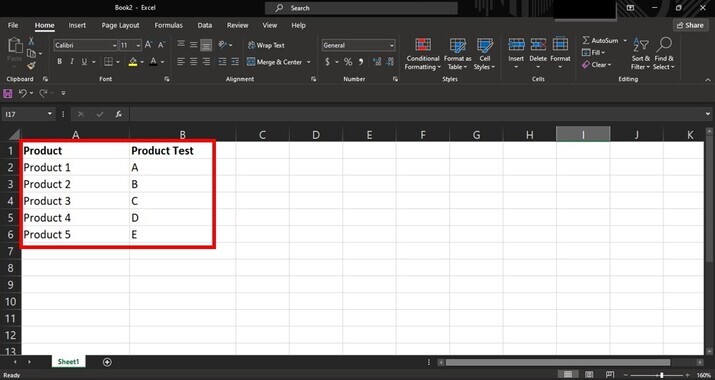
How to Quickly Insert Tick and Cross Marks in Cells?
Excel is an incredibly powerful tool with a wide range of functionalities, including the ability to showcase data in various formats. In this article, we will explore how you can quickly insert tick and cross marks into cells using intuitive methods that will save you time and effort. Excel is a powerful tool that offers numerous features to streamline data management and analysis. Among its many capabilities, one often overlooked feature is the ability to use tick (?) and cross (X) marks in individual cells. These seemingly simple symbols can have a significant impact on your productivity by enhancing organization, clarity, and accessibility.
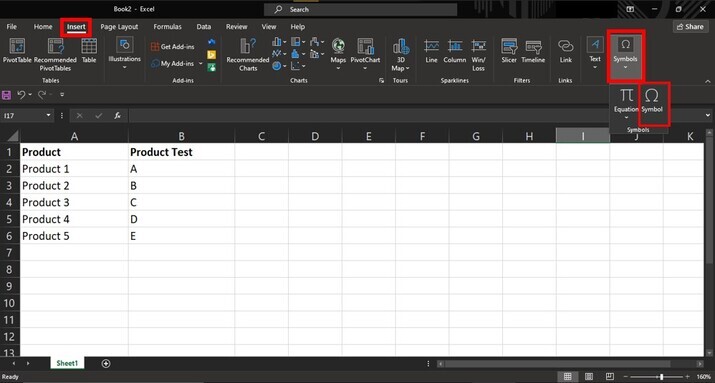
Example 1: Inserting tick and cross marks in cells Using the 'Symbol' functionality
Step 1
One common method for inserting ticks and crosses involves utilizing the "Symbol" functionality within Excel. Open the Excel workbook and navigate to the desired cell where we want to insert a tick or cross mark.
Step 2
Click on the "Insert" tab located at the top ribbon menu. Within the "Insert" tab options, look for the "Symbol" icon?usually located in the far right section of this menu. Click on it.
Step 3
A dialog box displaying various symbols will appear. Select Windings from the drop?down menu adjacent to the Font label. Choose either a tick (?) or a cross (X), depending on our requirements.

Step 4
To insert a tick mark (?), select it from the list by clicking on it; then click on the "Insert" button followed by closing out of all dialogue boxes.
To insert a cross mark (X), if it doesn't appear in the list, choose another font type called Wingdings instead of normal text fonts like Arial or Times New Roman before selecting X symbol; once selected, click on "Insert" and close out any additional windows.
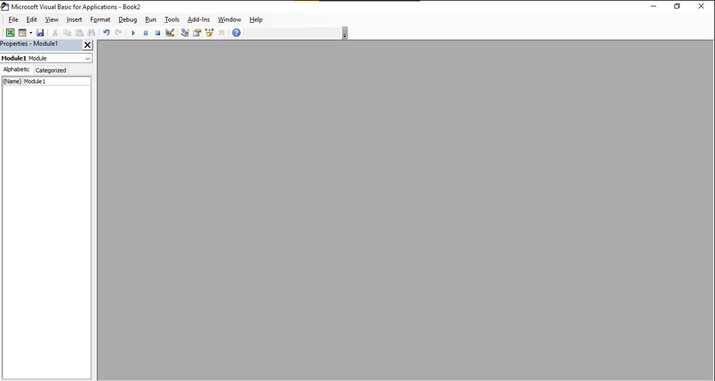
Example 2: Inserting tick and cross marks in cells Using the macro
Step 1
Open Microsoft Excel and press "Alt + F11" on your keyboard to access the Visual Basic Editor.
Step 2
Go to "Insert" > "Module," which creates a new module where we can write our macro code.
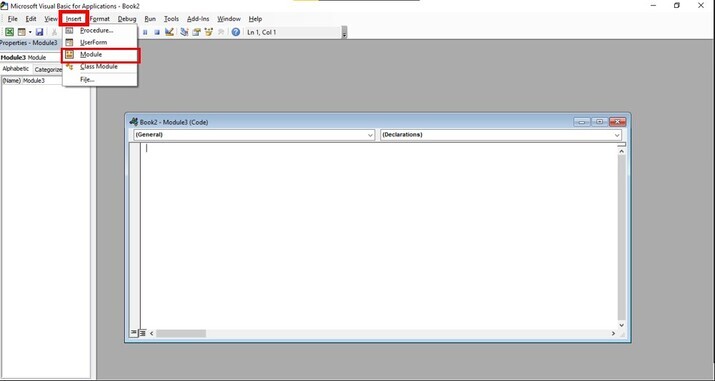
Step 3
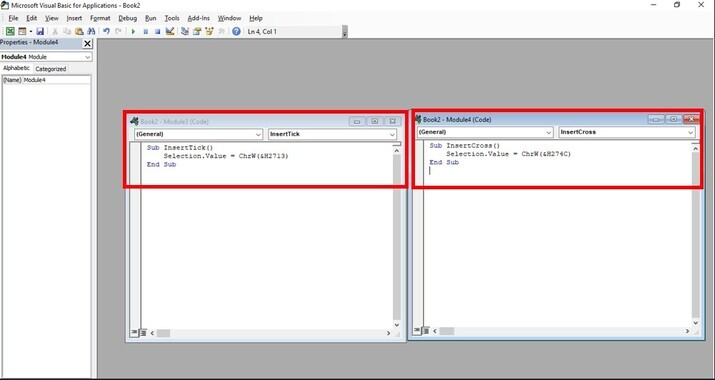
Copy and paste the following code into the module:
Sub InsertTick()
    Selection.Value = ChrW(&H2713)
End Sub
This simple VBA code utilizes Unicode characters (in this case, U+2713) representing a tick mark.
Similarly, we can follow Method 1 but use different VBA code mentioned below:
Sub InsertCross()
    Selection.Value = ChrW(&H274C)
End Sub
By inserting this second macro using Unicode character U+274C as described above or assigning another convenient shortcut key combination (like Ctrl+Shift+C), we can swiftly add cross marks within cells.
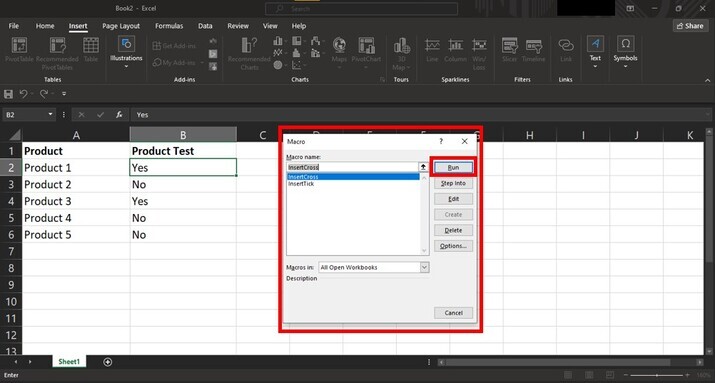
Step 4
Then we can run the macro code, to insert the cross marks we need to select the required macro and run it.
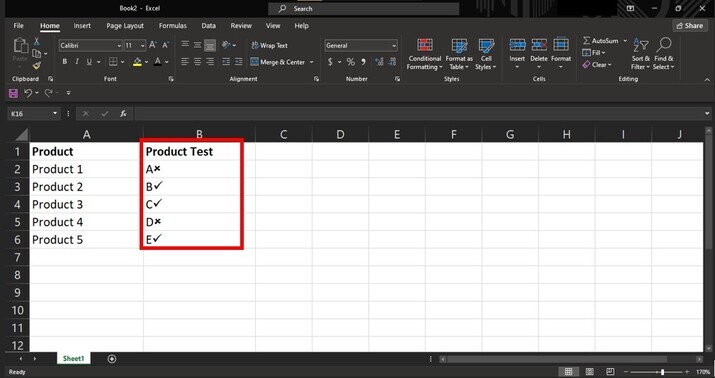
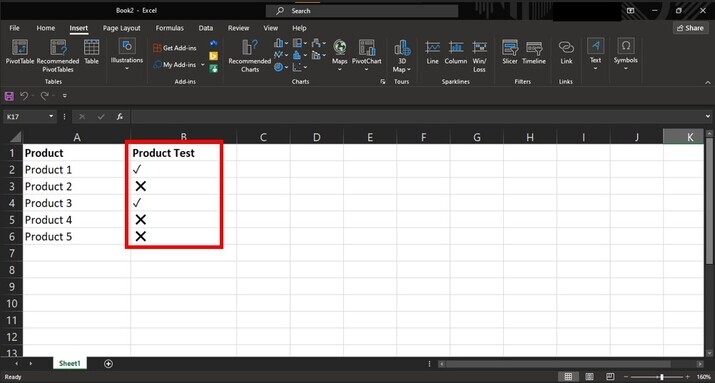
Step 5
The final window after inserting the tick and cross marks.
Conclusion
Managing spreadsheets efficiently involves various techniques that ensure better interpretation and presentation of information. With Microsoft Excel's macro functionalities, adding tick and cross marks becomes hassle?free and time?efficient?allowing users to quickly indicate pass or fail statuses within their datasets in a visually appealing manner.

2K+ Views
