
Article Categories
- All Categories
-
 Data Structure
-
 Networking
-
 RDBMS
RDBMS
-
 Operating System
-
 Java
Java
-
 MS Excel
-
 iOS
iOS
-
 HTML
HTML
-
 CSS
CSS
-
 Android
-
 Python
-
 C Programming
-
 C++
C++
-
 C#
C#
-
 MongoDB
-
 MySQL
MySQL
-
 Javascript
-
 PHP
PHP
-
 Economics & Finance
How to Paste a Range of Cells into Message Body as Image in Excel?
Effective data communication is essential, and occasionally taking a screenshot of your Excel worksheet might make things easier. You may easily add an image to a document or email, making it more pleasant to the eye and more accessible to users, by immediately turning a set of cells into an image in Excel. In this lesson, we'll walk you through each step of creating a picture out of a set of cells and copying it into the body of the message of your choice. Let's get started and discover this helpful trick to improve your Excel data-sharing abilities!
Paste a Range of Cells into Message Body as Image
Here we will first create a VBA module, then select the range of cells, and finally send the message. So let us see a simple process to know how you can paste a range of cells into the message body as an image in Excel.
Step 1
Consider an Excel sheet where you have the required data.
First, right-click on the sheet name and select View Code to open the VBA application.
Right Click > View Code.
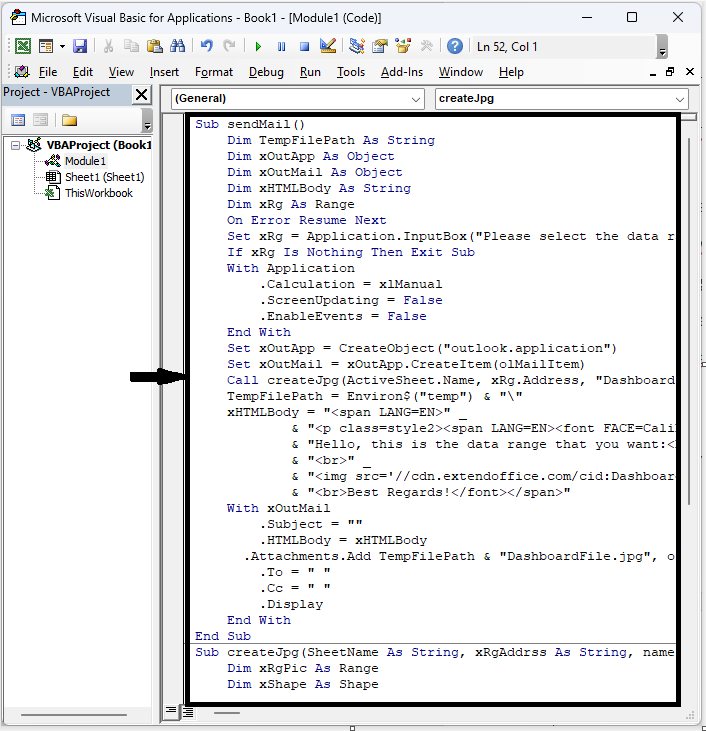
Step 2
Then click on Insert and select Module, then copy the below code into the text box.
Insert > Module > Copy.
Code
Sub sendMail()
   Dim TempFilePath As String
   Dim xOutApp As Object
   Dim xOutMail As Object
   Dim xHTMLBody As String
   Dim xRg As Range
   On Error Resume Next
   Set xRg = Application.InputBox("Please select the data range:", "Paste Range Images", Selection.Address, , , , , 8)
   If xRg Is Nothing Then Exit Sub
   With Application
      .Calculation = xlManual
      .ScreenUpdating = False
      .EnableEvents = False
   End With
   Set xOutApp = CreateObject("outlook.application")
   Set xOutMail = xOutApp.CreateItem(olMailItem)
   Call createJpg(ActiveSheet.Name, xRg.Address, "DashboardFile")
   TempFilePath = Environ$("temp") & ""
   xHTMLBody = "<span LANG=EN>" _
      & "<p class=style2><span LANG=EN><font FACE=Calibri SIZE=3>" _
      & "Hello, this is the data range that you want:<br> " _
      & "<br>" _
      & "<img src='//cdn.extendoffice.com/cid:DashboardFile.jpg'>" _
      & "<br>Best Regards!</font></span>"
   With xOutMail
      .Subject = ""
      .HTMLBody = xHTMLBody
      .Attachments.Add TempFilePath & "DashboardFile.jpg", olByValue
      .To = " "
      .Cc = " "
      .Display
   End With
End Sub
Sub createJpg(SheetName As String, xRgAddrss As String, nameFile As String)
   Dim xRgPic As Range
   Dim xShape As Shape
   ThisWorkbook.Activate
   Worksheets(SheetName).Activate
   Set xRgPic = ThisWorkbook.Worksheets(SheetName).Range(xRgAddrss)
   xRgPic.CopyPicture
   With ThisWorkbook.Worksheets(SheetName).ChartObjects.Add(xRgPic.Left, xRgPic.Top, xRgPic.Width, xRgPic.Height)
      .Activate
      For Each xShape In ActiveSheet.Shapes
         xShape.Line.Visible = msoFalse
      Next
      .Chart.Paste
      .Chart.Export Environ$("temp") & "" & nameFile & ".jpg", "JPG"
   End With
   Worksheets(SheetName).ChartObjects(Worksheets(SheetName).ChartObjects.Count).Delete
Set xRgPic = Nothing
End Sub
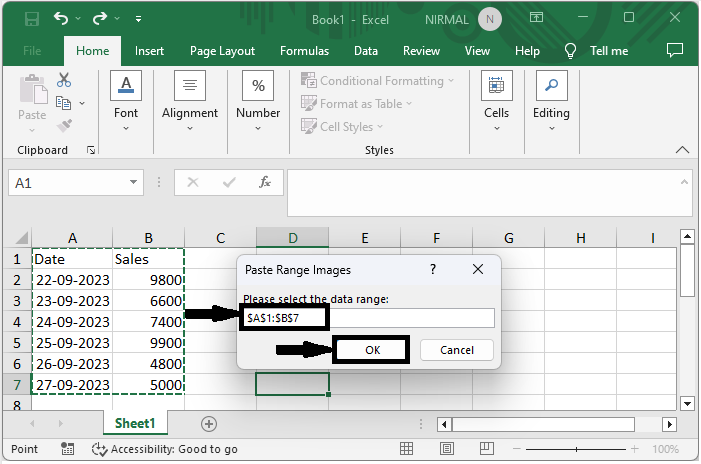
Step 3
Then click F5 to run the module. Then select the range of cells to copy and click OK.
F5 > Run > Select Cells > Ok.
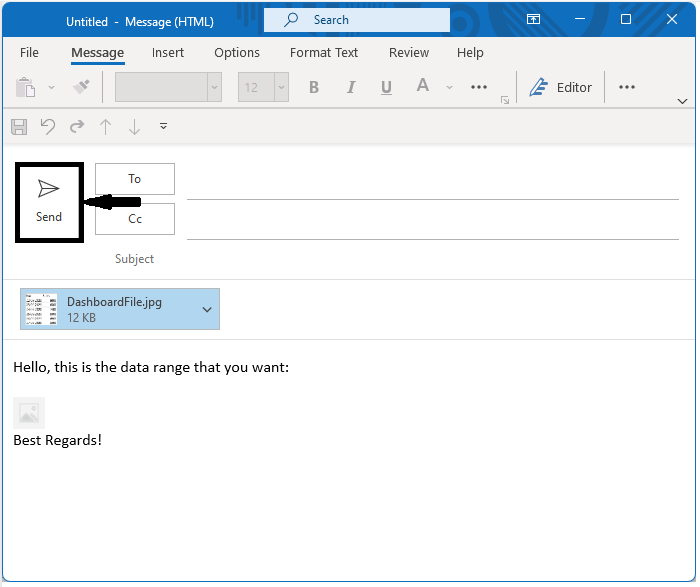
Step 4
Then in Outlook, click on Send to complete the task.
Conclusion
In this tutorial, we have used a simple example to demonstrate how you can paste a range of cells into the message body as an image in Excel to highlight a particular set of data.

270 Views
