
Article Categories
- All Categories
-
 Data Structure
-
 Networking
-
 RDBMS
RDBMS
-
 Operating System
-
 Java
Java
-
 MS Excel
-
 iOS
iOS
-
 HTML
HTML
-
 CSS
CSS
-
 Android
-
 Python
-
 C Programming
-
 C++
C++
-
 C#
C#
-
 MongoDB
-
 MySQL
MySQL
-
 Javascript
-
 PHP
PHP
-
 Economics & Finance
How to Automatically Change All Pictures to Move and Size with Cells in Excel?
It is not very frequently that we are required to manipulate photographs or images within Excel, yet, judging by the volume of Google searches for this issue, it is evident that people are interested in learning more about how to do so. When you try to insert an image in Excel, you may have noticed that the image will not align with the cells in Excel. This tutorial will help you understand how we can automatically change all pictures to move and resize within cells in Excel.
Automatically Change All Pictures to Move and Size with Cells
Here, we will first create a VBA module and then run it to complete our task. Let's take a look at an easy way to change the size and position of all images in Excel using cells. We will be using the help of a VB.NET application to complete our process, as this cannot be done directly in Excel.
Step 1
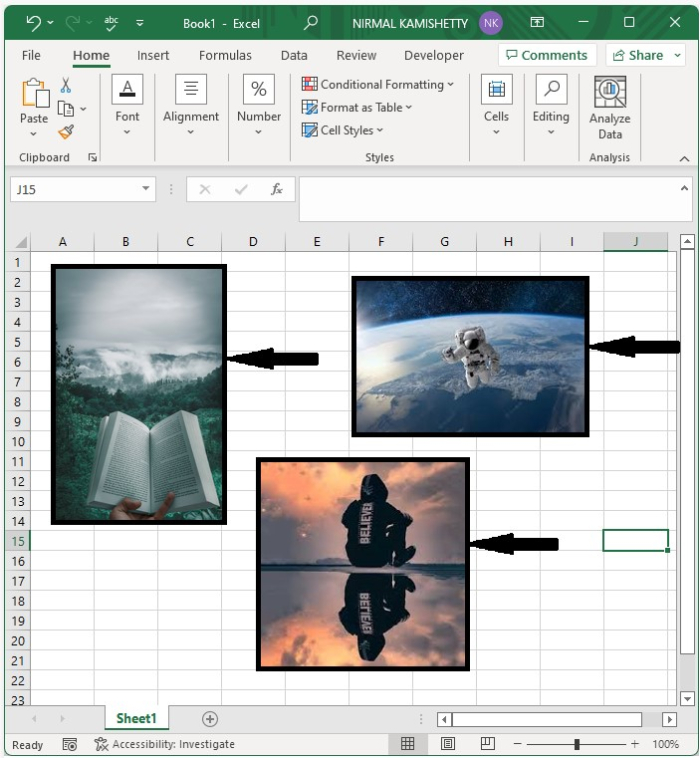
Let us consider an Excel sheet where the sheet contains the set of images shown in the below image.
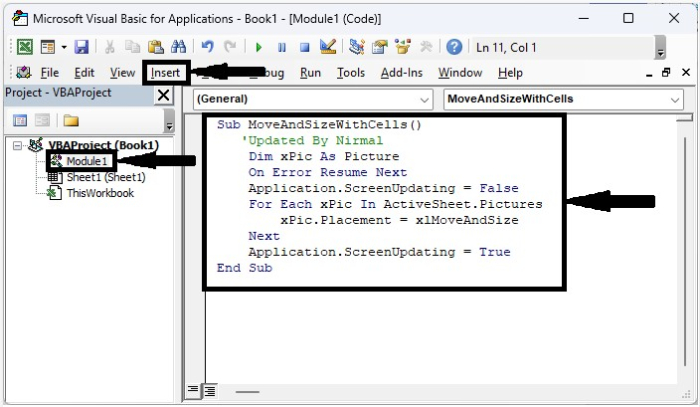
Now, to open the VBA application, right-click on the sheet name and select View Code. Then click on Insert, select Module, and enter the below-mentioned programme into the text box as shown in the below image.
Example
<div class="code-mirror  language-javascript" contenteditable="plaintext-only" spellcheck="false" style="outline: none; overflow-wrap: break-word; overflow-y: auto; white-space: pre-wrap;">Sub <span class="token function">MoveAndSizeWithCells</span><span class="token punctuation">(</span><span class="token punctuation">)</span>
   'Updated By Nirmal
   Dim xPic As Picture
   On Error Resume Next
   Application<span class="token punctuation">.</span>ScreenUpdating <span class="token operator">=</span> False
   For Each xPic In ActiveSheet<span class="token punctuation">.</span>Pictures
      xPic<span class="token punctuation">.</span>Placement <span class="token operator">=</span> xlMoveAndSize
   Next
   Application<span class="token punctuation">.</span>ScreenUpdating <span class="token operator">=</span> True
End Sub
</div>
Step 2
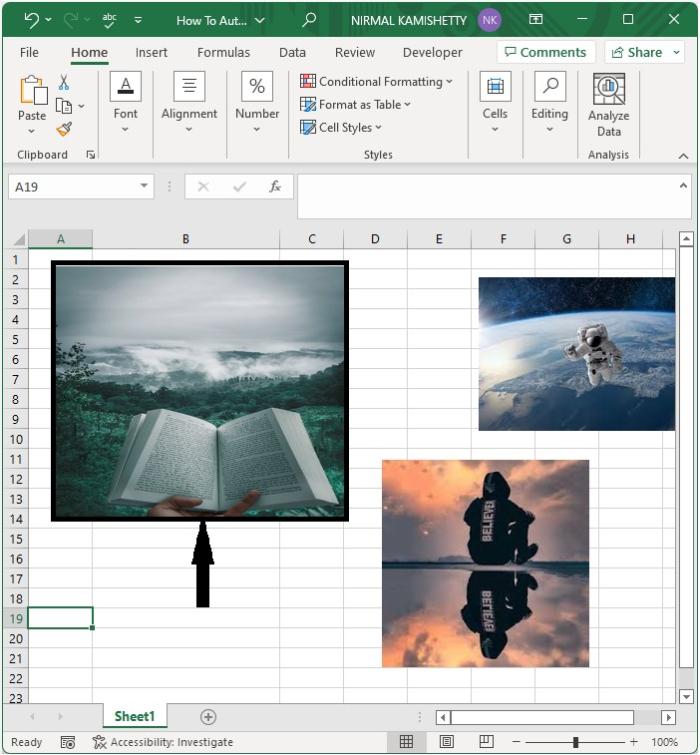
Now save the sheet as a macro-enabled workbook and press F5 to run the code and auto-arrange the pictures as shown in the below image. From now on, when you increase the size of the cell, the image will be enlarged automatically.
Conclusion
In this tutorial, we used a simple example to demonstrate how we can automatically change all pictures to move and enlarge within cells in Excel.

2K+ Views
