
Article Categories
- All Categories
-
 Data Structure
-
 Networking
-
 RDBMS
RDBMS
-
 Operating System
-
 Java
Java
-
 MS Excel
-
 iOS
iOS
-
 HTML
HTML
-
 CSS
CSS
-
 Android
-
 Python
-
 C Programming
-
 C++
C++
-
 C#
C#
-
 MongoDB
-
 MySQL
MySQL
-
 Javascript
-
 PHP
PHP
-
 Economics & Finance
Edit, Facebook Look Back Video to Share Stuffs
Facebook celebrated its 10th anniversary with interesting feature; Look Back video, which facilitates users to gather together all their important memories associated in their account life from when they joined and presents them in a cheesy. Depends on from how long user has been on Facebook and how much user has shared, this feature facilitates to see a movie, a collection of photos or a thank you card. It has become great memorable feature loved by everyone. It brings together all scraps; pictures, status updates, life events in front of everyone who has linked with their social networking site in the form of packed video.
But, some people were not happy with the Facebook’s auto-selection algorithms which compiles the Look Back Video because it was fetching some unattractive and embarrassing picture, status update or details of those memories which they want to forget, many have been complained about their videos.
Many people were also protested that Look Back Video feature also fetching those images and posts which they made it private. Some users complained that Facebook Look Back video captures popular life events after 2009 and skips the first few years for users who joined in between 2005 – 2006.
To resolve such issues, Facebook fast answered by providing user the facility to edit their Look Back video. In this article, user will get to know that how to edit their Facebook Look Back video.
A Look Back Video’s Editing Process
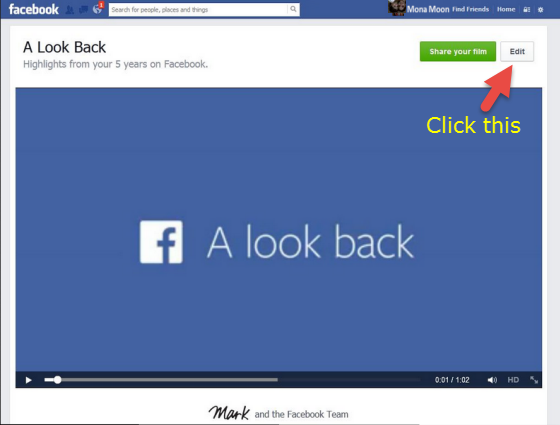
First, go to the URL: "https://www.facebook.com/lookback” and just login to Facebook if user has not yet login to open the Look Back video page. Now on the opened interface Look Back video page, see the “Edit” button just at the top right corner of the Look Back window, right next to the green colour “Share your Film” button.
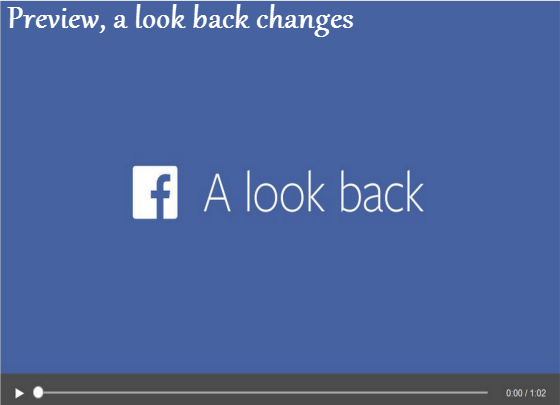
When user clicks on “Edit”, it takes user to the next page shown in the figure below. Facebook Look Back Video preview shows the changes made by this feature.
The “Edit” page for Look Back videos provides interesting properties like; Your Most Liked Posts, Your First Moments, Photo Grids, and Uploaded Photos, choose the right property to share photos. Once user has done this, click the green “Share Your Movie” button at the top of the page.
Properties of A Look Back Feature
Your Most Liked Posts
It permits users to pick 4 posts/status from their Facebook Timeline over the years. By default, in this section 4 posts have already been selected, choose the right ones to share.

Your First Moments
It facilitates to select up to 3 photos. By default, it selects 3 photos, if user wants to add new photo then untick a photo in order to add a new one. The untick button is situated at the bottom right corner of each photo.

Photo Grids
It permits users to choose 38 photos, include all photos shared or tagged by uses itself or their friends. So, choose the correct photos among them, untick those photos which user does not want to share.

Uploaded Photos
It shows those photos which user has selected and uploaded. This facilitates user to pick-up up-to 9 photos from their picture library. If user does not find any photo to share, just go back to the account and upload the photos then again come back to “a look back page”, tick those photos which user wants to share.
After selecting photos to share, scroll up to see “Save Changes” button on the top right of the Look Back window, click on the button “Save Changes”. Once user clicked “Save Changes” button, it displays a new dialog box to share user newly made Facebook Look Back video with their friends.
Conclusion
Now users can add many people on their friends list by proudly sharing their Look Back video. It recalls users all memorable stuffs and friend which they forgot after adding.

219 Views
