- Arduino - Home
- Arduino - Overview
- Arduino - Board Description
- Arduino - Installation
- Arduino - Program Structure
- Arduino - Data Types
- Arduino - Variables & Constants
- Arduino - Operators
- Arduino - Control Statements
- Arduino - Loops
- Arduino - Functions
- Arduino - Strings
- Arduino - String Object
- Arduino - Time
- Arduino - Arrays
- Arduino Function Libraries
- Arduino - I/O Functions
- Arduino - Advanced I/O Function
- Arduino - Character Functions
- Arduino - Math Library
- Arduino - Trigonometric Functions
- Arduino Advanced
- Arduino - Due & Zero
- Arduino - Pulse Width Modulation
- Arduino - Random Numbers
- Arduino - Interrupts
- Arduino - Communication
- Arduino - Inter Integrated Circuit
- Arduino - Serial Peripheral Interface
- Arduino Projects
- Arduino - Blinking LED
- Arduino - Fading LED
- Arduino - Reading Analog Voltage
- Arduino - LED Bar Graph
- Arduino - Keyboard Logout
- Arduino - Keyboard Message
- Arduino - Mouse Button Control
- Arduino - Keyboard Serial
- Arduino Sensors
- Arduino - Humidity Sensor
- Arduino - Temperature Sensor
- Arduino - Water Detector / Sensor
- Arduino - PIR Sensor
- Arduino - Ultrasonic Sensor
- Arduino - Connecting Switch
- Motor Control
- Arduino - DC Motor
- Arduino - Servo Motor
- Arduino - Stepper Motor
- Arduino And Sound
- Arduino - Tone Library
- Arduino - Wireless Communication
- Arduino - Network Communication
Arduino - Keyboard Serial
This example listens for a byte coming from the serial port. When received, the board sends a keystroke back to the computer. The sent keystroke is one higher than what is received, so if you send an "a" from the serial monitor, you will receive a "b" from the board connected to the computer. A "1" will return a "2" and so on.
Warning − When you use the Keyboard.print() command, the Leonardo, Micro or Due board takes over your computer's keyboard. To ensure you do not lose control of your computer while running a sketch with this function, set up a reliable control system before you call Keyboard.print(). This sketch is designed to only send a Keyboard command after the board has received a byte over the serial port.
Components Required
You will need the following components −
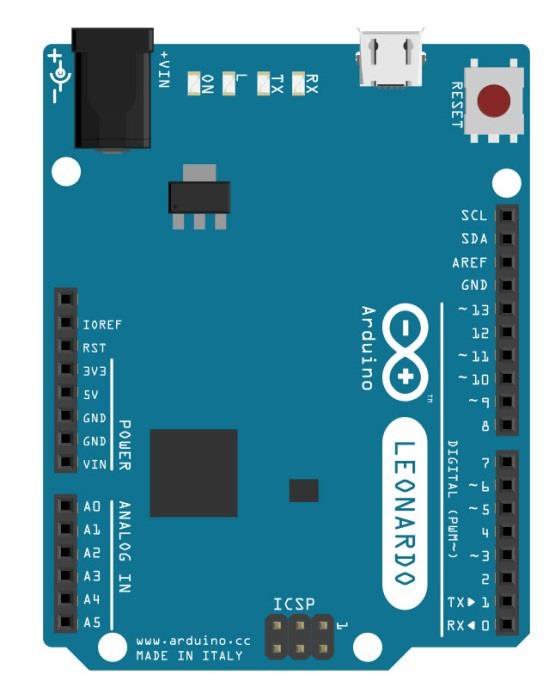
- 1 × Arduino Leonardo, Micro, or Due board
Procedure
Just connect your board to the computer using USB cable.
Sketch
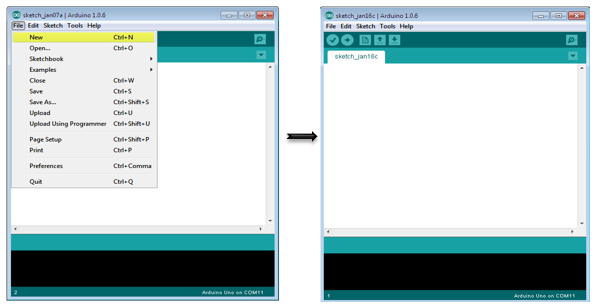
Open the Arduino IDE software on your computer. Coding in the Arduino language will control your circuit. Open a new sketch File by clicking New.
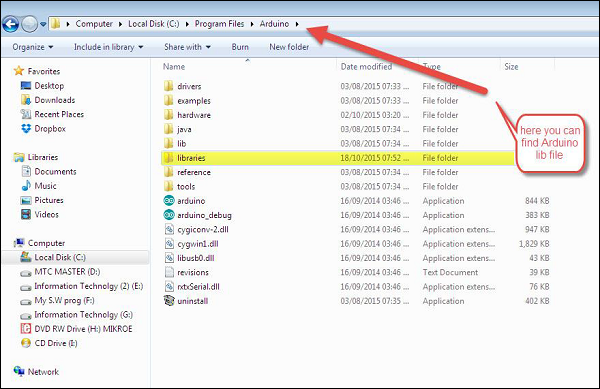
Notes − You must include the keypad library in your Arduino library file. Copy and paste the keypad library file inside the file with the name libraries highlighted with yellow color.
Arduino Code
/*
   Keyboard test
   For the Arduino Leonardo, Micro or Due Reads
      a byte from the serial port, sends a keystroke back.
   The sent keystroke is one higher than what's received, e.g. if you send a, you get b, send
      A you get B, and so forth.
   The circuit:
   * none
*/

#include "Keyboard.h"

void setup() {
   // open the serial port:
   Serial.begin(9600);
   // initialize control over the keyboard:
   Keyboard.begin();
}

void loop() {
   // check for incoming serial data:
   if (Serial.available() > 0) {
      // read incoming serial data:
      char inChar = Serial.read();
      // Type the next ASCII value from what you received:
      Keyboard.write(inChar + 1);
   }
}
Code to Note
Once programed, open your serial monitor and send a byte. The board will reply with a keystroke, that is one number higher.
Result
The board will reply with a keystroke that is one number higher on Arduino IDE serial monitor when you send a byte.
