- Windows Server 2012 Tutorial
- Windows Server 2012 - Home
- Overview
- Installation
- Server Roles
- PowerShell
- Remote Management
- Windows Firewall
- Remote Desktop Management
- Resource Monitor
- Active Directory
- DC Accounts
- File System
- Group Managed Service Accounts
- Group Policy Overview
- DHCP Role
- DNS Role
- Primary Zones
- Manage Records
- IIS Overview
- IIS Security
- Hyper-V
- Advanced Configuration
- Configure WSUS Role
- WSUS Policies & Tuning
- Sharing of Files
- File Manager
- Print Server
- Easy Printing
- Configure Print Drivers
- Network Services
- Backup Management
- Windows Server 2012 Resources
- Quick Guide
- Useful Resources
- Discussion
Configure WSUS Role
As you know the WSUS (Windows Server Update Services) is an update service of Microsoft which allows the companies to test updates before installing to live environment.
To install this role, we should follow the steps given below.
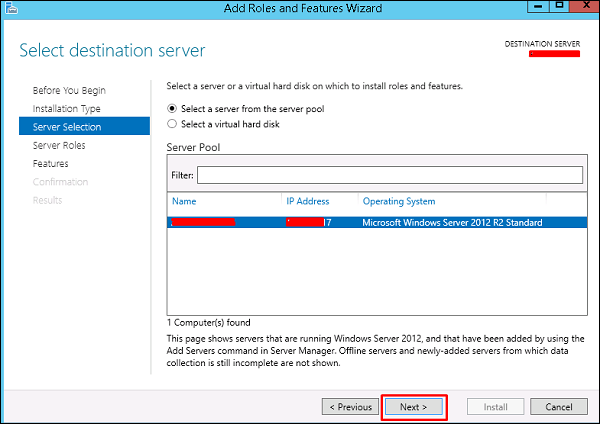
Step 1 − Go to “Server Manager” → Manage → Add Roles and Feature → Next → Select “Role-based or feature-Based-Installation → Select a server from the pool server and then → Next.
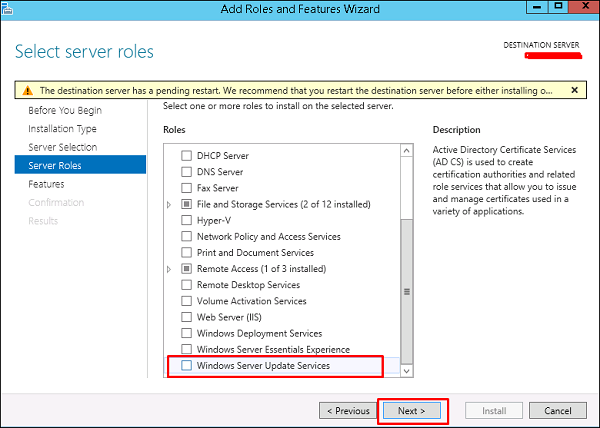
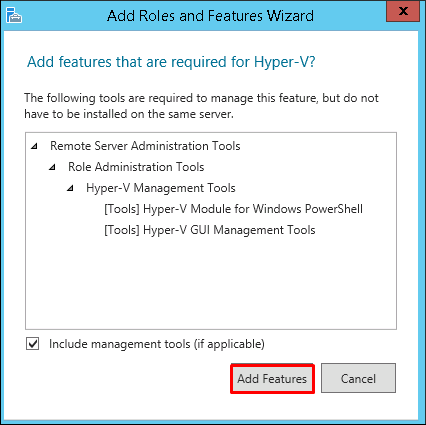
Step 2 − Check “Windows Server Update Service” a pop-up window table will come out → click “Add Features” then → Next and then again → Next.
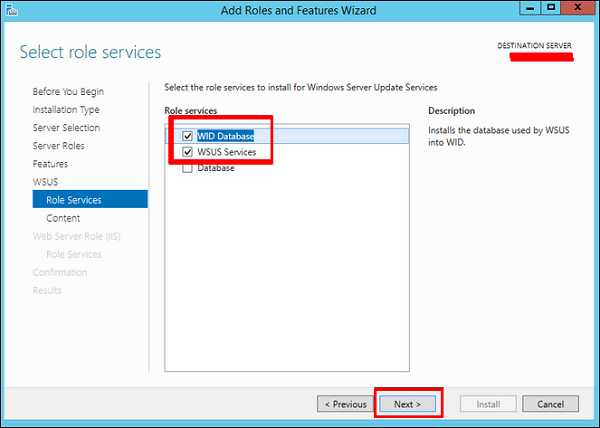
Step 3 − Check box of WID Database and WSUS Services
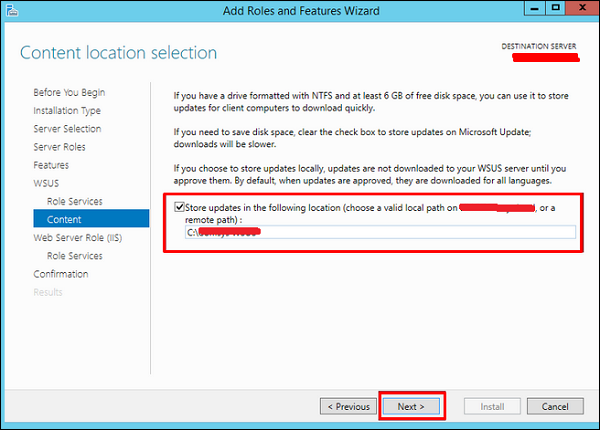
Step 4 − Choose the path for the content. If you have another partition other than C:, then install it there because C: can risk to become full → Next.
Once this is done, you should wait for the installation to finish.
To Continue Learning Please Login