- ReactJS Tutorial
- ReactJS - Home
- ReactJS - Introduction
- ReactJS - Installation
- ReactJS - Features
- ReactJS - Advantages & Disadvantages
- ReactJS - Architecture
- ReactJS - Creating a React Application
- ReactJS - JSX
- ReactJS - Components
- ReactJS - Nested Components
- ReactJS - Using Newly Created Components
- ReactJS - Component Collection
- ReactJS - Styling
- ReactJS - Properties (props)
- ReactJS - Creating Components using Properties
- ReactJS - props Validation
- ReactJS - Constructor
- ReactJS - Component Life Cycle
- ReactJS - Event management
- ReactJS - Creating an Event−Aware Component
- ReactJS - Introduce Events in Expense Manager APP
- ReactJS - State Management
- ReactJS - State Management API
- ReactJS - Stateless Component
- ReactJS - State Management Using React Hooks
- ReactJS - Component Life Cycle Using React Hooks
- ReactJS - Layout Component
- ReactJS - Pagination
- ReactJS - Material UI
- ReactJS - Http client programming
- ReactJS - Form Programming
- ReactJS - Controlled Component
- ReactJS - Uncontrolled Component
- ReactJS - Formik
- ReactJS - Conditional Rendering
- ReactJS - Lists
- ReactJS - Keys
- ReactJS - Routing
- ReactJS - Redux
- ReactJS - Animation
- ReactJS - Bootstrap
- ReactJS - Map
- ReactJS - Table
- ReactJS - Managing State Using Flux
- ReactJS - Testing
- ReactJS - CLI Commands
- ReactJS - Building and Deployment
- ReactJS - Example
- Hooks
- ReactJS - Introduction to Hooks
- ReactJS - Using useState
- ReactJS - Using useEffect
- ReactJS - Using useContext
- ReactJS - Using useRef
- ReactJS - Using useReducer
- ReactJS - Using useCallback
- ReactJS - Using useMemo
- ReactJS - Custom Hooks
- ReactJS Advanced
- ReactJS - Accessibility
- ReactJS - Code Splitting
- ReactJS - Context
- ReactJS - Error Boundaries
- ReactJS - Forwarding Refs
- ReactJS - Fragments
- ReactJS - Higher Order Components
- ReactJS - Integrating With Other Libraries
- ReactJS - Optimizing Performance
- ReactJS - Profiler API
- ReactJS - Portals
- ReactJS - React Without ES6 ECMAScript
- ReactJS - React Without JSX
- ReactJS - Reconciliation
- ReactJS - Refs and the DOM
- ReactJS - Render Props
- ReactJS - Static Type Checking
- ReactJS - Strict Mode
- ReactJS - Web Components
- Additional Concepts
- ReactJS - Date Picker
- ReactJS - Helmet
- ReactJS - Inline Style
- ReactJS - PropTypes
- ReactJS - BrowserRouter
- ReactJS - DOM
- ReactJS - Carousel
- ReactJS - Icons
- ReactJS - Form Components
- ReactJS - Reference API
- ReactJS Useful Resources
- ReactJS - Quick Guide
- ReactJS - Useful Resources
- ReactJS - Discussion
ReactJS - renderToStaticMarkup() Method
React can be used for both client-side and server-side rendering. So we will see the renderToStaticMarkup function, which is part of React's server-side rendering features.
What is renderToStaticMarkup?
React's renderToStaticMarkup function allows us to convert non-interactive React components to an HTML string. In other words we can say that it converts our React component to plain HTML. This is particularly helpful when using React to generate static HTML pages or emails.
Syntax
const html = renderToStaticMarkup(reactNode)
Parameters
reactNode − It is a React node which is to be rendered to HTML. For example, consider the JSX node <MyComponent />.
Return Value
It does return a HTML string.
Examples
Example − Basic Component Rendering
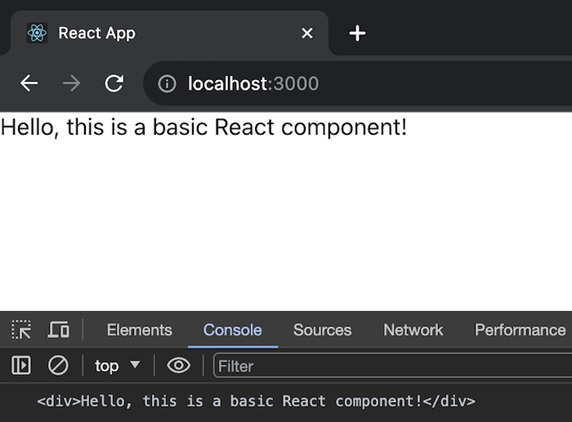
This app defines a simple React component called App, which renders a basic div element with a greeting message. The renderToStaticMarkup() function is then used to convert the React component into static HTML markup. The code is as follows −
import React from 'react';
import ReactDOMServer from 'react-dom/server';

const App = () => {
   return <div>Hello, this is a basic React component!</div>;
};

export default App;

const staticMarkup = ReactDOMServer.renderToStaticMarkup(<App />);
console.log(staticMarkup);
Output
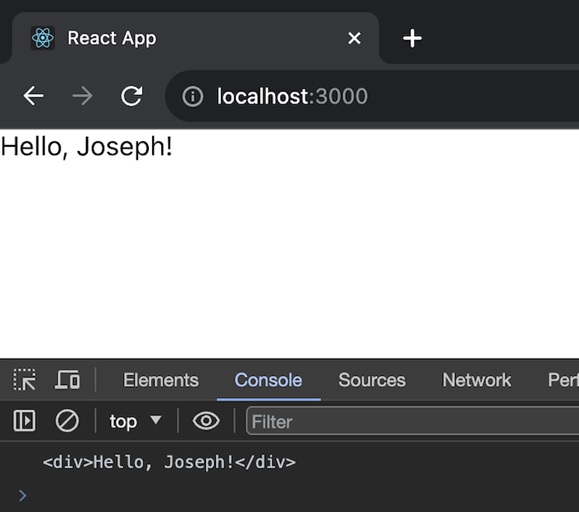
Example − Using Props
In this app, we will have two components - Greeting and App. The Greeting component takes a name prop and incorporates it into the greeting message. The App component renders the Greeting component with a specific name (Joseph in this case). So the code is given below −
import React from 'react';
import ReactDOMServer from 'react-dom/server';

const Greeting = (props) => {
   return <div>Hello, {props.name}!</div>;
};
const App = () => {
   return <Greeting name="Joseph" />;
};
export default App;
const staticMarkup = ReactDOMServer.renderToStaticMarkup(<App />);
console.log(staticMarkup);
Output
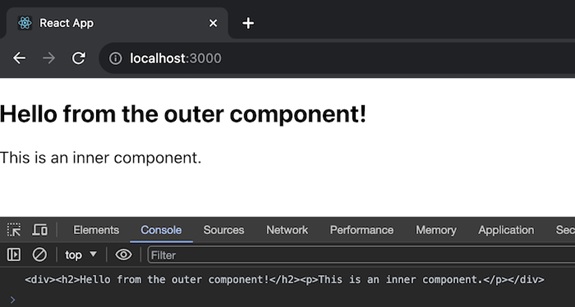
Example − Nested Components
This app will have nested components. There are two components − InnerComponent and OuterComponent. The OuterComponent renders an h2 heading and includes the InnerComponent within it. The code for this app is given below −
import React from 'react';
import ReactDOMServer from 'react-dom/server';

const InnerComponent = () => {
   return <p>This is an inner component.</p>;
};
const OuterComponent = () => {
   return (
      <div>
         <h2>Hello from the outer component!</h2>
         <InnerComponent />
      </div>
   );
};
const App = () => {
   return <OuterComponent />;
};
export default App;
const staticMarkup = ReactDOMServer.renderToStaticMarkup(<App />);
console.log(staticMarkup);
Output
Example
Using renderToStaticMarkup is a very straightforward method.
Import the function
To use renderToStaticMarkup, we need to include it in our server-side code by importing it from the'react-dom/server' package.
import { renderToStaticMarkup } from 'react-dom/server';
Render the React component
We can use the function to render our React component after importing it. For example, suppose we have a component called <MyComponent /> that we want to render to HTML.
const html = renderToStaticMarkup(<MyComponent />);
Send the HTML response
We will have an HTML string after using renderToStaticMarkup. Our server can then send this HTML as a response. An example of how it can be done in a server route handler is as follows −
app.use('/', (request, response) => {
   const html = renderToStaticMarkup(<MyComponent />);
   response.send(html);
});
Why use renderToStaticMarkup()?
When we need to generate non-interactive HTML content, renderToStaticMarkup comes into picture. It is helpful in situations like −
When we want to pre-render web pages as static HTML that does not rely on client-side JavaScript to work. This can help with SEO and page load times.
Creating HTML templates for non-interactive emails. The component structure of React can make email template construction easier.
Summary
When we need to generate non-interactive HTML content, renderToStaticMarkup is a useful method for server-side rendering in React. It is a helpful tool to bring to our toolbox for tasks like static website creation and email template creation.
To Continue Learning Please Login