- Ubuntu - Home
- Ubuntu - Overview
- Ubuntu - Flavors
- Ubuntu - Environment
- Ubuntu - Device Drivers
- Ubuntu - Software Center
- Ubuntu - Browsers
- Ubuntu - Email
- Ubuntu - Messaging
- Ubuntu - Media Players
- Ubuntu - User Management
- Ubuntu - Files & Folders
- Ubuntu - Word Writer
- Ubuntu - Spreadsheets
- Ubuntu - LibreOffice
- Ubuntu - Command Line
- Ubuntu - Scripting
- Ubuntu - Networking
- Ubuntu - Server Installation
- Ubuntu - Secure Shell
- Ubuntu - Development
- Ubuntu - Nginx
- Ubuntu - Virtual Machines
- Ubuntu - Installing MySQL & Python
- Ubuntu - Node.js
- Ubuntu - Docker
- Ubuntu - On the Cloud
Ubuntu - Messaging
The default messaging software used on desktops today is the Skype software. This software is distributed by Microsoft. Skype by default does not come with Ubuntu installation. It will not be present in the Software Center. We have to download and install it from the official Skype site. Following are the steps to get this in place.
Step 1 − Go to the official download site for Skype − https://www.skype.com/en/downloadskype/skype-for-computer/
Step 2 − The site will automatically understand that we are working from a Linux distribution and provide options for downloading the Linux version of Skype. We will choose the Ubuntu 12.04 version, as this will work on the later distribution.

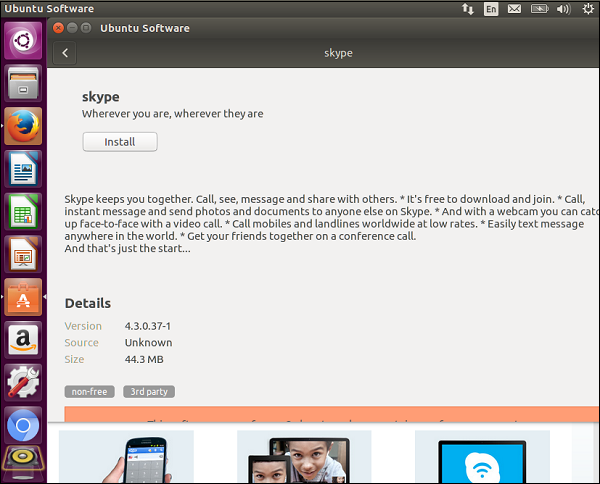
Step 3 − Once the package is downloaded, it will open in the Software Center. Choose the Install option to install the package.
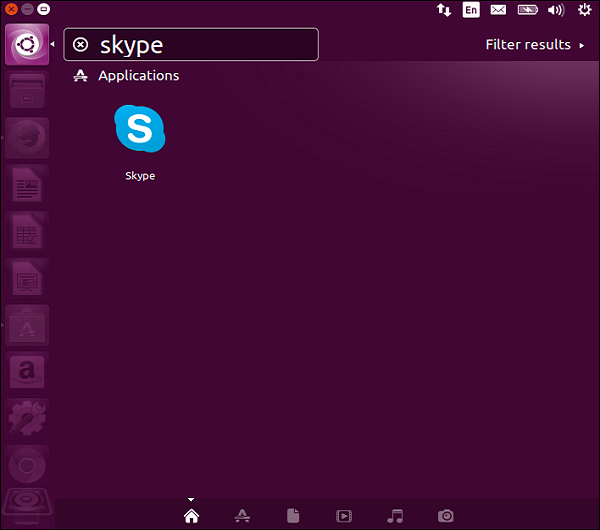
Step 4 − Once Skype is installed, we can search for it and launch it accordingly.
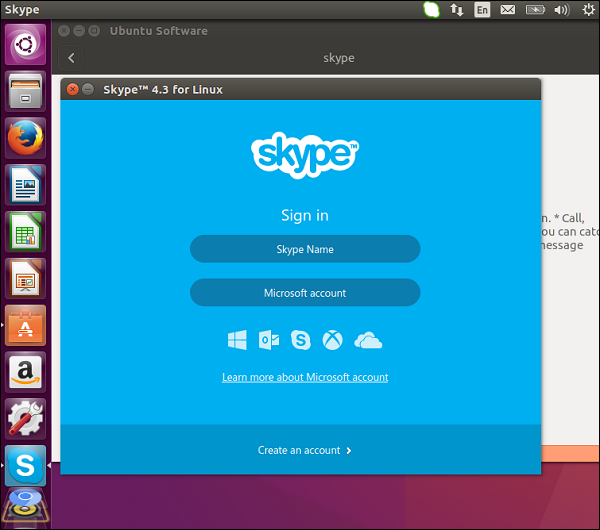
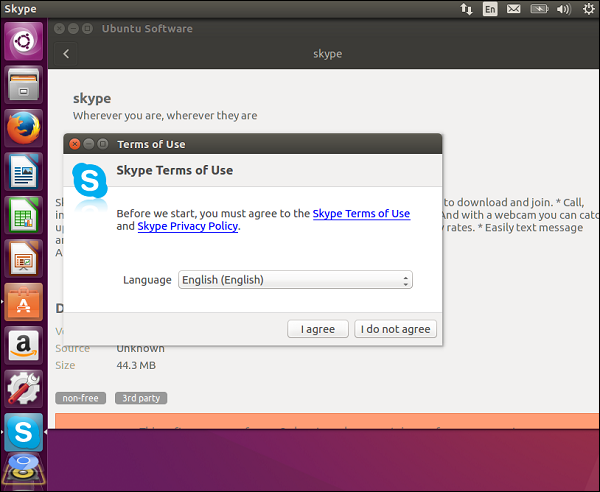
Step 5 − Click the I Agree button in the following screenshot.
Skype will now launch.
Step 6 − Enter the required credentials to start using Skype.