- Ubuntu - Home
- Ubuntu - Overview
- Ubuntu - Flavors
- Ubuntu - Environment
- Ubuntu - Device Drivers
- Ubuntu - Software Center
- Ubuntu - Browsers
- Ubuntu - Email
- Ubuntu - Messaging
- Ubuntu - Media Players
- Ubuntu - User Management
- Ubuntu - Files & Folders
- Ubuntu - Word Writer
- Ubuntu - Spreadsheets
- Ubuntu - LibreOffice
- Ubuntu - Command Line
- Ubuntu - Scripting
- Ubuntu - Networking
- Ubuntu - Server Installation
- Ubuntu - Secure Shell
- Ubuntu - Development
- Ubuntu - Nginx
- Ubuntu - Virtual Machines
- Ubuntu - Installing MySQL & Python
- Ubuntu - Node.js
- Ubuntu - Docker
- Ubuntu - On the Cloud
Ubuntu - Environment
We need to ensure we have the right hardware specifications in order to have Ubuntu installed.
System Requirements
Ensure the following system requirements are met before proceeding with the installation.
| Memory | 2GB RAM (recommended) |
| Disk Space | 25GB of free hard disk space |
| Processor | 2 GHz dual core processor or better |
| Other requirements | An optional DVD drive or USB drive with the Installer media. An internet connection to download the optional updates. |
Downloading Ubuntu
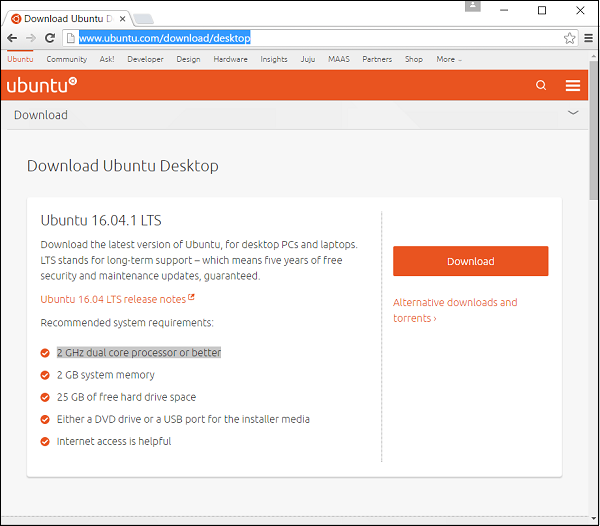
Step 1 − To download Ubuntu, go to the following url − https://www.ubuntu.com/download/desktop
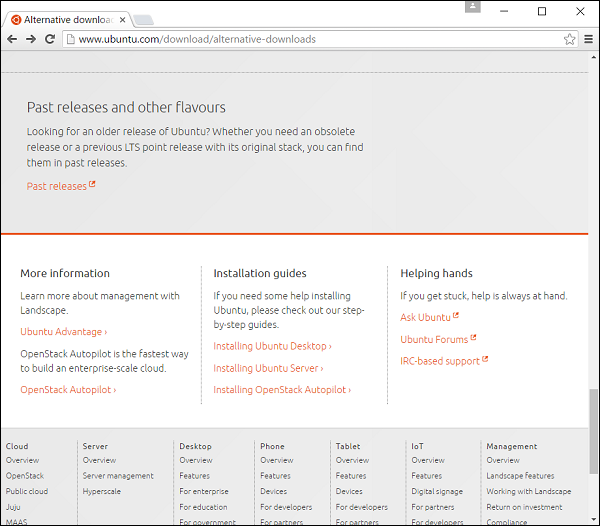
Step 2 − On this page, there is an option to download the older versions of Ubuntu if required. Click the Alternative downloads and torrents link.
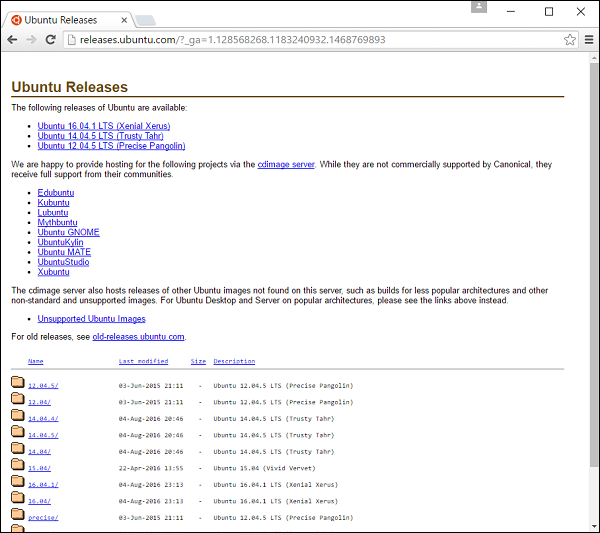
Step 3 − Go to Past releases link. It then presents a page with all the past releases of the Ubuntu software.
Installing Ubuntu
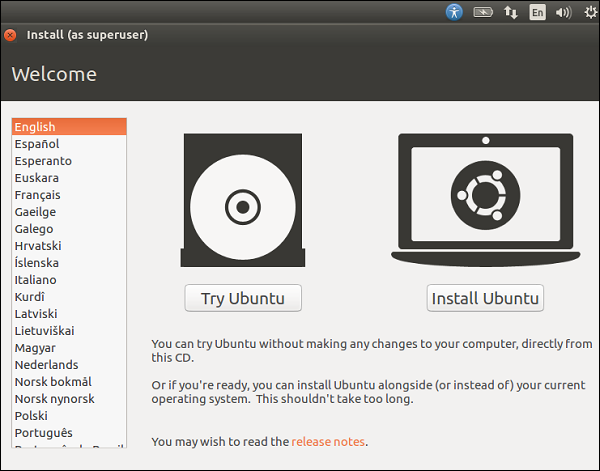
Now lets learn about installing the desktop version of Ubuntu. For the purpose of this tutorial, we will go with the latest version which is 16.04. The installer is a ISO image which can be mounted on a DVD drive or USB stick. Once the image is booted on the machine, following are the steps for installation.
Step 1 − The first screen allows us to either install or try out Ubuntu. The try out option allows us to see the features of Ubuntu without actually installing it. However, we want to use Ubuntu, so lets choose the Install Ubuntu option.
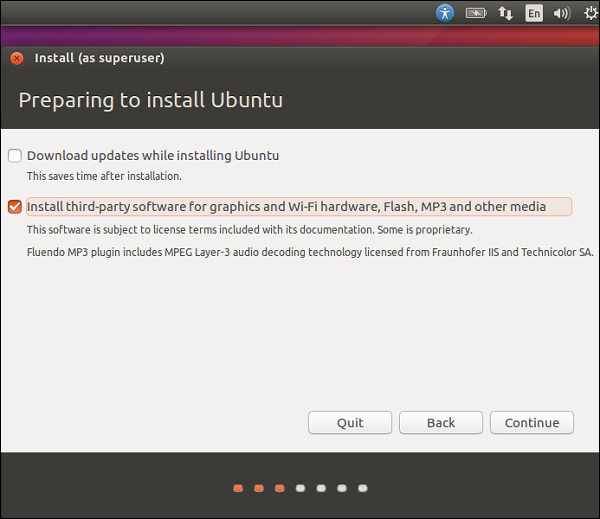
Step 2 − The next screen gives you 2 options. One is to download updates in the background while installing and the other is to install 3rd party software. Check the option to install 3rd party software. Then click the Continue button.
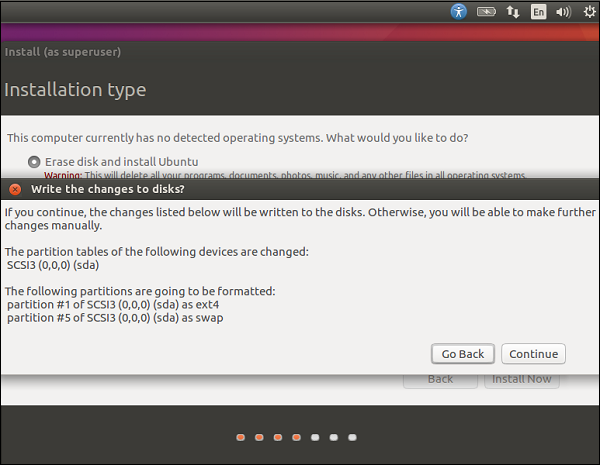
Step 3 − In the next screen, the following options are presented −
The disk is erased and the installation is carried out. If there was another operating system already on the disk, then Ubuntu would detect it and give the user the option to install the operating system side by side.
There is an option to encrypt the installation. This is so that if anybody else were to steal the data, they would not be able to decrypt the data.
Finally, Linux offers a facility called LVM, which can be used for taking snapshots of the disk.
For the moment, to make the installation simple, lets keep the options unchecked and proceed with the installation by clicking the Install Now button.

Step 4 − In the following screen, we will be prompted if we want to erase the disk. Click the Continue button to proceed.
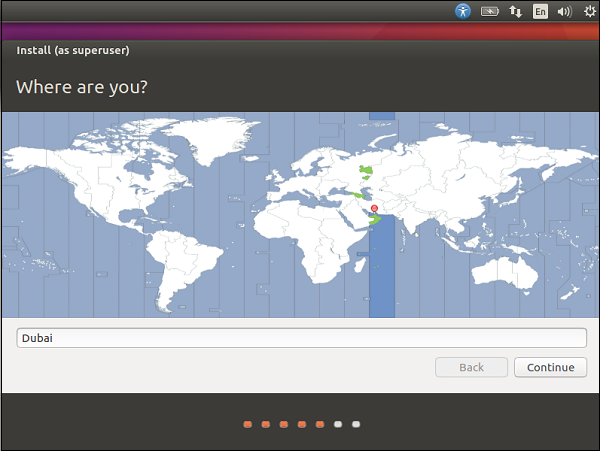
Step 5 − In this screen, we will be asked to confirm our location. Click the Continue button to proceed.
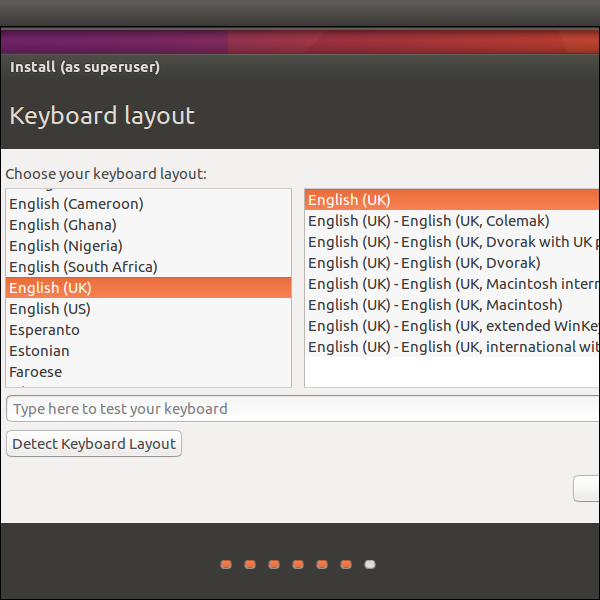
Step 6 − Now, we will be asked to confirm the language and the keyboard settings. Let us select English (UK) as the preferred settings.
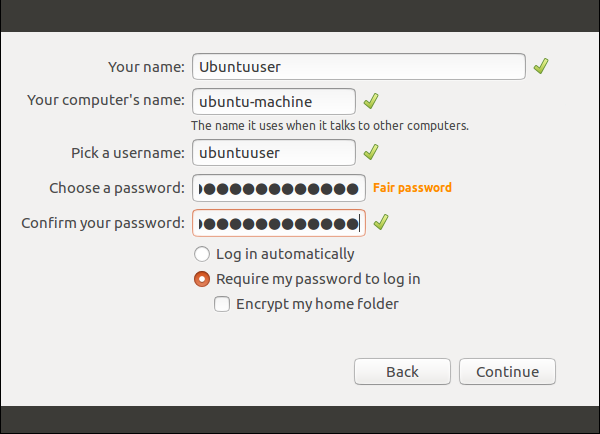
Step 7 − In the following screen, we will need to enter the user name, computer name and password which will be used to log into the system. Fill the necessary details as shown in the following screenshot. Then, click the continue button to proceed.
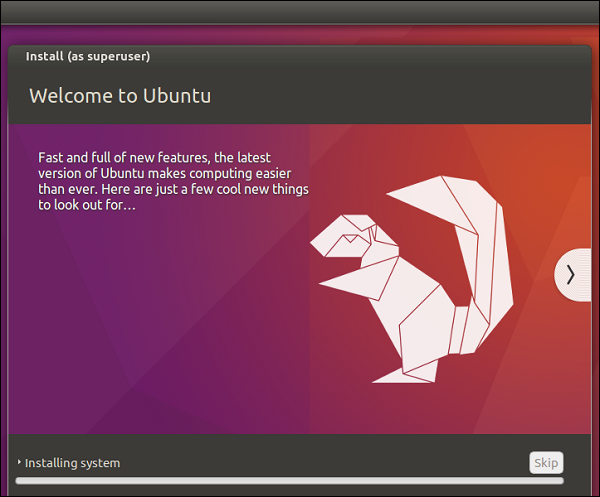
The system will now proceed with the installation and we will see the progress of the installation as shown in the following screenshot.
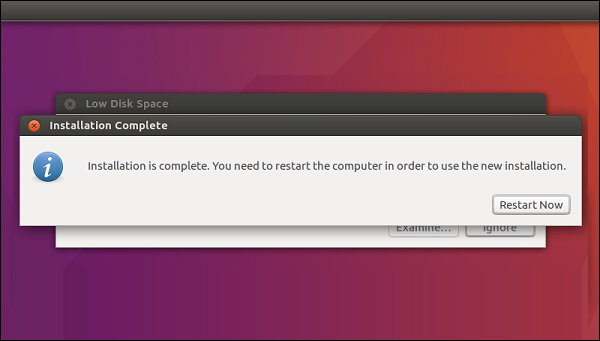
At the end of the installation, the system will prompt for a restart.
Step 8 − Click the Restart Now to proceed.
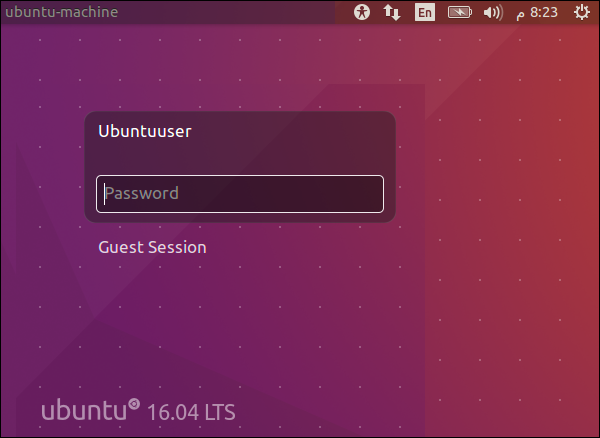
Once the restart is complete, log in with the username and password.
Once logged in, the desktop is presented as shown in the following screenshot.
We now have a fully functional version of Ubuntu. In the subsequent chapters, we will look at the various features available.
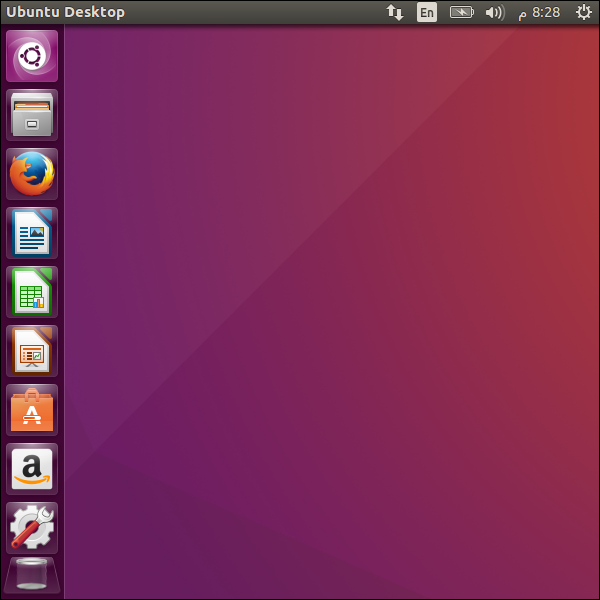
Let us take a quick look at the Ubuntu environment before we proceed ahead with the remaining chapters.
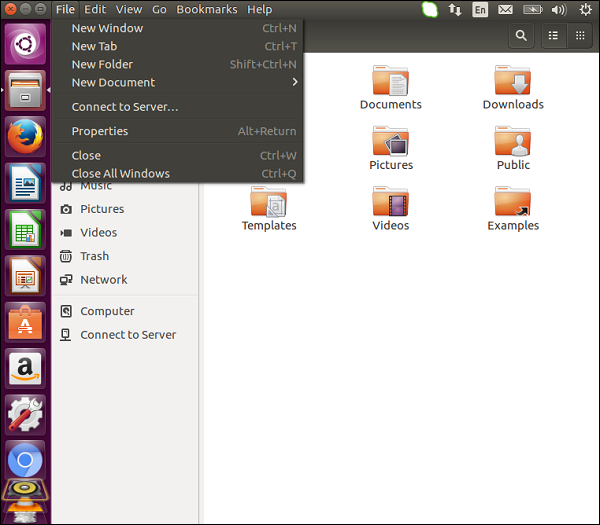
The Control Panel
The Control Panel on the left-hand side of the screen presents shortcuts for all of the most used applications. Using these options, we can launch the LibreOffice component, the Firefox browser, the Software Center and many other applications.

The Menu Bar
When we launch any application, we will get the associated menu bar at the top of the application, which will have the different menu options for that application. We can choose to close the entire window or resize the window, if required.
Taskbar
On the right-hand side of the screen is the task bar. The taskbar allows us to choose the change in volume settings, view the status of your internet connect, change your language and other settings, and view the battery status while working on a laptop.

