- SharePoint - Home
- SharePoint - Overview
- SharePoint - Types
- SharePoint - Capabilities
- SharePoint - Setup Environment
- SharePoint - Create Site Collection
- SharePoint - APIs
- SharePoint - Central Administration
- SharePoint - App Model
- SharePoint - Integration Options
- SharePoint - Development Tools
- SharePoint - List Functionality
- Additional List Functionality
- SharePoint - Custom List
- SharePoint - Libraries
- SharePoint - Web Part
- Site Column & Content Types
- SharePoint - Data
- SharePoint - Server Object Model
- SharePoint - Client Object Model
- SharePoint - REST APIs
- SharePoint - Features & Elements
- SharePoint - Feature\Event Receiver
- SharePoint - Azure Platform
- SharePoint - Packaging & Deploying
- SharePoint - Sandbox Solutions
- SharePoint - Apps
SharePoint - Setup Environment
In this chapter, we will setup the development environment for SharePoint. As you already know that there are three different options of SharePoint. They are −
- SharePoint Foundation
- SharePoint Server
- Office 365
In this chapter, we will be using the Office 365, which is cloud-based version.
Step 1 − You can easily create a free trial account here https://products.office.com/en/business/office-365-enterprise-e3-business-software.
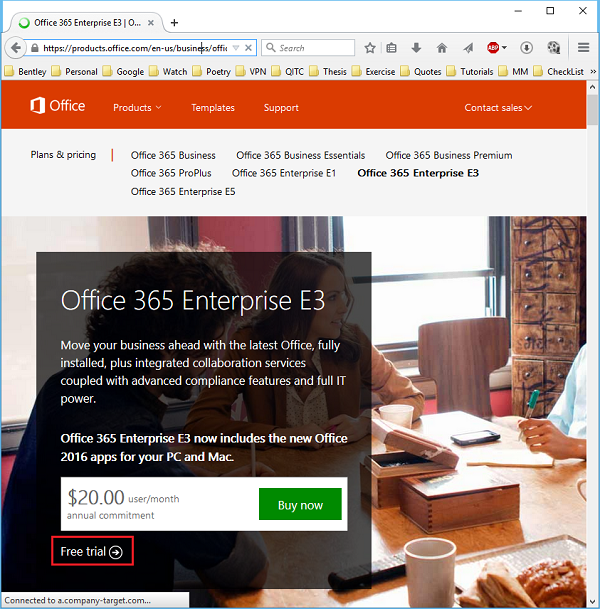
Step 2 − Click the Free trial option. A new page will open.
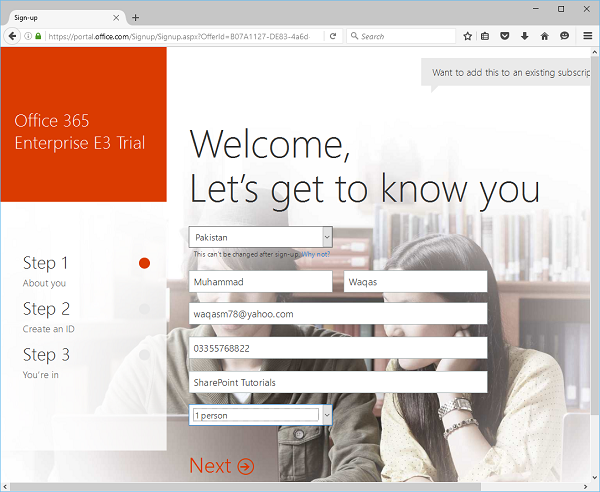
Step 3 − Enter the required information and click Next and you will see the following page.
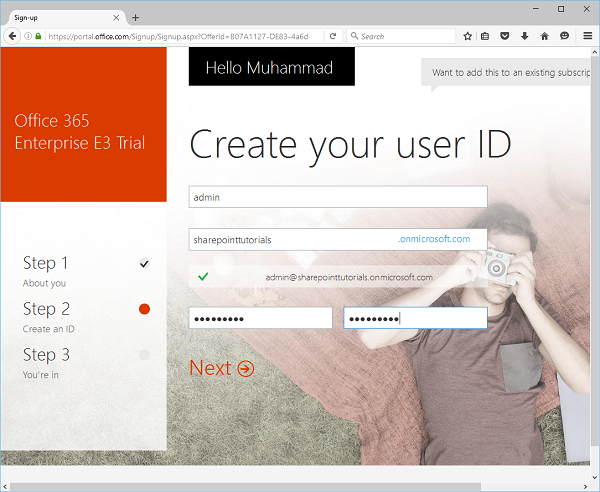
Step 4 − Enter the username, company name and password and click Next. It will send you a verification code. Once the verification is completed then it will start creating the account.
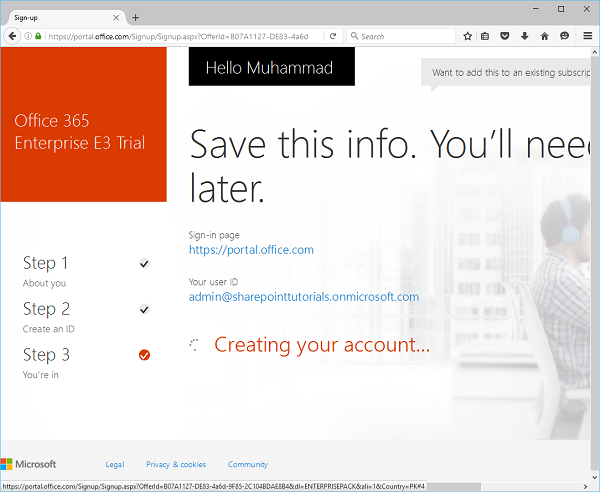
Step 5 − Once your account is created, you will see the following page.
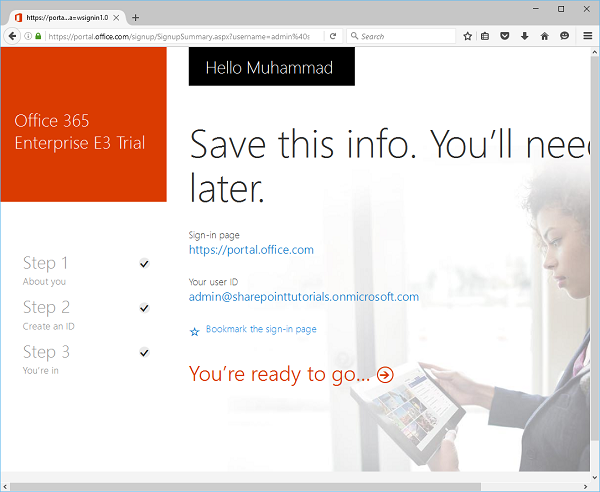
Step 6 − Click Youre ready to go and you will see the following page −
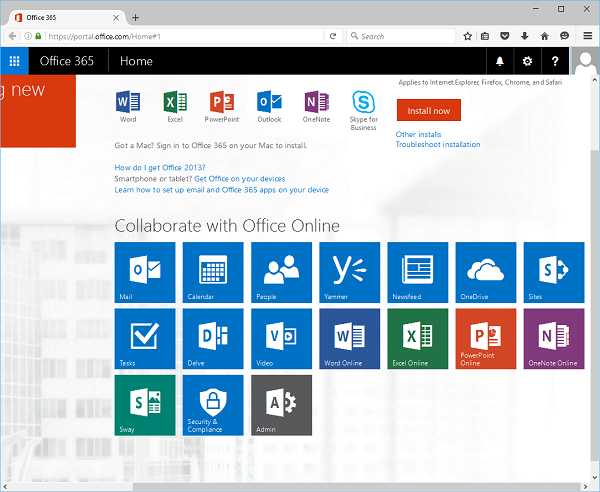
Now your environment is ready and you can start share point development but you will also need to install visual studio.
Microsoft provides a free version of visual studio, which also contains SQL Server and it can be downloaded from https://www.visualstudio.com/en-us/downloads/download-visual-studio-vs.aspx.
Installation
Following steps will guide you to install SharePoint.
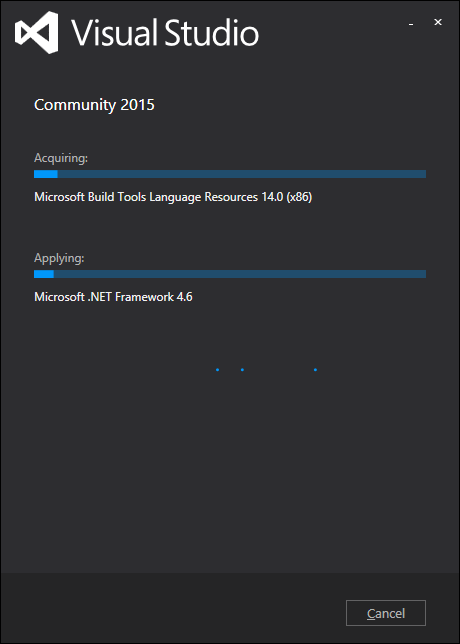
Step 1 − Once downloading is complete, run the installer. The following dialog will be displayed.
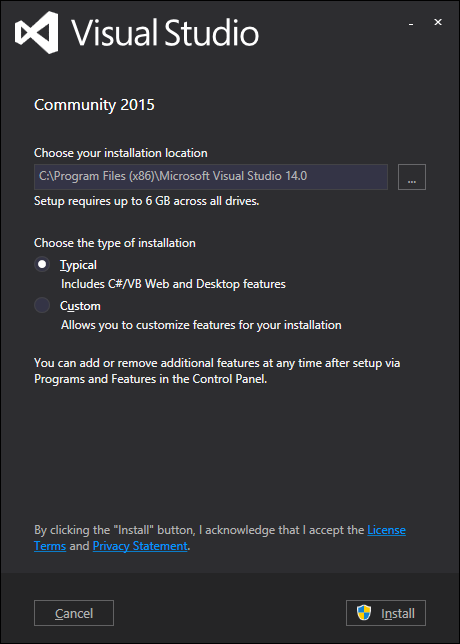
Step 2 − Click Install and it will start the installation process.
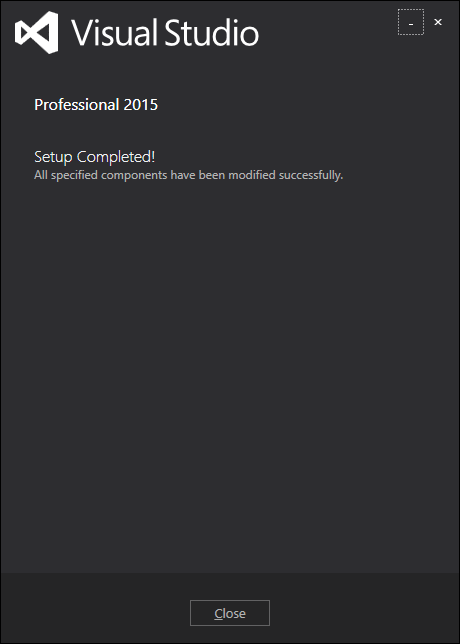
Step 3 − Once the installation process is completed successfully, you will see the following message −
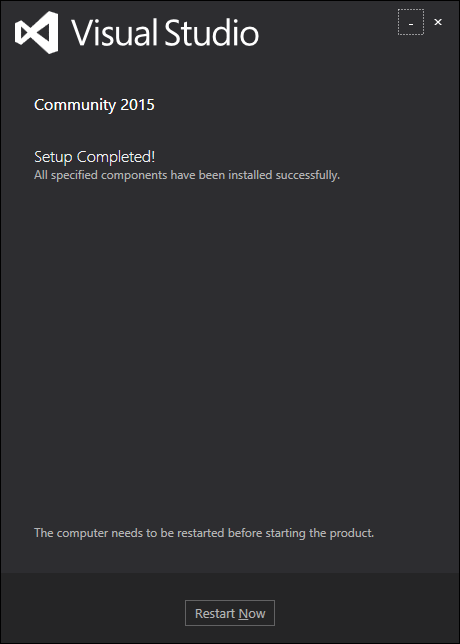
Step 4 − Restart your computer if required. Now open Visual studio from the Start Menu. It will open the following dialog box and it will take some time for preparation.
Step 5 − Once all is done, you will see the main window of Visual studio.

You are now ready to start your application.
Step 6 − Select File → New → Project menu option.
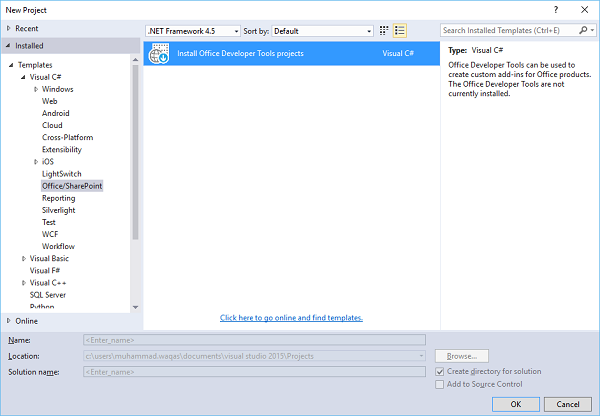
Step 7 − Select Office/SharePoint in the left pane under Templates → Visual C#. Doubleclick Install Office Developer Tools.
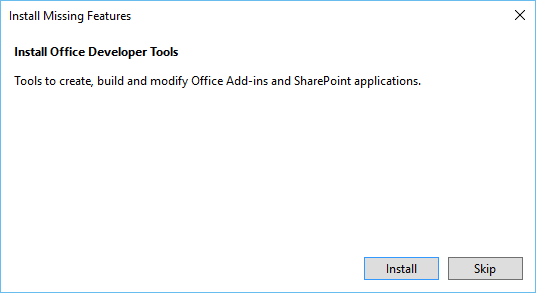
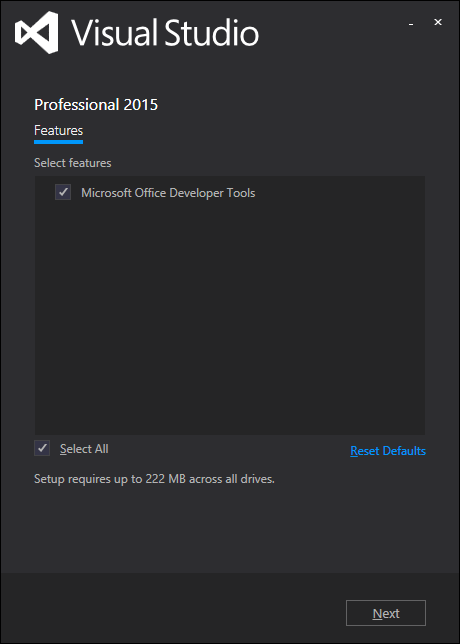
Step 8 − Click Install and close all Visual Studio instances. A new page will open. Click Next.
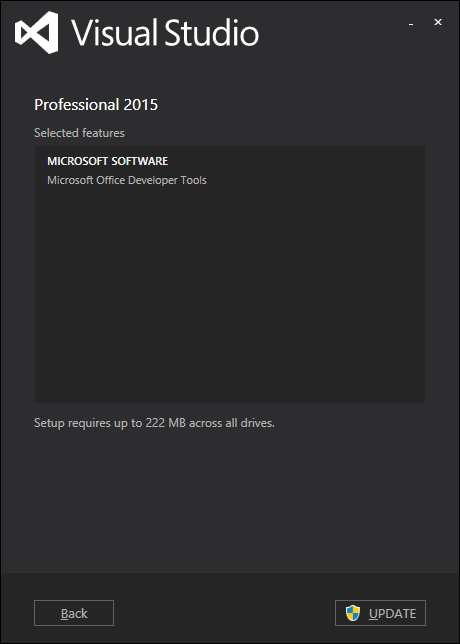
Step 9 − A message box will appear. Click Update.
Step 10 − Once it is updated, you will see the message as follows −