- SharePoint - Home
- SharePoint - Overview
- SharePoint - Types
- SharePoint - Capabilities
- SharePoint - Setup Environment
- SharePoint - Create Site Collection
- SharePoint - APIs
- SharePoint - Central Administration
- SharePoint - App Model
- SharePoint - Integration Options
- SharePoint - Development Tools
- SharePoint - List Functionality
- Additional List Functionality
- SharePoint - Custom List
- SharePoint - Libraries
- SharePoint - Web Part
- Site Column & Content Types
- SharePoint - Data
- SharePoint - Server Object Model
- SharePoint - Client Object Model
- SharePoint - REST APIs
- SharePoint - Features & Elements
- SharePoint - Feature\Event Receiver
- SharePoint - Azure Platform
- SharePoint - Packaging & Deploying
- SharePoint - Sandbox Solutions
- SharePoint - Apps
SharePoint - Development Tools
In this chapter, we will be covering the different levels of development concerning SharePoint. Each level serves the end user of the SharePoint site in some way. You can divide this spectrum into the following −
End users − who use the platform as an application platform.
Power users − who create and administer (and maybe brand) sites.
Designers − who brand the site and build the user experience.
Developers − who build and deploy apps.
A range of people interacts with SharePoint from the developers to the end users. It is represented in the following figure

Site Settings
Site Settings is one of the main parts of SharePoint. It is very important that we need to be familiar with it.
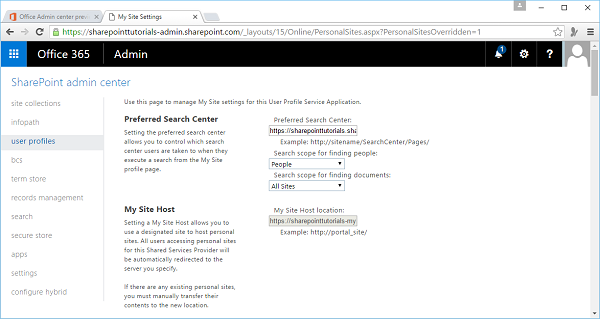
Step 1 − To access the Site Settings page, click User Profile in SharePoint Admin center. Click the option Setup My Site under My Site Settings.
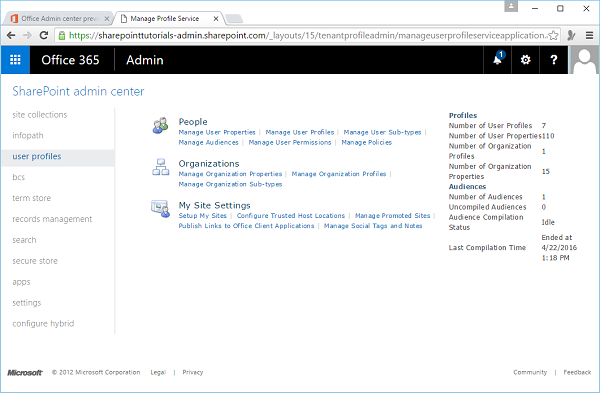
The following page will open.
You will find most of the configurations for your site on this page such as −
- Change the theme of your site.
- Activate features.
- Manage permissions.
Step 2 − Some settings options are also available in the Settings. So click the Settings in the left pane.
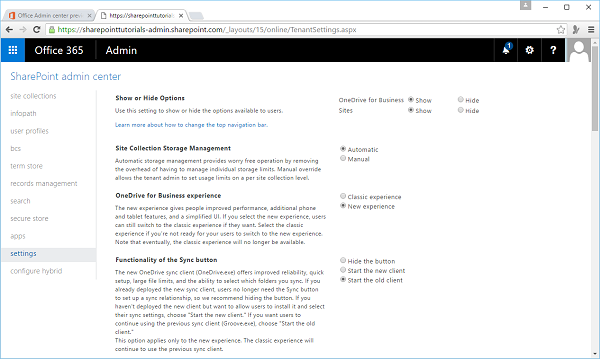
Note that the core features of the Site Settings page are split into major categories. For example, most of your security settings are available to you in the Users and Permissions category, theming in Web Designer Galleries, and so on.
Add HTML page
The editing experience ranges from formatting text to adding images or multimedia. You can get a little more into the code by embedding HTML directly within your SharePoint site.
This task feels a little more like development, so let us have a look at a simple example by adding an HTML page.
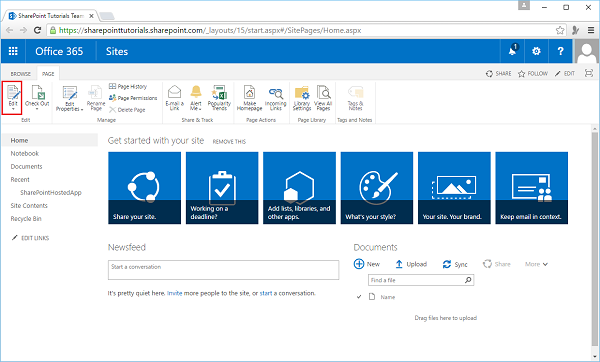
Step 1 − Open your SharePoint site and navigate to the home page of the site. On the Page tab, click the Edit menu option.
Step 2 − On the INSERT tab, click the Embed Code option.
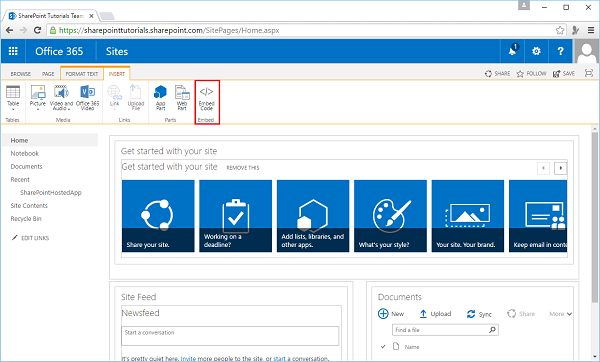
The following dialog box will open −

Step 3 − Add some HTML code into the code field as shown below −

Step 4 − Click Insert and you will see that the HTML snippet is inserted.
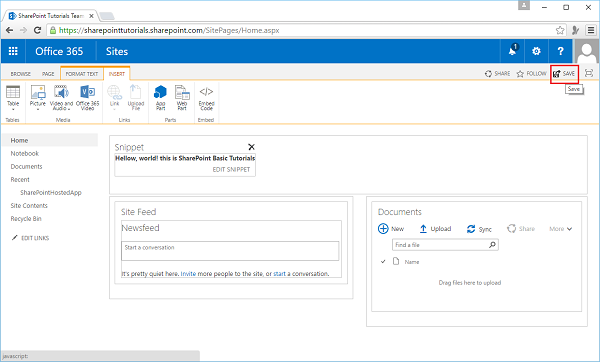
Step 5 − Click Save.

You can see that the HTML code is inserted in your SharePoint site.
Add Media file
To add a Media Player app to your SharePoint site, open your SharePoint site and navigate to the home page of the site.
Step 1 − On the Page tab, click the Edit menu option.

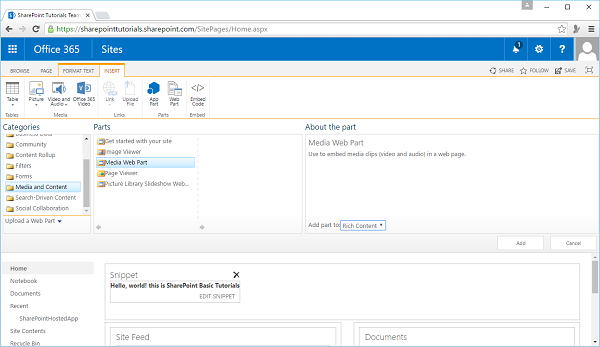
Step 2 − Select the Web Part option.

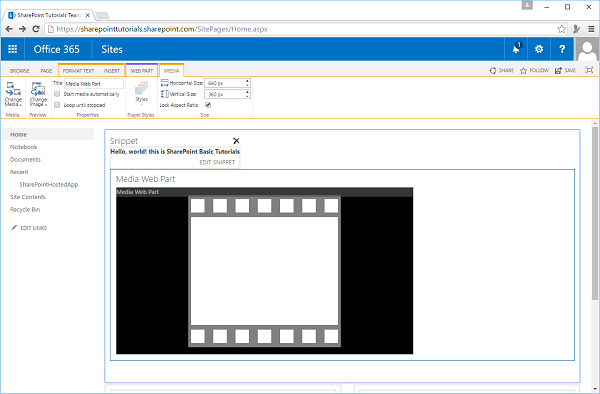
Step 3 − Select the Media and Content from Categories and select the Media with Parts from the Parts section. Click Add.
Step 4 − Save the page and you will see the following page, which contains the Media file.
SharePoint Designer
Many developers prefer not to use SharePoint Designer as a tool for developing SharePoint site. However, the point is that the SharePoint Designer tool can make some development tasks easier.
The important features are −
SharePoint Designer can be used for a variety of designer functions for SharePoint, including creating and editing sites, pages, lists, and content types.
SharePoint Designer is also useful for creating rules-based, declarative workflow that can then be imported in Visual Studio for deeper-level customization.
It can be downloaded and installed from https://www.microsoft.com/en-pk/download/details.aspx?id=35491
When you first open SharePoint Designer, you need to provide it with the URL for your SharePoint site and authenticate as an elevated user.
SharePoint Designer inherits standard SharePoint permissions.
After you open your site in SharePoint Designer, a number of navigable options and some information about your site appear, such as site metadata, permissions, subsites etc.
So let us use the SharePoint Designer, but first we need to setup SharePoint Designer using the Office 365 by opening your SharePoint site.
Step 1 − Open the SharePoint site.
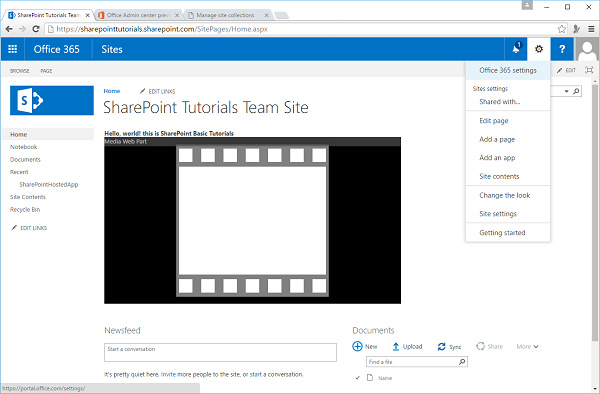
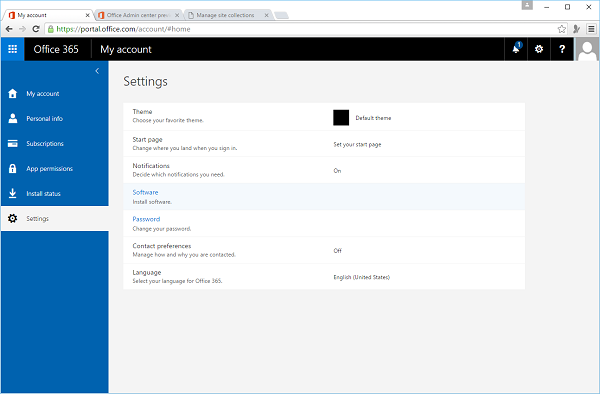
Step 2 − Select Office 365 Settings menu option. Select Settings in the left pane and then select the software in the middle pane.
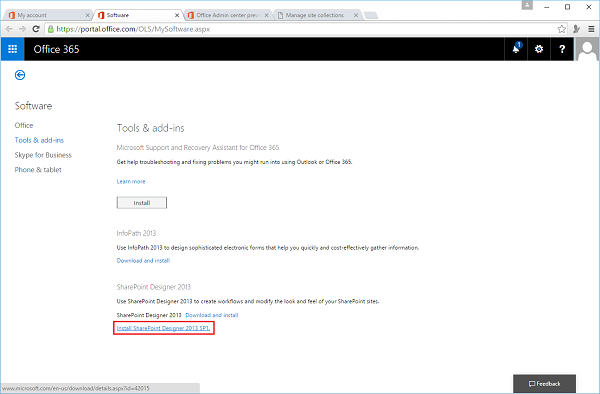
Step 3 − Select Tools & add-ins in the left pane and you will see the different options. In the end you will see SharePoint Designer Option, click the link.
Step 4 − Open the SharePoint Designer after installation. Click the Open Site option.
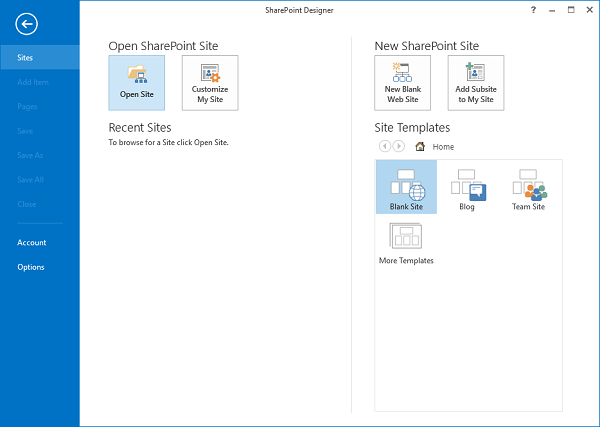
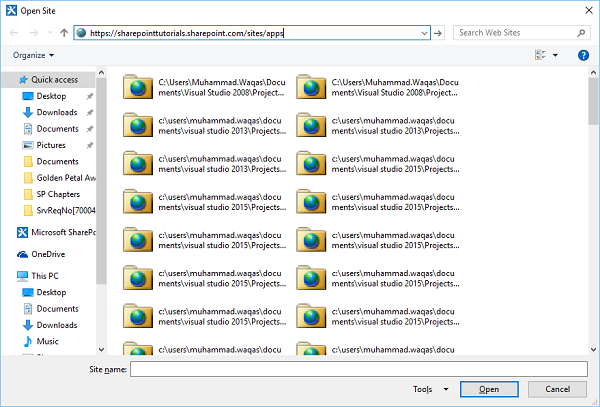
Step 5 − Specify the URL for your SharePoint site and click Open.
Step 6 − Once the SharePoint Designer site is open, you will see that different options are available.
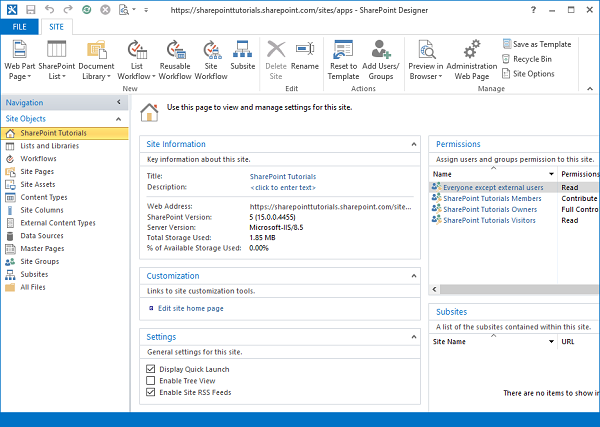
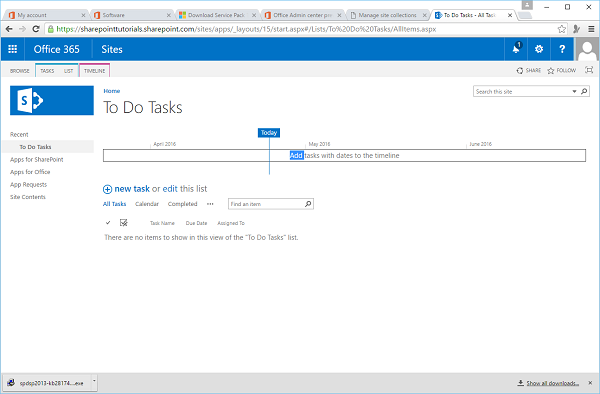
Step 7 − Click SharePoint Lists on the Ribbon and select Tasks from the menu.

Step 8 − A new dialog box opens. Specify the name and description and click OK.
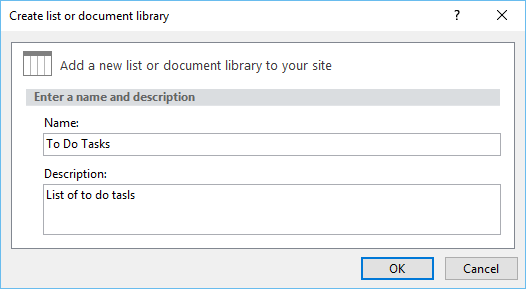
Step 9 − Let us go the same site, using the portal and you will see the To Do list in your site.
Visual Studio and Expression Blend
You can also use Visual Studio and Blend to add some content to your SharePoint site. Visual Studio offers many features to help develop applications in SharePoint; it is helpful to familiarize yourself with them in detail.
Let us have a look at a simple example of SharePoint-hosted application by opening Visual Studio. Select File → New → Project option.
Step 1 − Open Visual Studio and select the File → New → Project menu.
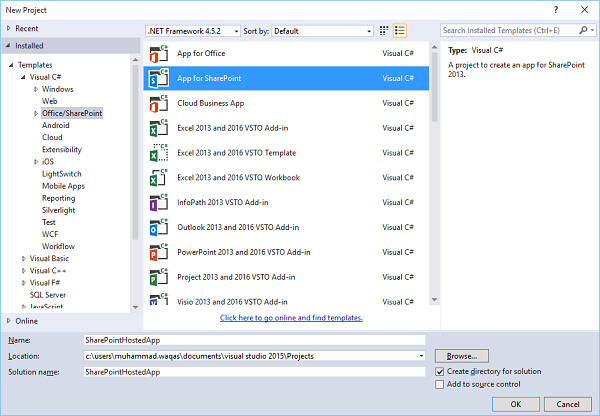
Step 2 − In the left pane select Templates → Visual C# → Office/SharePoint and then in the middle pane select App for SharePoint.
Enter the Name in the Name field, Click OK and you will see the following dialog box.
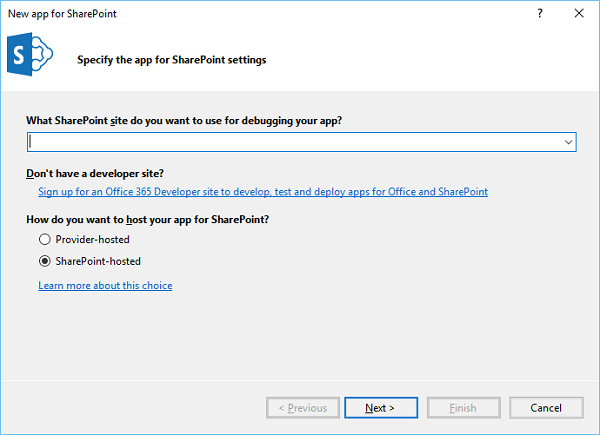
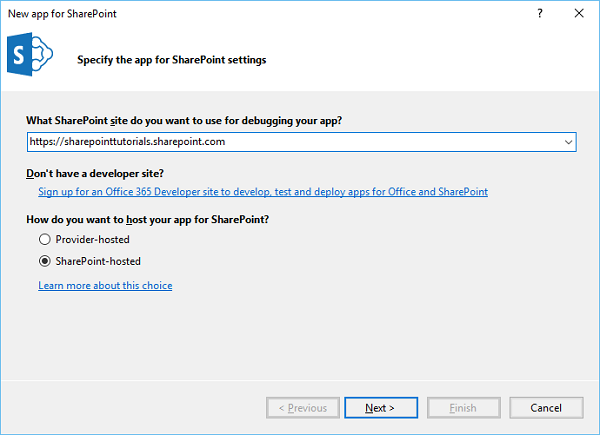
In the New App for SharePoint, we need to add the SharePoint site URL that we want to debug and then select the SharePoint-hosted model as the way you want to host your app for SharePoint.
Step 3 − Go to the SharePoint admin center and copy the SharePoint URL.
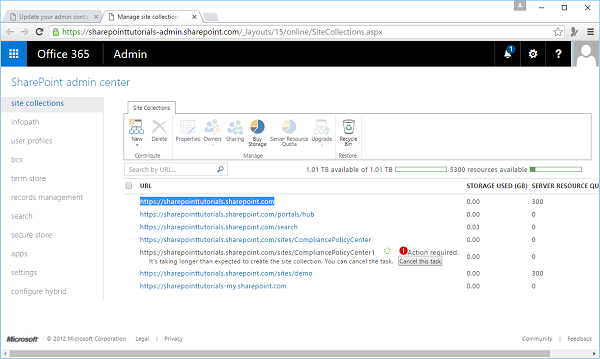
Step 4 − Paste the URL in the New App for SharePoint dialog box as shown below.
Step 5 − Click Next and it will open the Connect to SharePoint dialog box where we need to login.
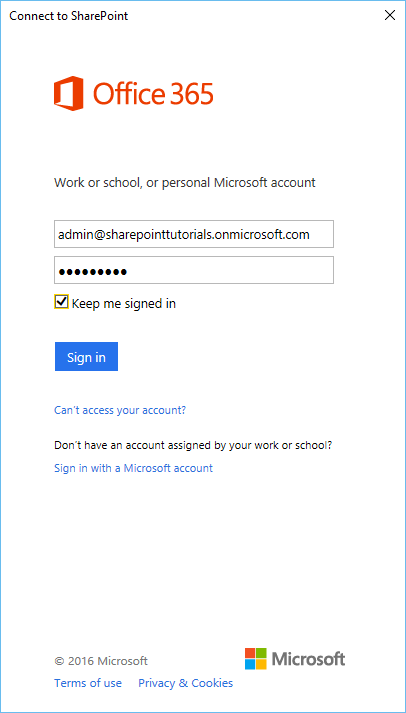
Step 6 − Enter your credentials and click the Sign in button. Once you are successfully logged in to the SharePoint site, you will see the following dialog box −
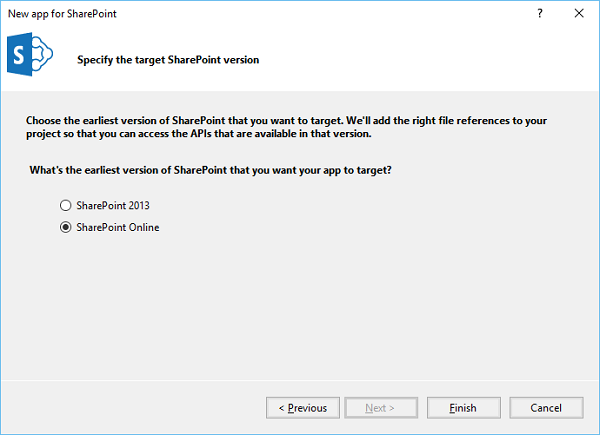
Step 7 − Click Finish. Once the project is created, click the AppMenifest.xml file in the Solution Explorer.
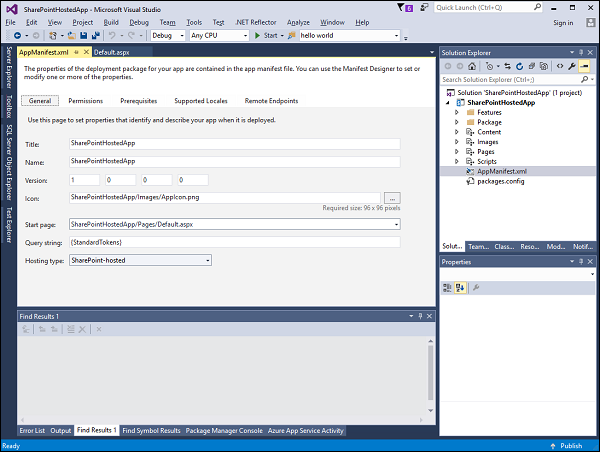
Step 8 − Click the Permissions tab. A Scope dropdown list will open.
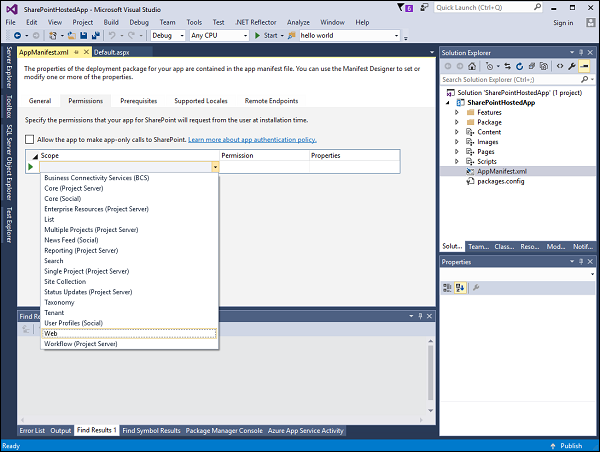
Step 9 − In the Scope dropdown list, select Web, which is the scope of permissions that you are configuring. In the Permission drop-down list, select Read, which is the type of permission you are configuring.

Step 10 − Open the Default.aspx file and replace it with the following code.
<%-- The following 4 lines are ASP.NET directives needed when
   using SharePoint components --%>

<%@ Page Inherits = "Microsoft.SharePoint.WebPartPages.WebPartPage,
   Microsoft.SharePoint, Version = 15.0.0.0, Culture = neutral,
   PublicKeyToken = 71e9bce111e9429c" MasterPageFile = "~masterurl/default.master"
   Language = "C#" %>

<%@ Register TagPrefix = "Utilities" Namespace = "Microsoft.SharePoint.Utilities"
   Assembly = "Microsoft.SharePoint, Version = 15.0.0.0, Culture = neutral,
   PublicKeyToken = 71e9bce111e9429c" %>

<%@ Register TagPrefix = "WebPartPages"
   Namespace = "Microsoft.SharePoint.WebPartPages" Assembly = "Microsoft.SharePoint,
   Version = 15.0.0.0, Culture = neutral, PublicKeyToken = 71e9bce111e9429c" %>

<%@ Register TagPrefix = "SharePoint"
   Namespace = "Microsoft.SharePoint.WebControls" Assembly = "Microsoft.SharePoint,
   Version = 15.0.0.0, Culture = neutral, PublicKeyToken = 71e9bce111e9429c" %>

<%-- The markup and script in the following Content element
   will be placed in the <head> of the page --%>

<asp:Content ID = "Content1" ContentPlaceHolderID = "PlaceHolderAdditionalPageHead"
   runat = "server">
   <script type = "text/javascript" src = "../Scripts/jquery- 1.6.2.min.js"></script>
   <link rel = "Stylesheet" type = "text/css" href = "../Content/App.css" />
   <script type = "text/javascript" src = "../Scripts/App.js"></script>
</asp:Content>

<asp:Content ID = "Content2" ContentPlaceHolderID = "PlaceHolderMain" runat = "server">

   <script type = "text/javascript">
      function hello() {
         var currentTime = new Date();
         $get("timeDiv").innerHTML = currentTime.toDateString();
      }
   </script>

   <div id = "timeDiv"></div>
   <input type = "button" value = "Push me!" onclick = "hello();" />
</asp:Content>
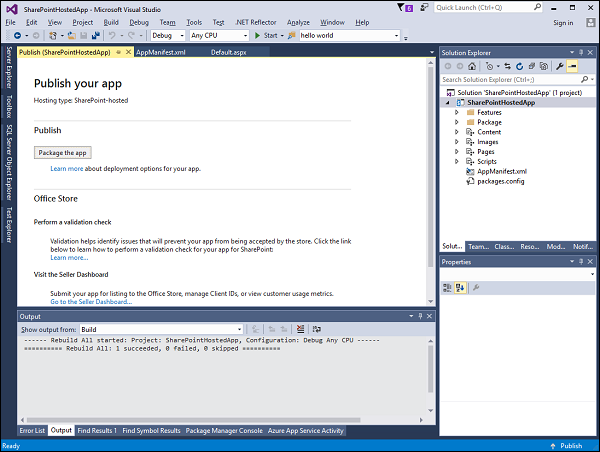
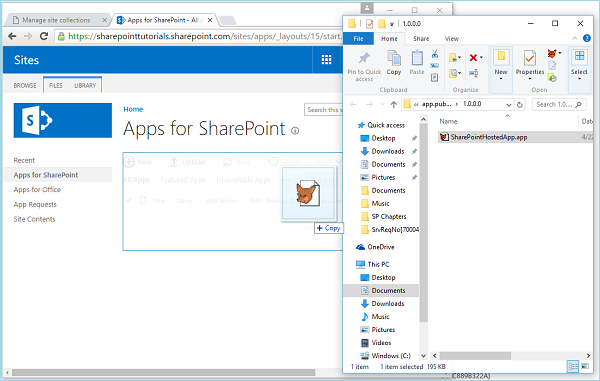
Step 11 − Go to the Solution explorer, right-click the project and select Publish. Click the Package the app button. This builds your SharePoint-hosted app and prepares it for you for deployment to your SharePoint site.
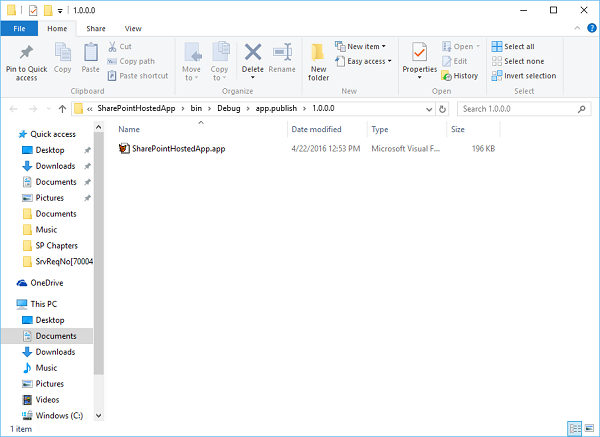
You will see the following folder, which contains the *.app file.
Step 12 − Navigate to your SharePoint online site.
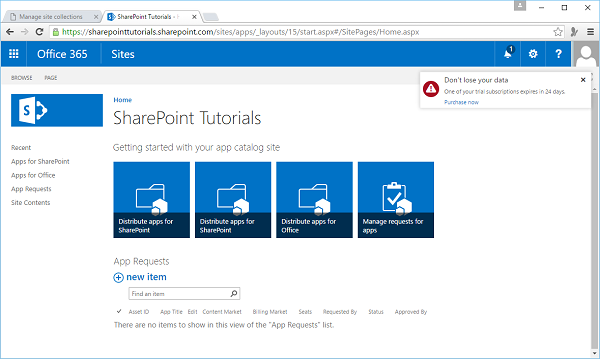
Step 13 − Click Apps for SharePoint in the left pane. A new page will open.
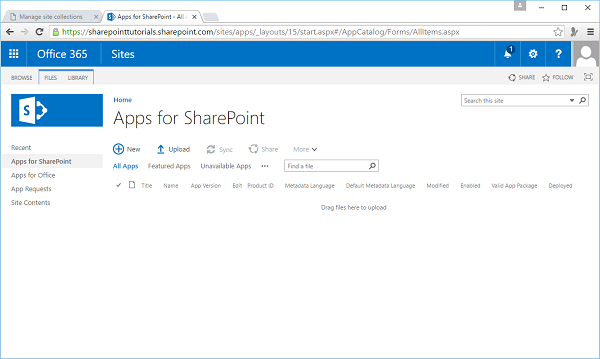
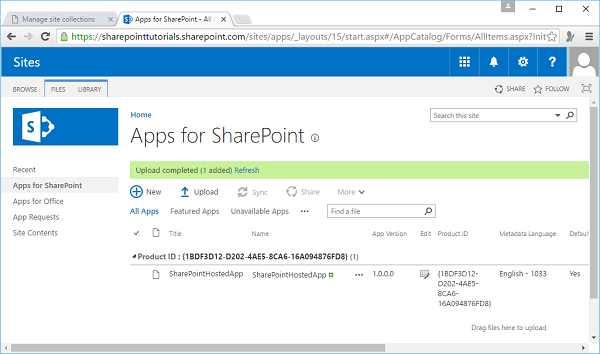
Step 14 − Drag your files here to upload.
Once the file is uploaded, you will see the following page −
Step 15 − Click the option - Site Contents in the left pane. Click the add an app icon as shown in the following screen shot −
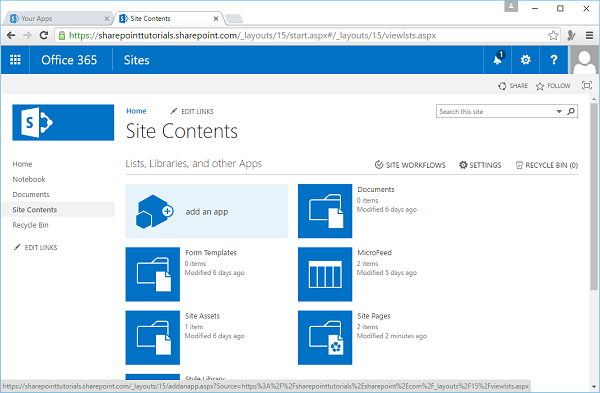
A new page will open.
Step 16 − Select Your Apps → From Your Organization in the left pane and you will see that the app is available for installation. Click the app.
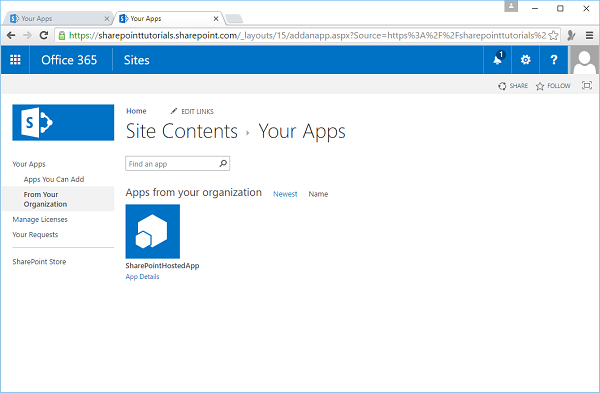
Step 17 − When you click the app, a dialog box opens as shown in the following screen shot. Click Trust it.
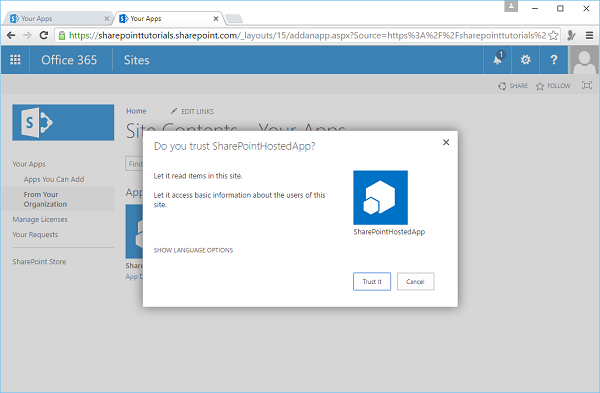
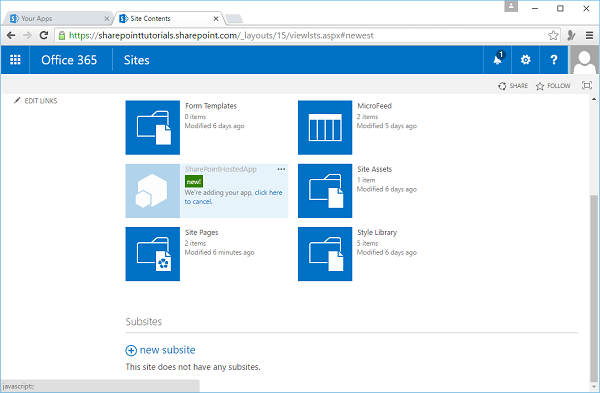
Step 18 − You will see that the app is installed. Once the installation is complete, you can click the app.
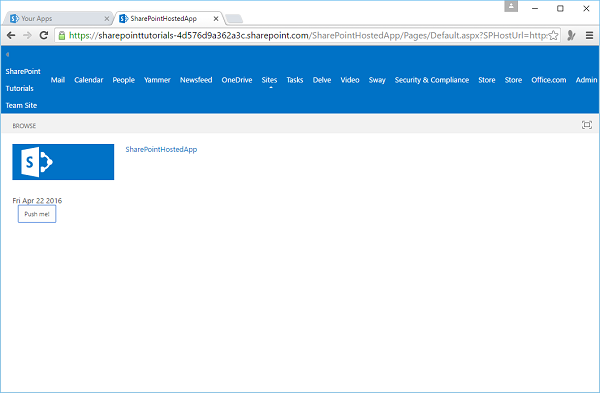
You will see the following page, which contains one button −
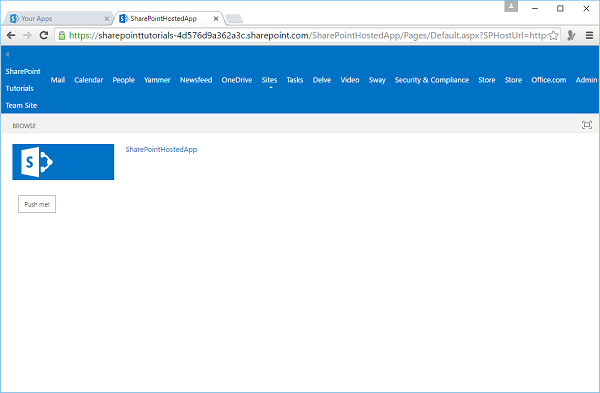
When you click the Push me button, it will display the current date.