- SharePoint - Home
- SharePoint - Overview
- SharePoint - Types
- SharePoint - Capabilities
- SharePoint - Setup Environment
- SharePoint - Create Site Collection
- SharePoint - APIs
- SharePoint - Central Administration
- SharePoint - App Model
- SharePoint - Integration Options
- SharePoint - Development Tools
- SharePoint - List Functionality
- Additional List Functionality
- SharePoint - Custom List
- SharePoint - Libraries
- SharePoint - Web Part
- Site Column & Content Types
- SharePoint - Data
- SharePoint - Server Object Model
- SharePoint - Client Object Model
- SharePoint - REST APIs
- SharePoint - Features & Elements
- SharePoint - Feature\Event Receiver
- SharePoint - Azure Platform
- SharePoint - Packaging & Deploying
- SharePoint - Sandbox Solutions
- SharePoint - Apps
SharePoint - Packaging & Deploying
In this chapter, we will be covering packaging and Deploying of SharePoint solution. The first step in the deployment of a SharePoint solution is the creation of a Solution Package.
A Solution Package is a CAB file with WSP extension, which contains all the files required to implement the Features in your Visual Studio project.
The files required to implement the Features include −
The feature manifest.
Any element manifests.
The dll, which contains the compiled managed code.
Associated files like web pages, user controls, and web paired files.
Another file contained in the solution package is the solution manifest. The solution manifest is a catalog of the files contained in the package. For Farm solutions, it also contains deployment instructions.
Just like with the Feature manifest, Visual Studio automatically creates and maintains the solution manifest as you modify your project. You can see the solution manifest using the solution designer.
In addition to creating and maintaining the solution manifest, Visual Studio is also automatically creating the solution package for our project. It does this behind the scenes every time you deploy your work for debugging.
The generated solution package is placed in the same folder as the dll, so that will be the bin debug or the bin release folder. To view the contents of this file in Windows Explorer, just change the extension from WSP to CAB and then doubleclick on the file.
Let us have a look at a simple example in which we will examine the solution packages associated with the SharePoint solution projects we have created in the previous chapter. Let us start with the features and elements project we have created earlier.

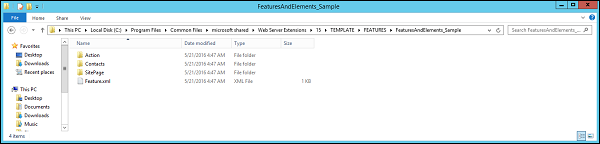
As you know that in the project, we have one Feature, called Sample. This Feature references three element manifests Contacts, SitePage, and Action.
You can also see that Action has the Element manifest, Contacts has its Element manifest, SitePage has the Element manifest, and a web page, which provisions this web page into the site. Hence, we should expect the solution package to contain the Feature manifest, the three Element Manifests, the web page and also the assembly that is created when we build the project.
Step 1 − Right-click on your project in solution explorer and choose Open Folder in File Explorer.
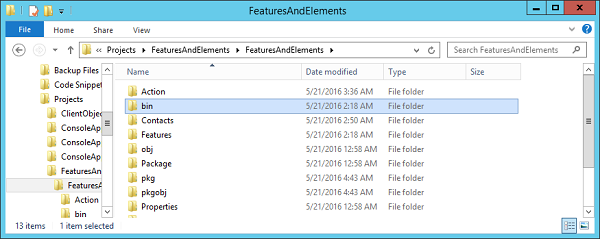
Step 2 − Go to bin and open the Debug folder. You will see the solution package.
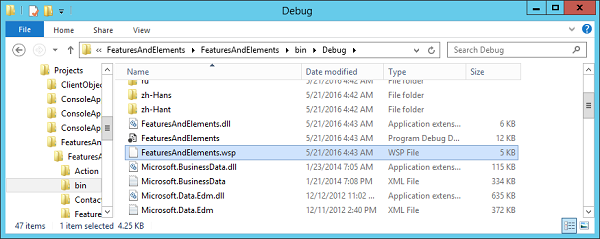
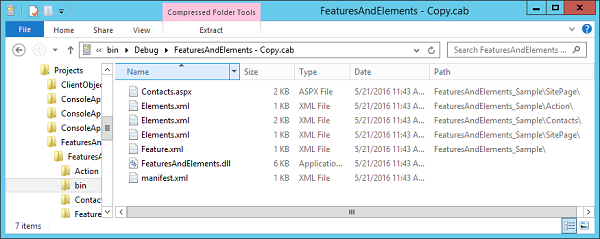
Step 3 − Make a copy of it and then change the extension of the Copy file from wsp to cab.
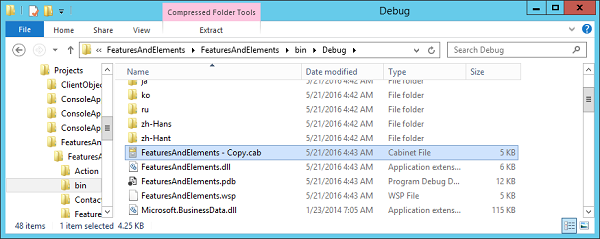
Step 4 − Now double-click the cab file to open it and you will see the files. You will see the Feature manifest, three Element manifests, the aspx page, the dll, and one additional file, which is the Solution manifest.
Step 5 − In the Solution Explorer, you will see a folder called Package and if you expand it, you will see a file called Package.package. Double-click that file and you will see the solution designer.
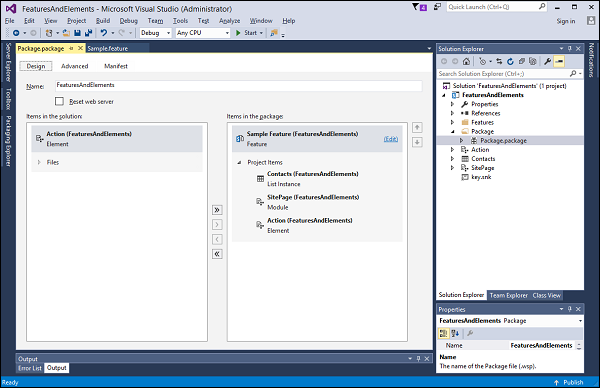
This designer is showing that currently there is only one feature in the Solution and that feature references three Element manifests, Contacts, SitePage, and Action.
This designer is an editor of an XML document just like feature designer.
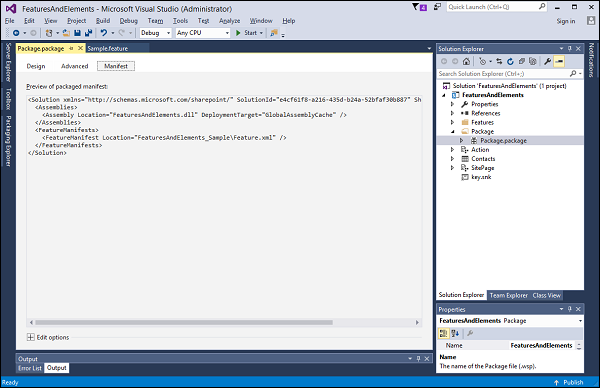
The solution manifest for this proxy is simple. It just indicates that here is an Assembly that needs to be deployed called FeaturesandElemenest.dll and we will be deploying that to the GlobalAssemblyCache.
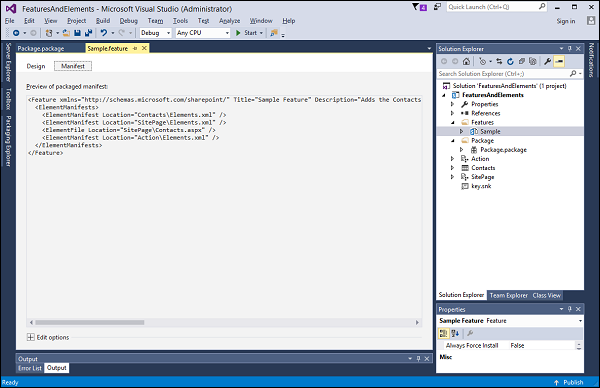
It also indicates we have one feature with this Feature Manifest. If we navigate back to the Feature and look at its Manifest, it indicates there are the three Element manifest, and our aspx page.
Farm Solution Deployment
Now that we know, what solution packages are and what they contain, we need to learn how to deploy them.
To deploy a Farm solution, you give the solution package created by Visual Studio to your SharePoint administrator. They will use either PowerShell or Central Administration or a combination of both tools to deploy the package.
Let us look at Farm solution deployment.
Step 1 − Go to Features and elements in Visual Studio project.

This project has one feature with three Elements. When you deploy a Farm solution, the contents of the solution are copied into the SharePoint system folders as shown below −
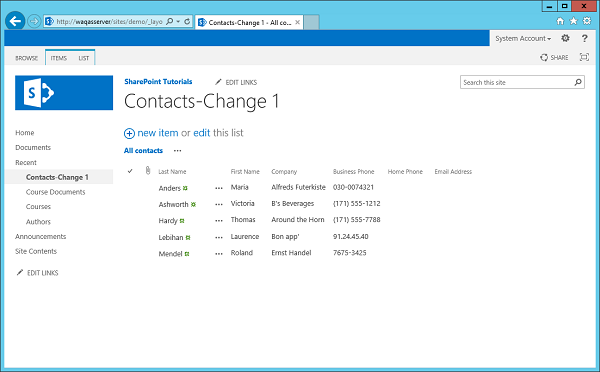
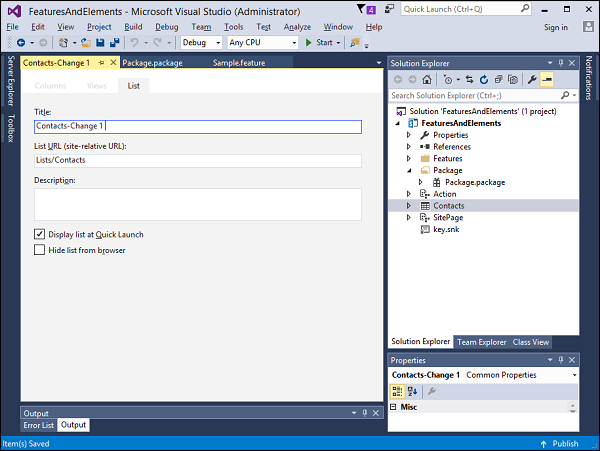
Step 2 − Now let us go to the List Designer and then change the Title to Contacts-Change 1 and then click the Save button.
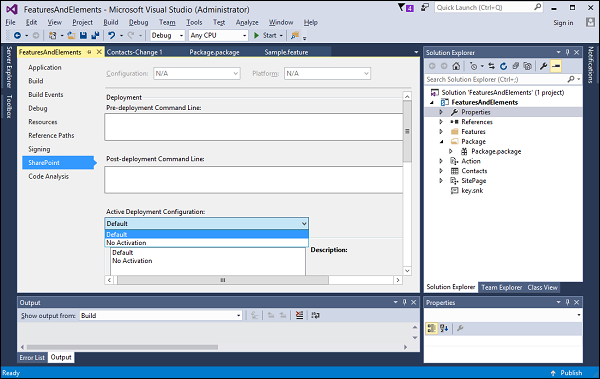
Step 3 − Now go to the project properties and then select SharePoint in the left pane. In the Active Deployment Configuration option, choose the Default option from the dropdown list.
Step 4 − In Solution Explorer, right-click the project and choose Deploy. Once the deployment is finished, refresh your site and you will see the change.