- SharePoint - Home
- SharePoint - Overview
- SharePoint - Types
- SharePoint - Capabilities
- SharePoint - Setup Environment
- SharePoint - Create Site Collection
- SharePoint - APIs
- SharePoint - Central Administration
- SharePoint - App Model
- SharePoint - Integration Options
- SharePoint - Development Tools
- SharePoint - List Functionality
- Additional List Functionality
- SharePoint - Custom List
- SharePoint - Libraries
- SharePoint - Web Part
- Site Column & Content Types
- SharePoint - Data
- SharePoint - Server Object Model
- SharePoint - Client Object Model
- SharePoint - REST APIs
- SharePoint - Features & Elements
- SharePoint - Feature\Event Receiver
- SharePoint - Azure Platform
- SharePoint - Packaging & Deploying
- SharePoint - Sandbox Solutions
- SharePoint - Apps
SharePoint - Sandbox Solutions
In this chapter, we will be covering the deployment of Sandbox Solutions. Deployment of a Sandbox Solution is quite simpler than deployment of a Farm solution.
It is similar to uploading a document to a document library. When you finish your development, you are going to take the solution package and instead of giving it to your SharePoint administrator, you will give it to an end user, someone with site-collection owner privilege. Then they will take the package and upload it to the site-collection solution gallery.
Just like with Farm solutions, the tools in Visual Studio automate this deployment process, during development.
Let us have a look into a simple example of Sandbox Solution Deployment. It is quite simpler than Farm solution deployment.
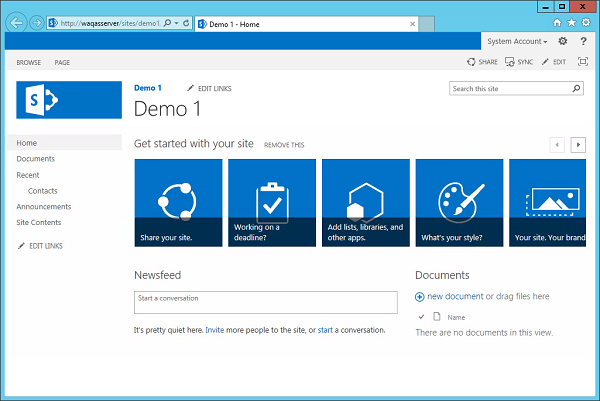
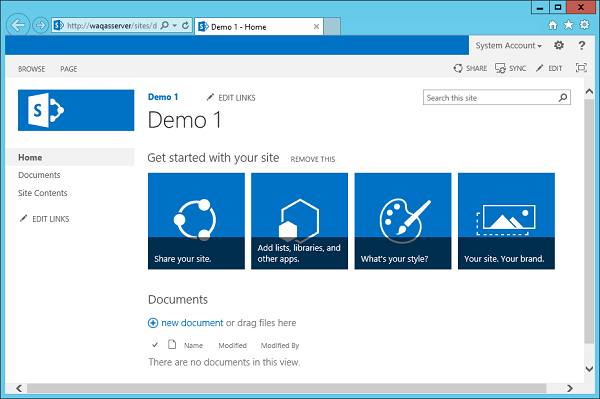
Step 1 − Here we need to create a new site collection and call it Demo 1.
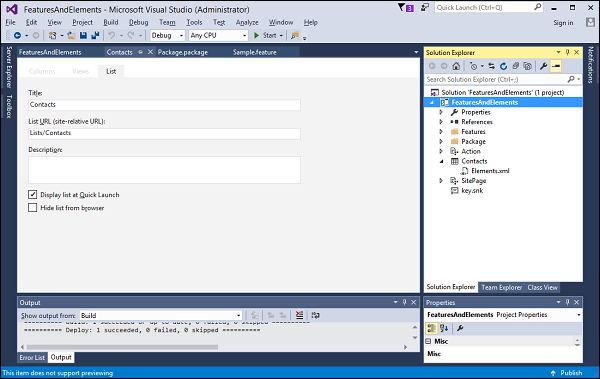
Step 2 − Change Contacts list name back to just Contacts in FeaturesAndElements project.
Step 3 − Retract the solution by right-clicking on the project and choosing Retract. If we come back to the SharePoint system folders, you will notice that our Feature folder is absent.
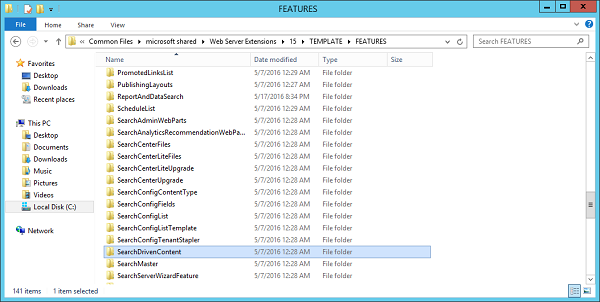
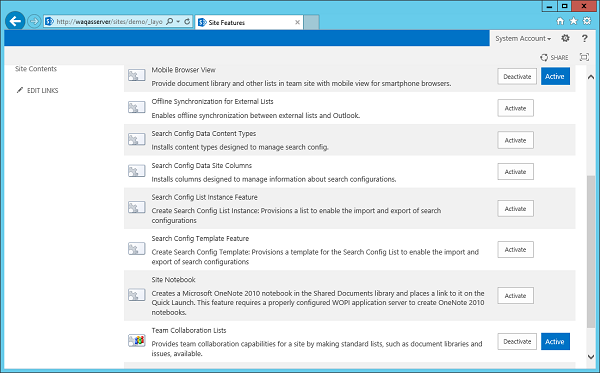
Next, if we go to Manage site features, we should not see Sample Feature.
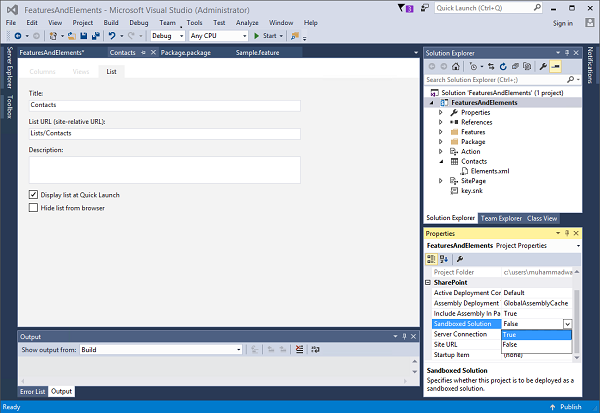
Step 4 − Go back to Visual Studio project, click the project in the Solution Explorer and then go to the properties window. Change Sandbox Solution from False to True.
A warning dialogue is displayed.
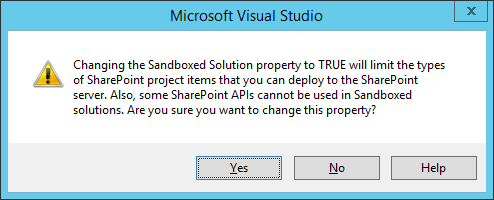
This gives us an indication that some of the items you added to the Visual Studio project will not work with Sandbox solutions and some of the SharePoint APIs. Some of the types within the SharePoint Server Object Model, are not compatible with Sandbox solutions.
Click Yes to make the change. In this case, building a sandbox solution is the same as building a farm solution, but the deployment process is completely different.
With the sandbox solution, instead of deploying files up into the SharePoint system folders, we deploy into the SharePoint content database.
Step 5 − Go to the Site settings. Under the Web Designer Galleries, there is Solutions gallery.
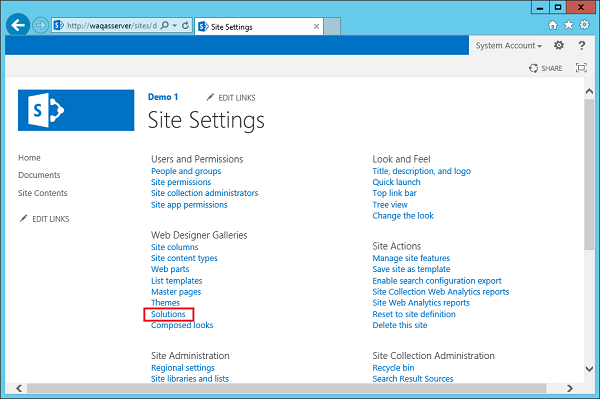
Step 6 − Click the Solutions link and you will see the following page where we deploy our sandbox solutions.
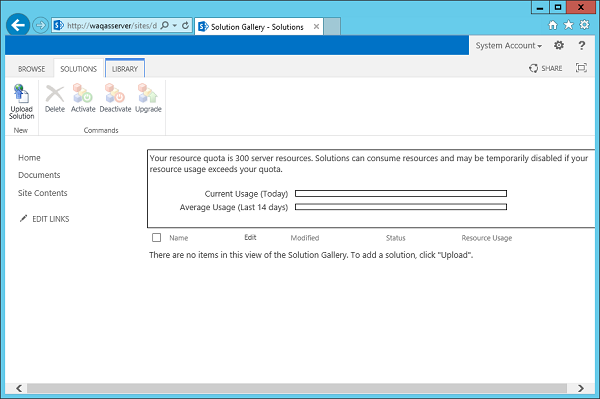
You are done with the development. Instead of giving the solution package to the SharePoint administrator and then having them use PowerShell or Central Admin to deploy the Farm solution, you can give your package to an end user, someone with site-collection owner privilege and then they can upload the solution into the Solution gallery.
Step 7 − Go back to Visual Studio, right-click and select Publish to File System.
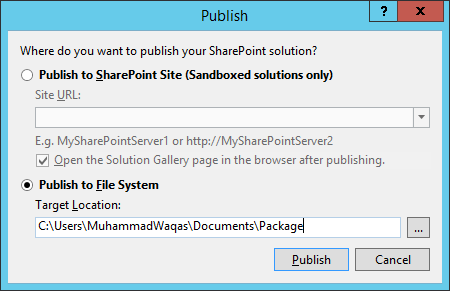
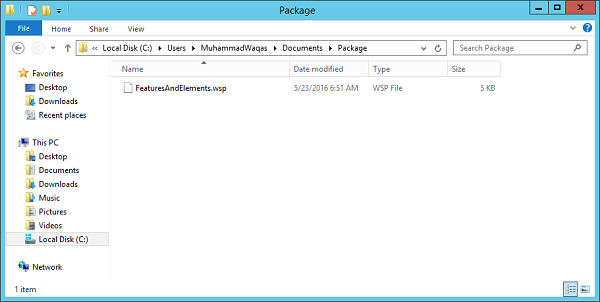
Click the Publish button to publish the New Solution Package to the package folder.
You will see the package in the Package folder.
Step 8 − Now go to the SharePoint site. Click the Upload Solution button option on the Ribbon.
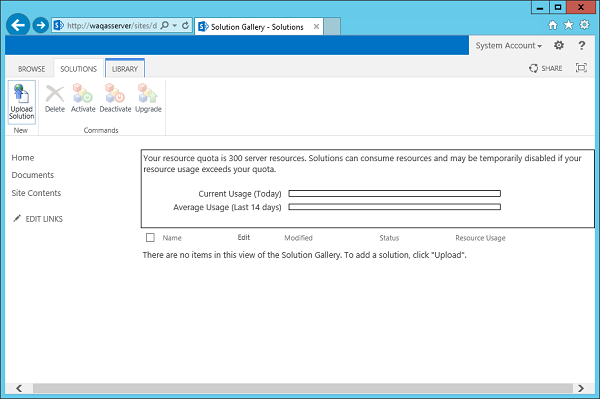
Step 9 − Browse to your FeaturesAndElements solution. Click OK.
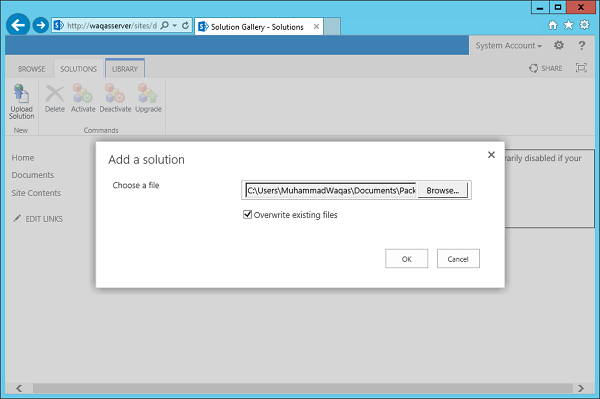
You will see the following dialogue.
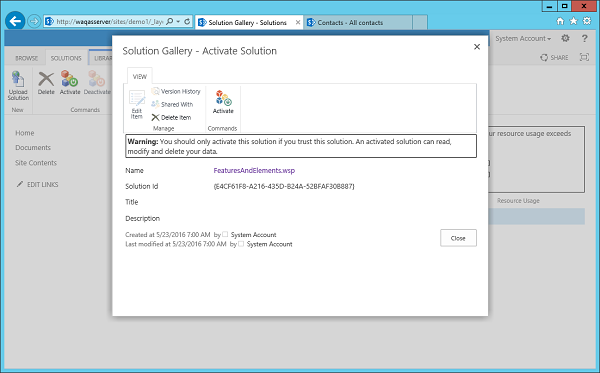
Step 10 − You just need to click the Activate button to activate the sandbox solution
Step 11 − Go to the Manage site features.
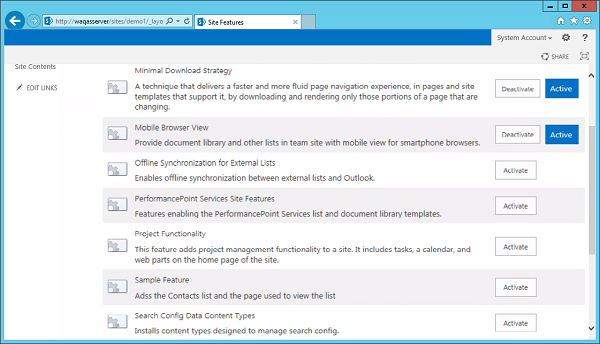
You will now see your Sample Feature and when you click Activate, you should get the same behavior as we had seen before.