- SharePoint - Home
- SharePoint - Overview
- SharePoint - Types
- SharePoint - Capabilities
- SharePoint - Setup Environment
- SharePoint - Create Site Collection
- SharePoint - APIs
- SharePoint - Central Administration
- SharePoint - App Model
- SharePoint - Integration Options
- SharePoint - Development Tools
- SharePoint - List Functionality
- Additional List Functionality
- SharePoint - Custom List
- SharePoint - Libraries
- SharePoint - Web Part
- Site Column & Content Types
- SharePoint - Data
- SharePoint - Server Object Model
- SharePoint - Client Object Model
- SharePoint - REST APIs
- SharePoint - Features & Elements
- SharePoint - Feature\Event Receiver
- SharePoint - Azure Platform
- SharePoint - Packaging & Deploying
- SharePoint - Sandbox Solutions
- SharePoint - Apps
SharePoint - Libraries
In this chapter will be covering libraries. Libraries are just a special case of a list. They inherit all the characteristics of a list. Therefore, all the characteristics we have seen so far, apply to libraries just as they do to lists.
Difference between List and Library
Though Lists and Libraries exhibit similar characteristics, following are the differences −
The major difference is that in a library, each row is associated with a document. This document can be of any kind. For example, office documents, pictures, web pages, Word Perfect documents etc. The advantage of using Office documents is that there is an integration with the actual Office tools themselves.
The other difference is more a difference in terminology rather than functionality. For example, the columns in a library mean the metadata associated with the document.
Creating a Document Library
In this section, we will see the basics of working with document libraries. You can create a document library in much the same way as you have created a list. Follow the steps given below.
Step 1 − Go to Site Contents and then click add an app.
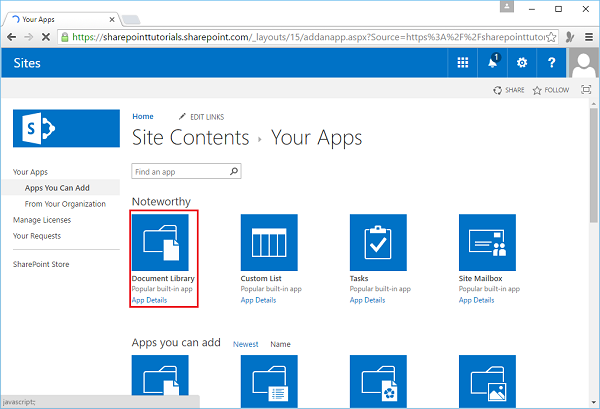
Step 2 − Click Document Library. Give the library a name and click Create.
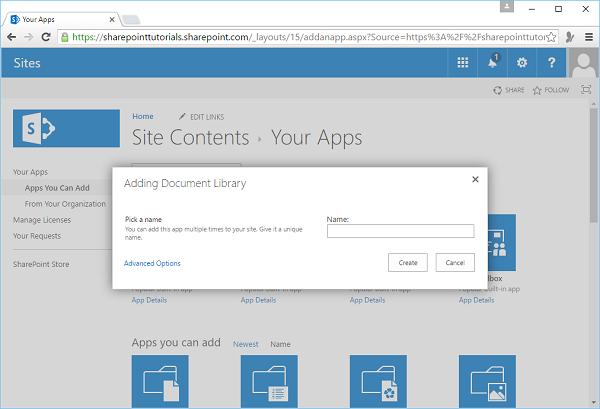
Note − Here, we will learn about advanced options.
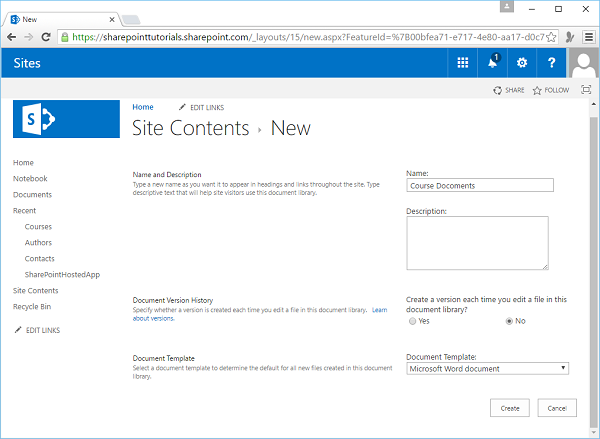
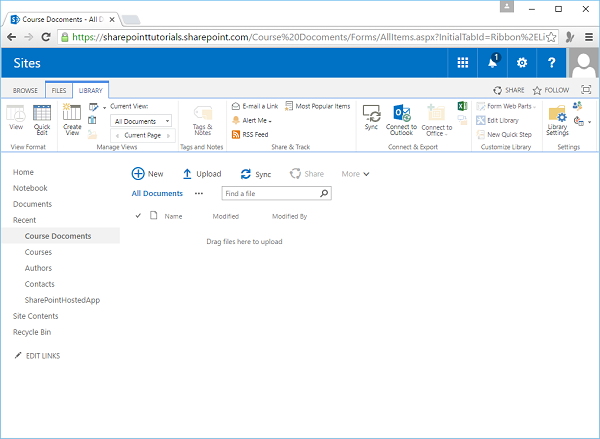
Step 3 − Click the Advanced Options and name the document library, Course Documents.
We also have the option to set a version here, but I suggest do not set a version because same options are not available in library settings. However, if you want the version control on, do it in the library settings, not here. Finally, we have the option to say what kind of document we want to be the default template. We will select Word, and click Create.
Step 4 − Now before we add documents, we need to add a couple of columns or fields. Go to the Library option on the ribbon and click Library Settings.
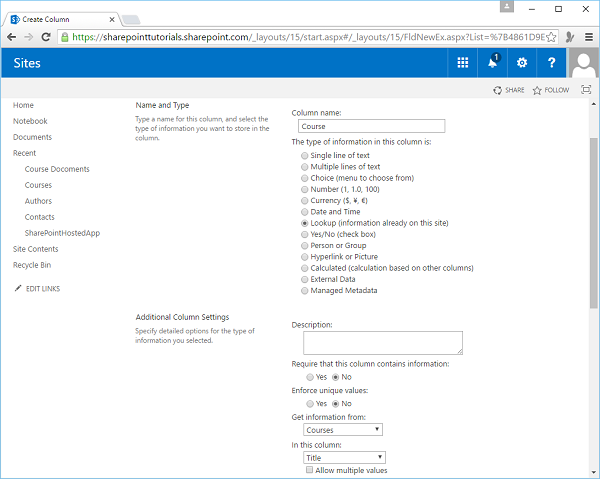
Step 5 − Add a new column and this column will be the course that will appear in the lookup field in the list of Courses. Click OK.
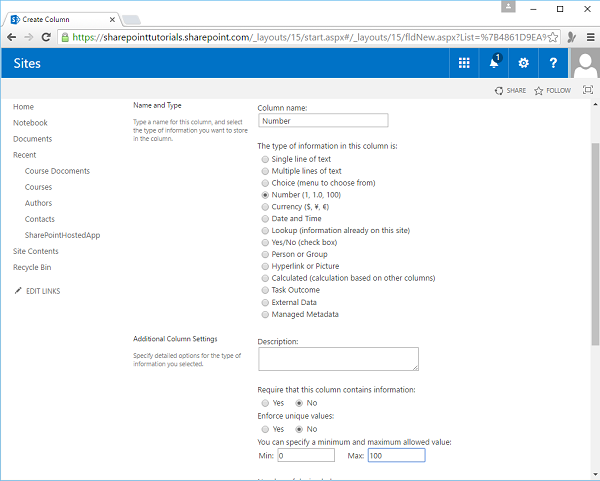
Step 6 − Let us add one more column. We will name this column as Number and set the type to number. Set the minimum and maximum values i.e. 0 and 100 respectively, and click OK.
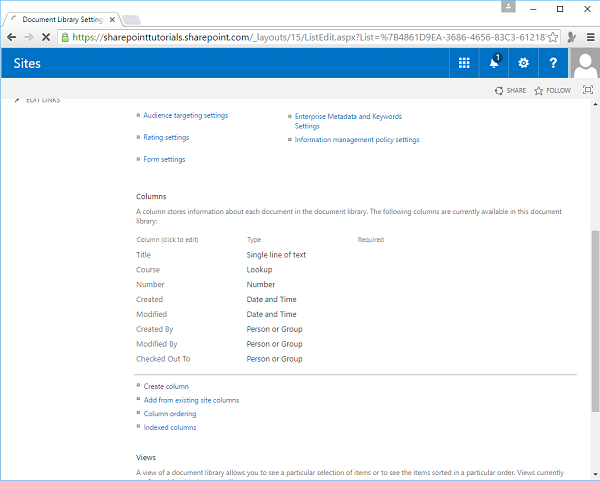
You can see that the schema is ready.
Add a Document to Library
Now that we have the schema ready, we can add some documents. One way to add a document is to create it right here within SharePoint.
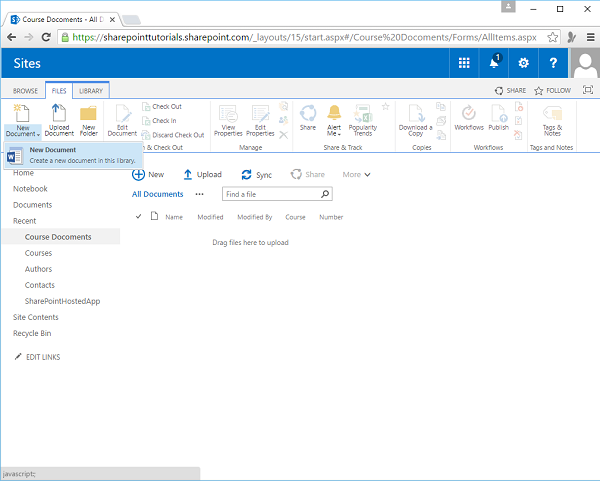
Step 1 − Now let us to go to the Files tab in the ribbon. Click New Document.
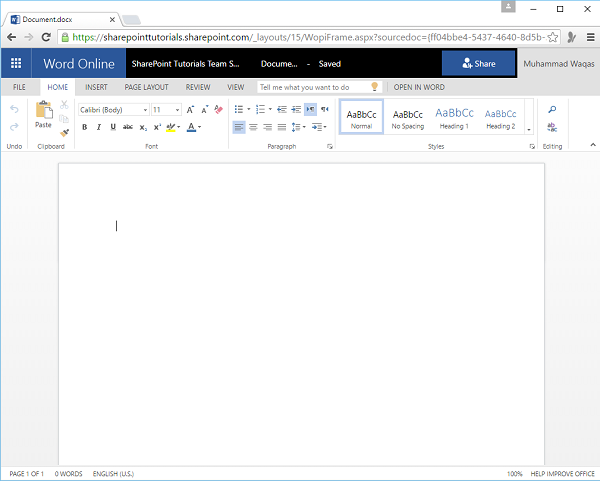
Step 2 − You will see that Word is open and here we are able to edit the contents of the document.
Step 3 − Write some text in the open word page.
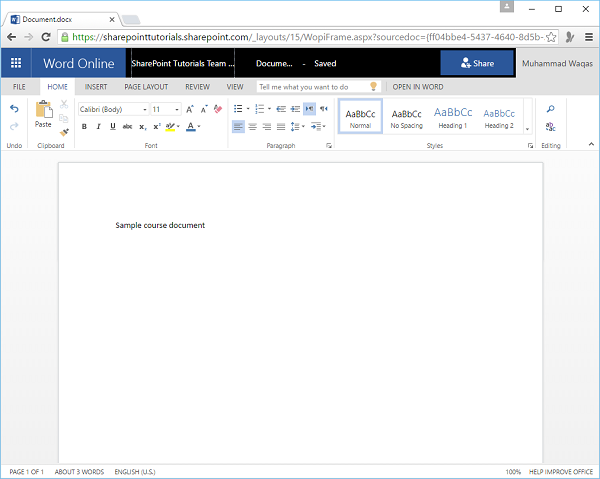
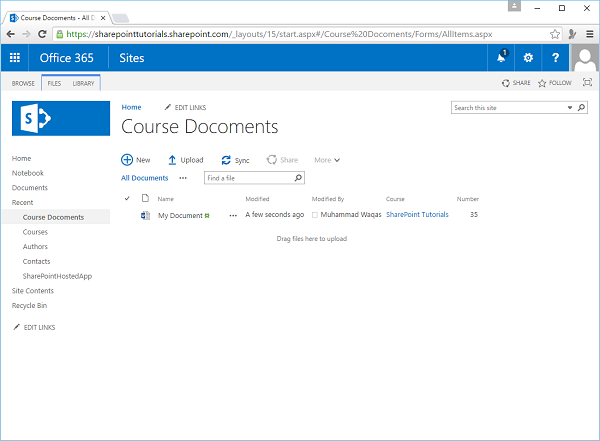
The document is saved automatically, now let us go back to the site and you will see that the word document is created.
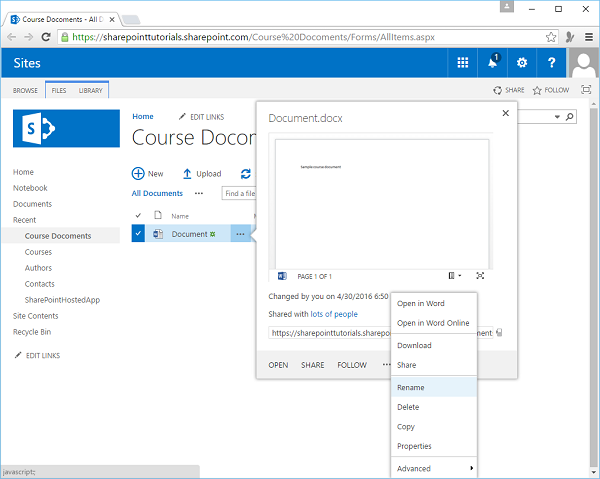
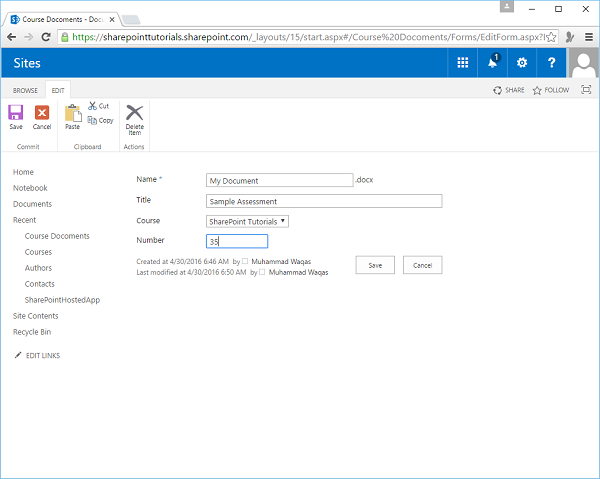
Step 4 − To edit the values of the metadata fields, click the little ellipses. Select the ellipses again on Document.docx dialog box and select Rename from the options.
Step 5 − Enter the required information and click Save.
Another way we can add a document to a document library is to upload it.
Step 6 − You can upload it using New Document here.
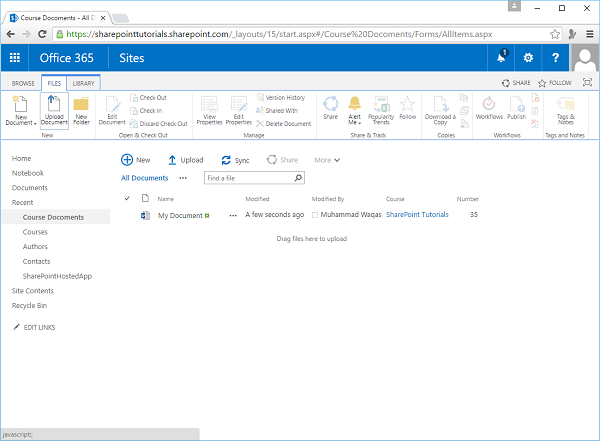
Step 7 − You can also go to the Files tab on the Ribbon and click Upload Document.
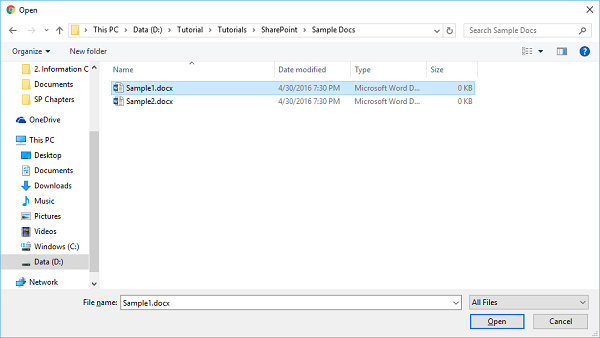
Step 8 − You will see the following dialog box. Click Choose Files.
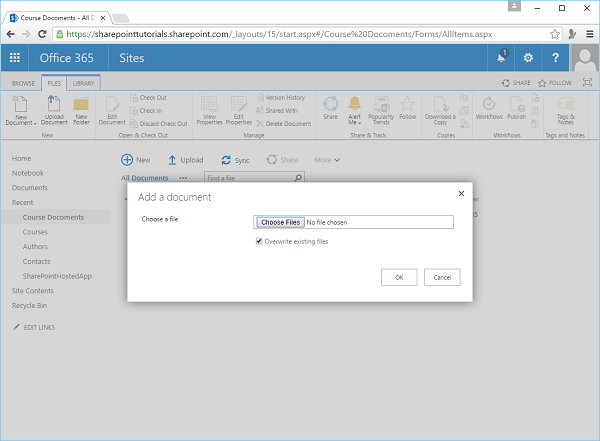
Step 9 − Select a sample file. Click Open.
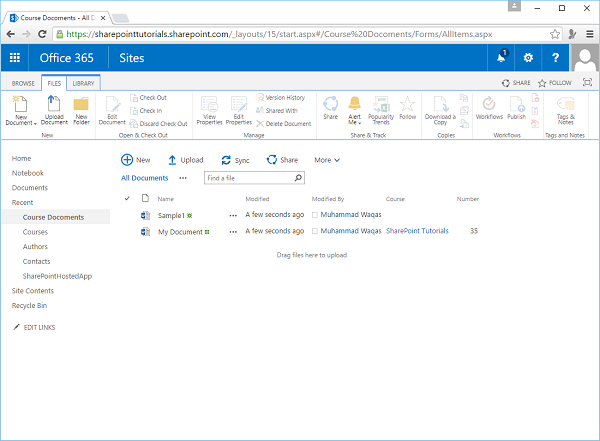
You will see that the sample document is added to the library list.
Step 10 − If you want to upload multiple documents, you can drag and drop them. Multiple documents will be uploaded.

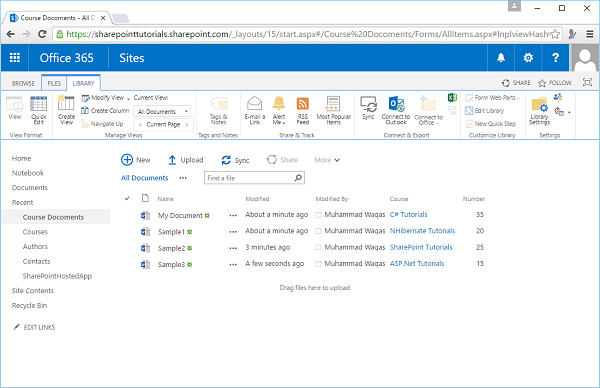
Once the uploading is finished, you will see these documents in the list.

Step 11 − Another way to set the metadata is under the Library tab, click the Quick Edit option on the ribbon.

Step 12 − metadata is set, click View on the ribbon to go back to the standard list view.
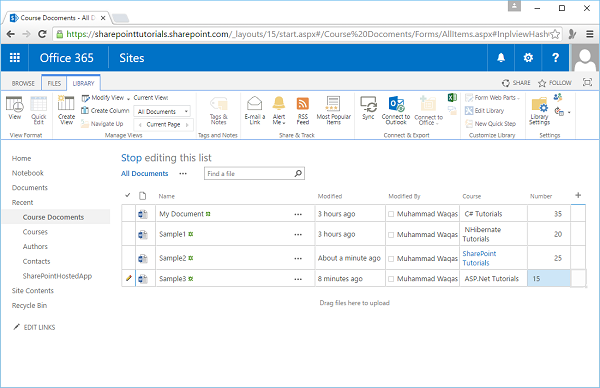
You will see the document files is the list as seen in the following screenshot.