- Pycharm - Home
- Pycharm - Introduction
- Pycharm - Installation
- Pycharm - Understanding Basics
- Pycharm - Keymaps
- Pycharm - Shortcuts
- Pycharm - Omni
- Pycharm - Macros
- Pycharm - Micros
- Pycharm - Improving & Writing Code
- Pycharm - Console
- Pycharm - Interpreters
- Pycharm - Debugging & Breakpoints
- Pycharm - Integration of Version Control
- Pycharm - HTML & CSS Integration
- Pycharm - JavaScript Support
- Pycharm - Tips
- Pycharm - Database Tools
- Pycharm - Exporting Data
- Pycharm - Web Frameworks
- Pycharm - Django
- Pycharm - Pyramid
- Pycharm - Flask
PyCharm Resources
PyCharm - Installation
In this chapter, you will learn in detail about the installation process of PyCharm on your local computer.
Steps Involved
You will have to follow the steps given below to install PyCharm on your system. These steps show the installation procedure starting from downloading the PyCharm package from its official website to creating a new project.
Step 1
Download the required package or executable from the official website of PyCharm https://www.jetbrains.com/pycharm/Here you will observe download link for PyCharm.
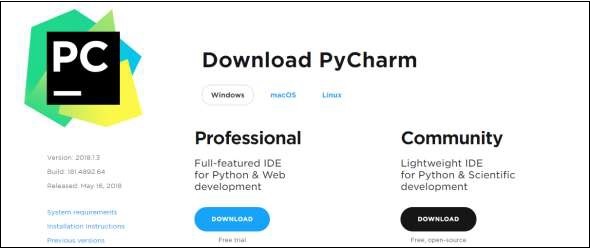
Note that PyCharm carries free and Pro features where the advanced features comes with free trial for a month and the user has to buy a licensed key for activation beyond the trial period. Rest features are free for life. These includes all the basic features needed for installation. Note that we will continue with free features throughout this tutorial.
Step 2
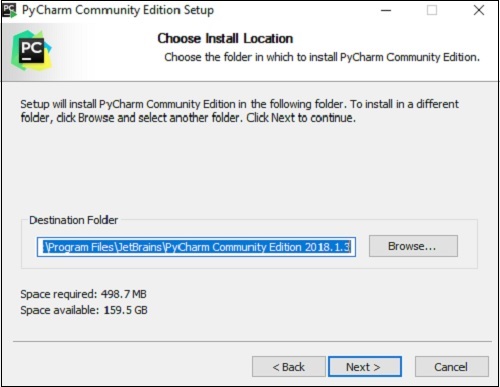
Download the package (executable file) onto your system and mention a destination folder as shown below −
Step 3
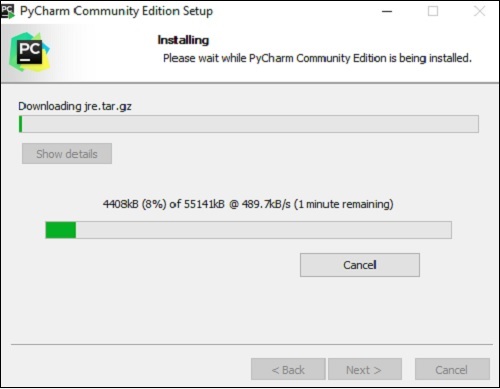
Now, begin the installation procedure similar to any other software package.
Step 4
Once the installation is successful, PyCharm asks you to import settings of the existing package if any.
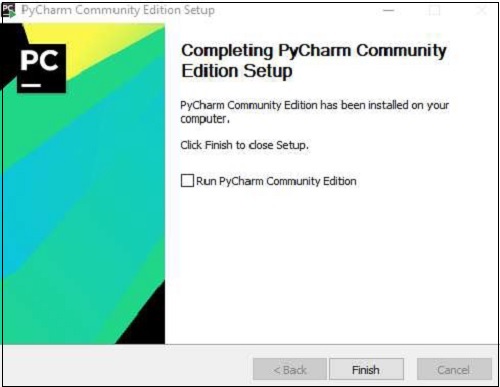
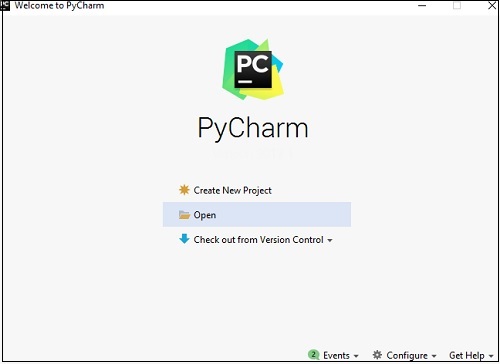
This helps in creating a new project of Python where you can work from the scratch. Note that unlike other IDEs, PyCharm only focusses on working with projects of Python scripting language.
