- MS Expression Web - Home
- MS Expression Web - Overview
- Environment Setup
- MS Expression Web - New Website
- Blank Web Page
- Webpage Layout
- MS Expression Web - HTML Layout
- Horizontal Navigation
- Vertical Navigation
- MS Expression Web - Validate Pages
- Dynamic Web Template
- MS Expression Web - Search Page
- MS Expression Web - Images
- MS Expression Web - Hyperlinks
- MS Expression Web - Video
- SQL Datasource
- MS Expression Web - MS Word
- MS Expression Web - Gridview
- MS Expression Web - Master Pages
- MS Expression Web - Data Table
- MS Expression Web - Publish
- Backup Website
- MS Expression Web - Add-Ins
Microsoft Expression Web - Publish
In this chapter, we will learn how to publish a website. Microsoft Expression Web is a complete website development tool. You can use Expression Web to create webpages and sites that let you transfer files between your computer and your hosting account.
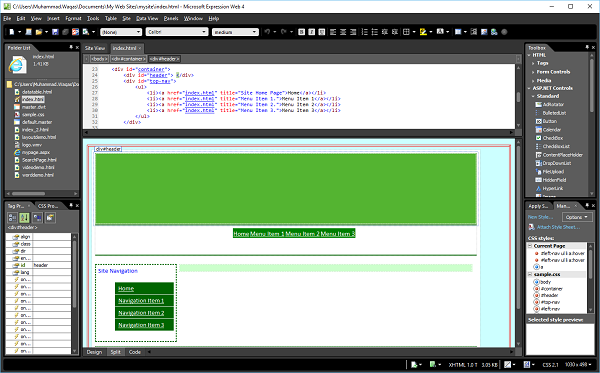
Step 1 − Lets take a look at the site which we want to publish.
In the latest Expression Web version, new publishing features are added such as −
- The ability to exclude complete folders from publishing rather than just files.
- The ability to easily Publish Current Page.
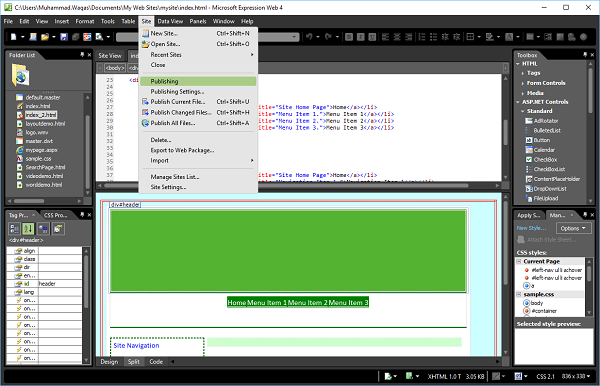
Step 2 − If you want any specific file or folder not to be published on the site, then rightclick on that folder or file and exclude it from publishing. Lets say we want to exclude the index_2.html file.
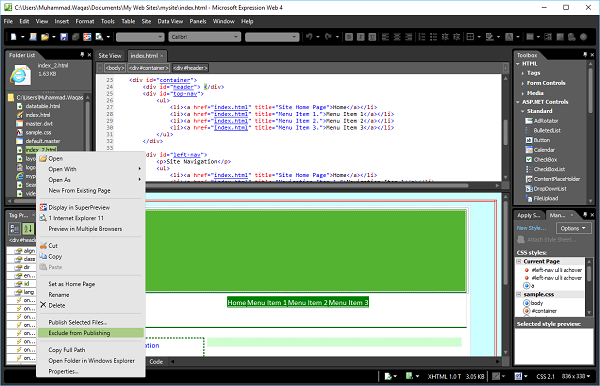
As shown in the above screenshot, click the Exclude from Publishing button. Similarly, you can exclude other files as well.
Step 3 − Now that you have finished designing the site, you will need to publish it for the world to see. Expression Web supports several different publishing scenarios.
To publish the site, first we need to make sure that we have saved all the pages. A warning will be received if we have not, once the publishing process starts.
Now, lets go to the Tools menu.
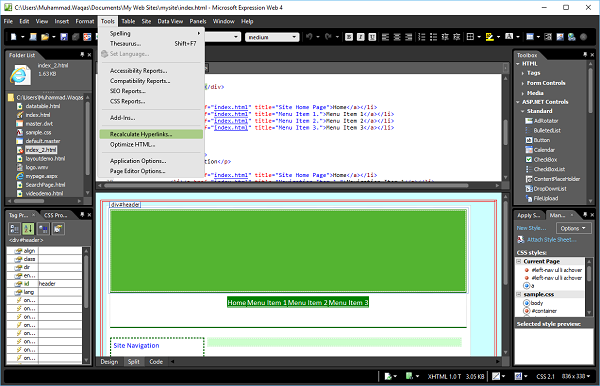
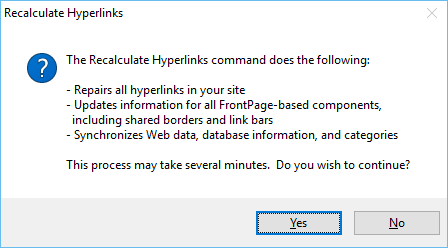
Select the Recalculate Hyperlinksoption. Click Yes on the following screen.
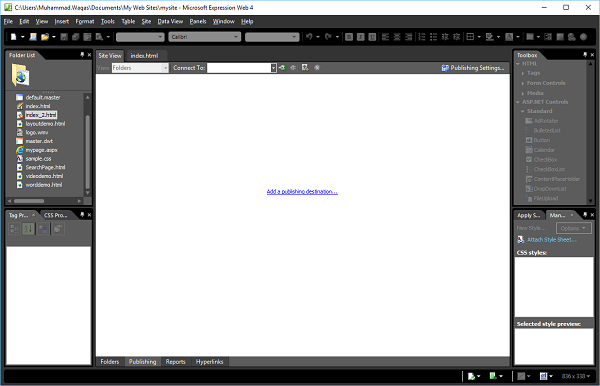
Step 4 − Go to the Site menu and click the Publishing menu option.
Step 5 − If this is the first time the site is published, we will receive the message Add a publishing destination, as shown in the following screenshot.
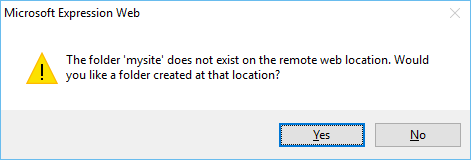
Step 6 − Click the message and the following Connection Settings dialog box will appear. Enter all the required information in the Connection Settings dialog and then click the Add button.

It will display the following dialog. Click Yes.
Step 7 − If the Publishing Setting is already set, we will receive the message Connect to current publishing destination. Click the message or use the Connect To button on the Site View tab.
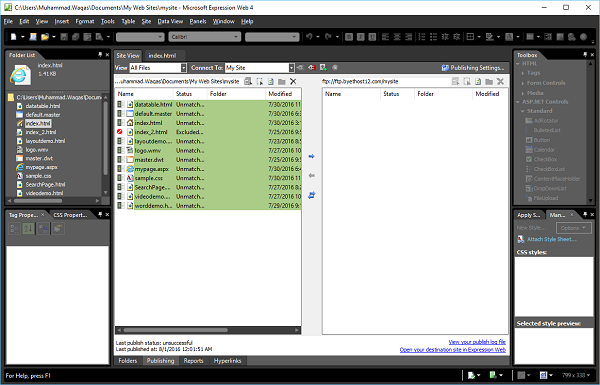
Step 8 − Once the publishing process starts, the files can be seen being transferred. When complete, we will get a message that the file has finished uploading.
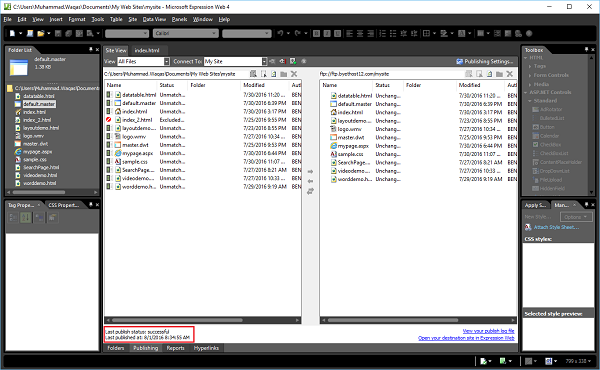
The next time we publish a site, this process will compare the server site with what is on the computer. If there are files on the remote server that we have deleted from the web on the computer, a message box may pop up asking if we want to delete them. If we are sure they are no longer needed, then click OK.
