- MS Expression Web - Home
- MS Expression Web - Overview
- Environment Setup
- MS Expression Web - New Website
- Blank Web Page
- Webpage Layout
- MS Expression Web - HTML Layout
- Horizontal Navigation
- Vertical Navigation
- MS Expression Web - Validate Pages
- Dynamic Web Template
- MS Expression Web - Search Page
- MS Expression Web - Images
- MS Expression Web - Hyperlinks
- MS Expression Web - Video
- SQL Datasource
- MS Expression Web - MS Word
- MS Expression Web - Gridview
- MS Expression Web - Master Pages
- MS Expression Web - Data Table
- MS Expression Web - Publish
- Backup Website
- MS Expression Web - Add-Ins
Microsoft Expression Web - Blank Web Page
As we have already created our website, now we will need to create our Home Page. In the previous chapter, we have created a one-page website, and our Home Page was created at that time automatically by Expression Web. So, if you have created a blank website, then you will need to create a Home Page for your site.
Microsoft Expression Web can create the following types of pages −
- HTML
- ASPX
- ASP
- PHP
- CSS
- Master Page
- Dynamic Web Template
- JavaScript
- XML
- Text File
In this chapter, we will create an HTML page and its corresponding style sheet.
Create a Blank Page
To create a blank page, you can simply go to File menu and select New → Page menu option.
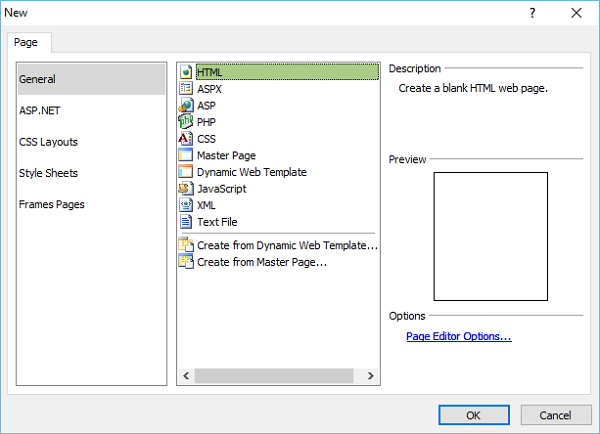
From the new dialog, you can create different types of blank pages such as HTML page, ASPX page, CSS page, etc. and click OK.
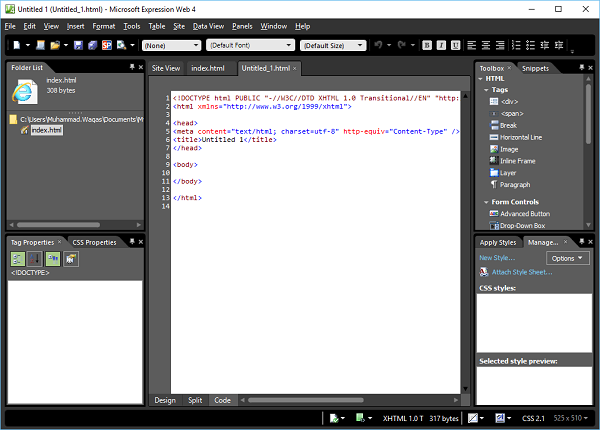
As you can see here, the default code is already added by Microsoft Expression Web.
<!DOCTYPE html PUBLIC "-//W3C//DTD XHTML 1.0 Transitional//EN"
   "http://www.w3.org/TR/xhtml1/DTD/xhtml1-transitional.dtd">
<html xmlns = "http://www.w3.org/1999/xhtml">
   <head>
      <meta content = "text/html; charset = utf-8" http-equiv = "Content-Type" />
      <title>Untitled 1</title>
   </head>

   <body>
      <h1>
         This is a blank web page
      </h1>
   </body>
</html>
As you can see, your newly created page has the file name Untitled_1.html or Untitled_1.htm. You will need to save the page by pressing Ctrl + S and specify the name.
As our website already contains an index.html page, we dont need another one. However, if you have created an Empty website, then name this page index.html.
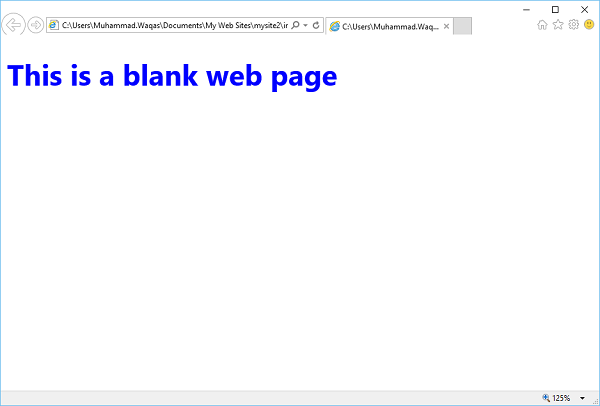
To see your web in a browser, lets go to the File menu and select the Preview in Browser → Any browser, lets say Internet Explorer.
Create a CSS Page
Lets take you through the step-by-step process of creating a CSS page.
Step 1 − To create a CSS page, go to the File menu and select New → Page menu option.
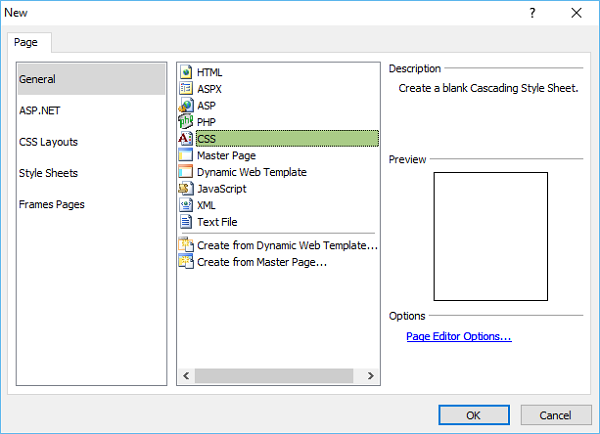
Step 2 − Select General → CSS and click OK.
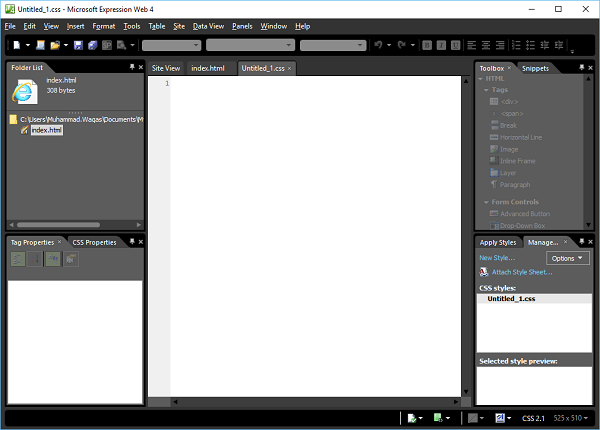
Step 3 − Save the page and type a name for the style-sheet.
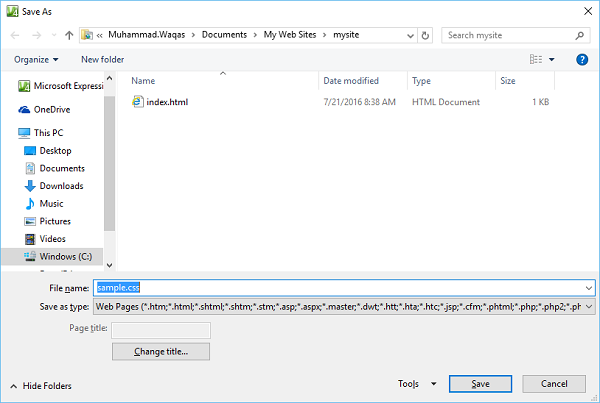
Step 4 − Click the Save button.
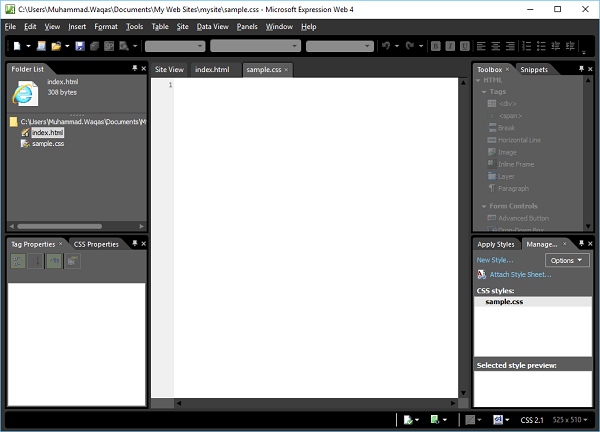
Step 5 − Now, lets go to the index.html page.
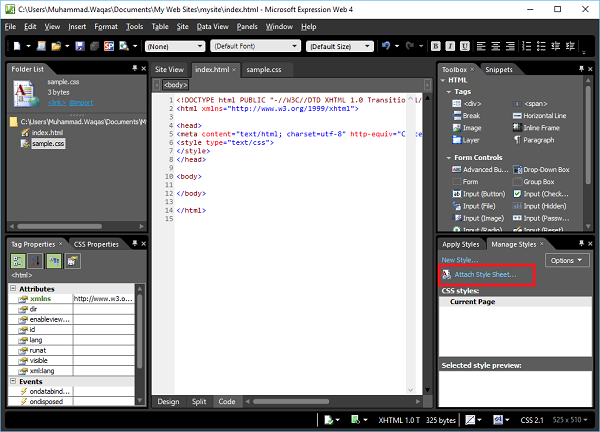
Step 6 − In the Manage Styles Panel, click Attach Style Sheet.
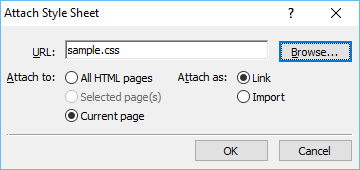
Step 7 − Browse to your style-sheet and select the Current page from Attach to and Link from Attach as and click OK.
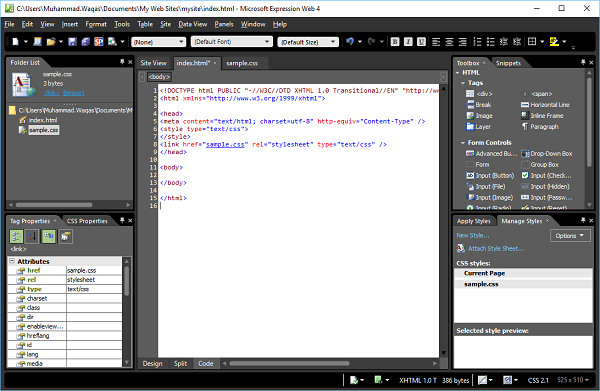
Step 8 − Now, you will see that a new line is added automatically in the index.html page.
<link href = "sample.css" rel = "stylesheet" type = "text/css" />
Step 9 − The body element defines the document's body. To style the <body> tag, we need to create a new style. First, select the body tag in Design View and then click on the New Style in Apply Styles panel or Manage Styles panel, which will open the New Style dialog.
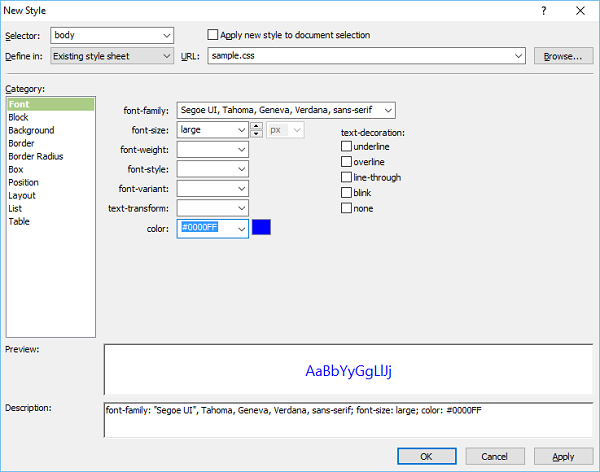
Here, you can define the different options for your style. The first step is to select the body from the Selector dropdown list and then select the Existing style sheet from Define in dropdown list.
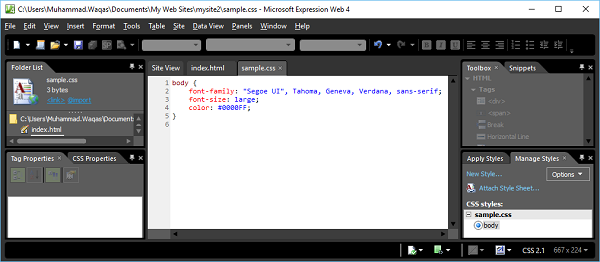
Step 10 − From the URL, select the sample.css file. On the left side, there is a Category list like font, background, etc. and currently the Font is highlighted. Set the Font related information as per your requirements as shown in the above screenshot and click Ok.

Step 11 − Now you can see in the design view that the background color and the font has changed to what we have selected. Now, if you open the sample.css file, you will see that all the information is automatically stored in the CSS file.
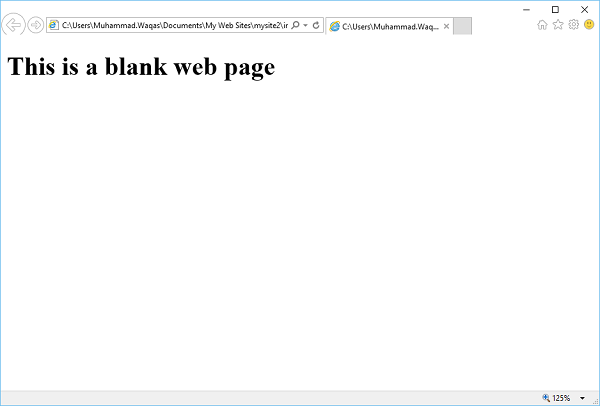
Lets preview our web page in a browser. You will observe that the style is applied from the CSS file.