- MS Expression Web - Home
- MS Expression Web - Overview
- Environment Setup
- MS Expression Web - New Website
- Blank Web Page
- Webpage Layout
- MS Expression Web - HTML Layout
- Horizontal Navigation
- Vertical Navigation
- MS Expression Web - Validate Pages
- Dynamic Web Template
- MS Expression Web - Search Page
- MS Expression Web - Images
- MS Expression Web - Hyperlinks
- MS Expression Web - Video
- SQL Datasource
- MS Expression Web - MS Word
- MS Expression Web - Gridview
- MS Expression Web - Master Pages
- MS Expression Web - Data Table
- MS Expression Web - Publish
- Backup Website
- MS Expression Web - Add-Ins
Microsoft Expression Web - Master Pages
In this chapter, we will learn about ASP.NET master pages. When we create a master page, we can lay it out, apply styles, and add ASP.NET controls in the same way as in other pages in Microsoft Expression Web. The layout and content we create in a master page are applied to the pages attached to the master page. It is a similar concept to Dynamic Web Template.
Dynamic Web Templates enable you to apply a common look and feel to all the pages in your website. As Dynamic Web Templates are applied in the pages to which they are attached at design time, applying changes to all the pages in a site can cause a delay while the HTML is updated in all the pages.
If the server is running ASP.NET, ASP.NET Master Pages allow for similar functionality by defining the editable areas in the template. However, the application of the template to the custom content in the pages is done dynamically at runtime.
Example
Lets take a look at a simple example in which we will create a master page using CSS template and use this master page to create other pages.
Step 1 − Open the index.html page in which we have defined different sections using CSS style-sheet.
Step 2 − From the File menu, go to New → Page and you will see the New page dialog.
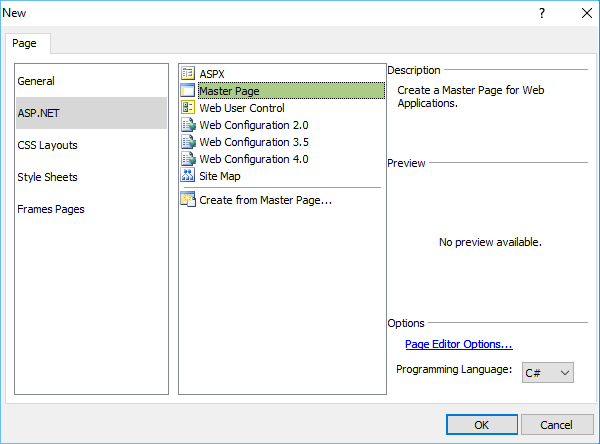
Step 3 − From the left pane, select ASP.NET and from the middle list, select Master Page and click the OK button.
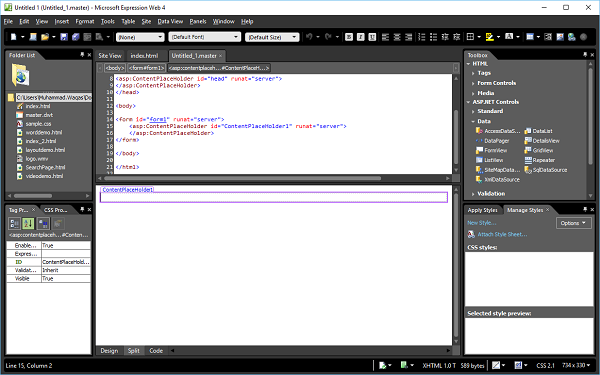
Step 4 − The above screen will produce a pop-up named Untitled1.master. Save this page and name it default.master.
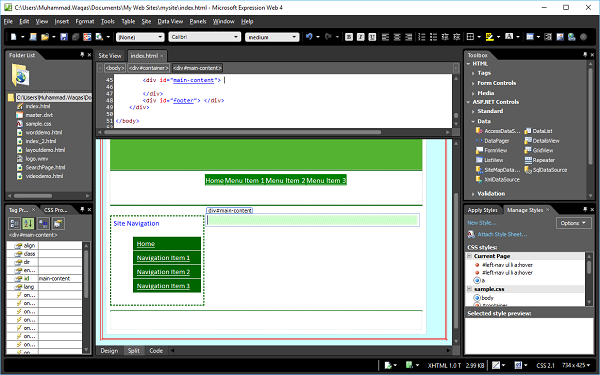
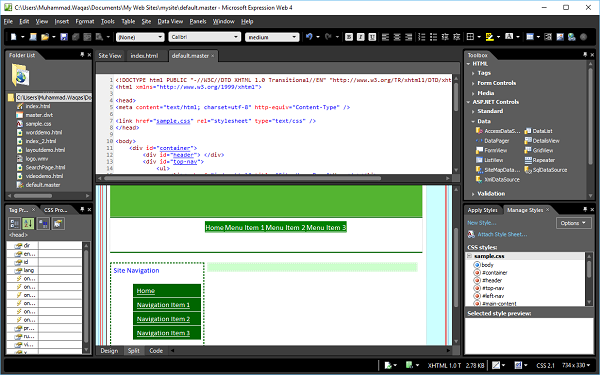
Step 5 − We want to build our design into the master page that will be shared throughout our site. So lets copy the code of the content that you would like to have on each page from the index.html code and paste the code to the default.master page.
Step 6 − Now we have a layout that we would like to use on every page of the site. However, if we were to start building the content pages now, we wouldn't be able to actually enter any content into this layout. Hence, we need to create ASPX content pages from the master page. To do this, we have to add the content region as well so that we can add content to the specified pages.
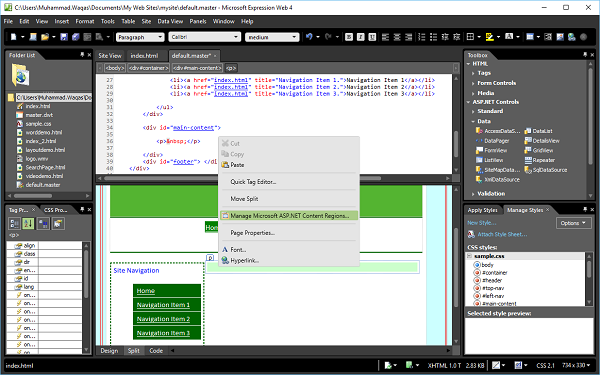
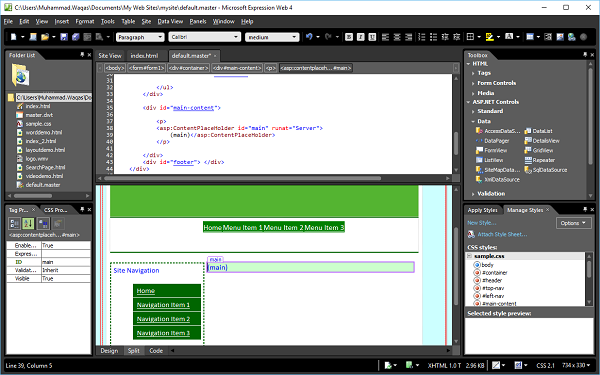
In the design view, right-click where you want the content on your pages. Lets say we want to add content in the main-content section and then click the Manage Microsoft ASP.NET Content Regions
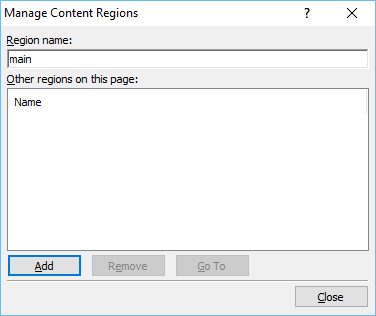
Step 7 − In the Manage Content Regions wizard, enter the Region Name and click Close.
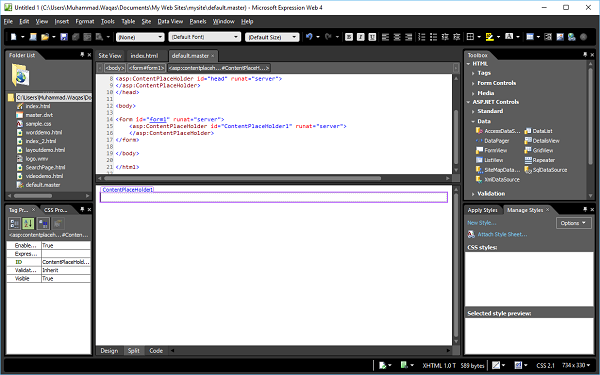
Step 8 − As can be seen in the following screenshot, the Content PlaceHolder is added in the main-content section. Now we have to add ASPX web page.
Step 9 − Go to the File menu and select New → Create from Master Page
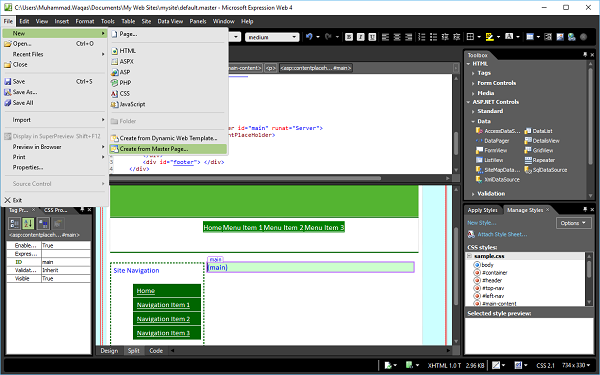
Step 10 − Browse to the default.master page and click OK.

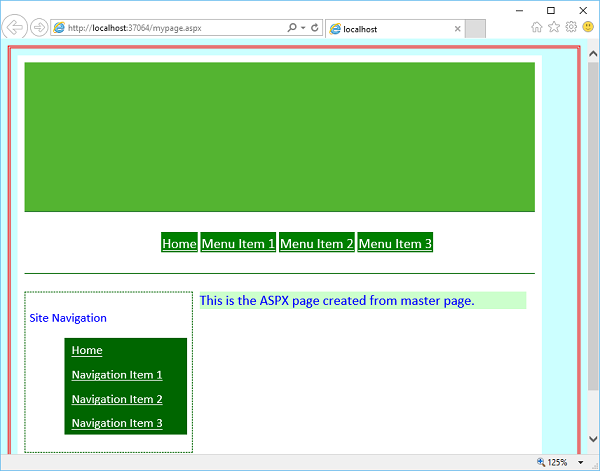
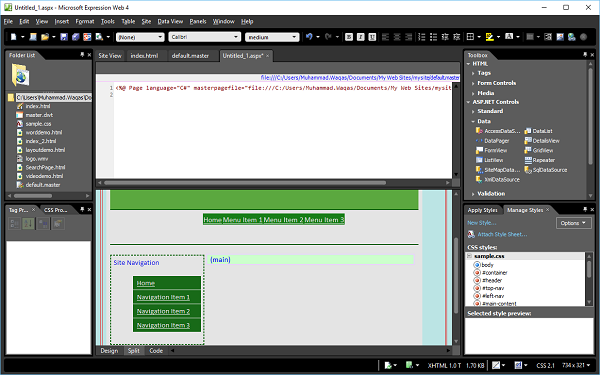
Step 11 − Now, a new ASPX page is created and all the layout styles are applied from the master page.
Add some text in the main section.
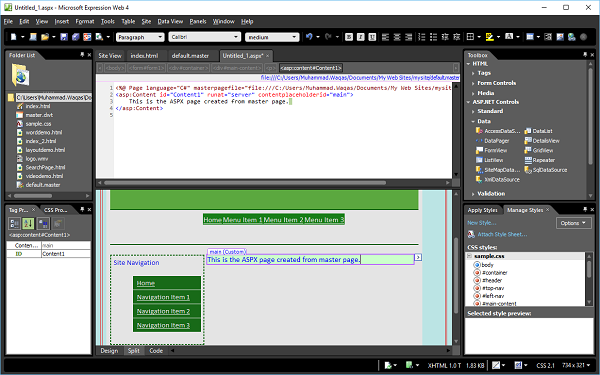
Step 12 − Save this page and call it mypage.aspx and then preview it in a browser.