
Article Categories
- All Categories
-
 Data Structure
-
 Networking
-
 RDBMS
RDBMS
-
 Operating System
-
 Java
Java
-
 MS Excel
-
 iOS
iOS
-
 HTML
HTML
-
 CSS
CSS
-
 Android
-
 Python
-
 C Programming
-
 C++
C++
-
 C#
C#
-
 MongoDB
-
 MySQL
MySQL
-
 Javascript
-
 PHP
PHP
-
 Economics & Finance
How to Move Chart with Arrow Keys in Excel?
Excel is a powerful tool for data analysis and visualisation, with a number of capabilities to create, manage, and exhibit data in numerous forms. Since they help with the visual, understandable conveyance of information, charts are one of the essential components of data visualisation in Excel. Did you know that you may move Excel charts around on your worksheet, despite the fact that they are frequently thought of as static objects? If you need to reorganise your data arrangement or align charts with other items, this could be quite beneficial.
In this post, we'll examine utilising the arrow keys to move a chart in Excel. By following these simple instructions, you may relocate your charts to exactly where you want them to be, creating spreadsheets that are both aesthetically beautiful and well-organized. No matter if you're a data analyst, business professional, student, or just someone who wants to enhance their Excel skills, learning how to move charts with the arrow keys will undoubtedly be helpful. Let's get started and discover this practical tip to improve your Excel charting skills!
Move Chart with Arrow Keys
Here we will move the chart by holding the CTRL key. So let us see a simple process to learn how you can move charts with arrow keys in Excel.
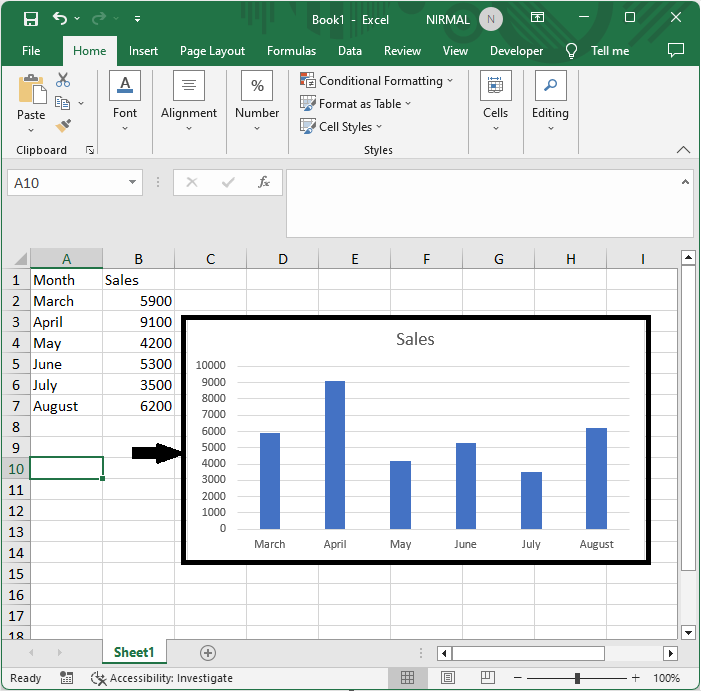
Consider an Excel sheet where you have a chart similar to the below image.
First, hold the Ctrl key, then click on the chart using the mouse. You will see four circles appear at each corner.
Ctrl > Chart.
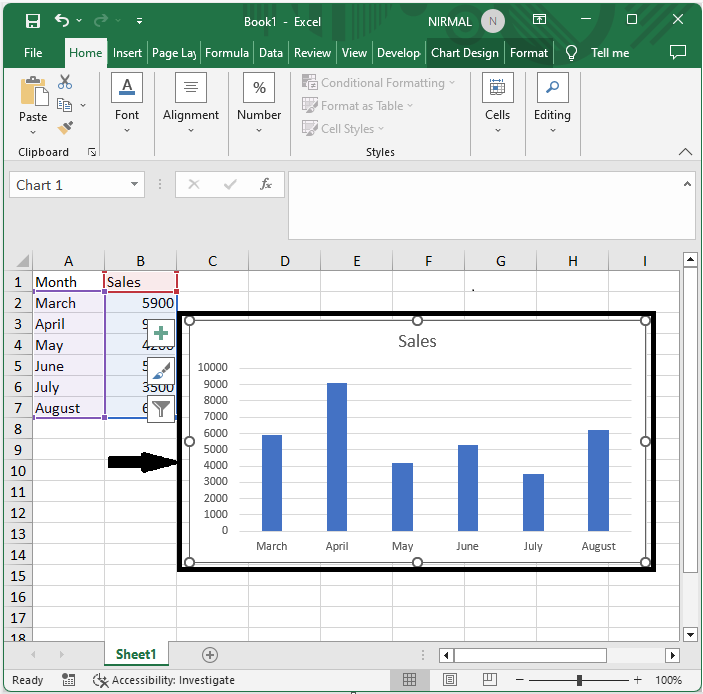
Then move the chart based on the direction using the arrow keys. This is how you can move charts with arrow keys in Excel.
Conclusion
In this tutorial, we have used a simple example to demonstrate how you can move charts with arrow keys in Excel to highlight particular sets of data.

401 Views
