
Article Categories
- All Categories
-
 Data Structure
-
 Networking
-
 RDBMS
RDBMS
-
 Operating System
-
 Java
Java
-
 MS Excel
-
 iOS
iOS
-
 HTML
HTML
-
 CSS
CSS
-
 Android
-
 Python
-
 C Programming
-
 C++
C++
-
 C#
C#
-
 MongoDB
-
 MySQL
MySQL
-
 Javascript
-
 PHP
PHP
-
 Economics & Finance
How To Display Or Hide Status Bar In Microsoft Excel?
The status bar is a useful tool that gives you critical details about your Excel worksheet and makes it easy for you to access key functions. Learning how to show or conceal the status bar is a useful ability to have, whether you prefer to have it always displayed or want to free up more room for your worksheets.
In this article, we'll look at two ways to manage the status bar's display in Microsoft Excel. We'll start by showing you how to make the status bar visible if it's currently hidden. You can use this technique to access the status bar's different options, including the zoom control and functions for sum, average, and count. Understanding how to control the status bar's display will improve your productivity and streamline your usage of Microsoft Excel, whether you're a novice getting to know the programme or an advanced user trying to organise your workspace.
Display Or Hide Status Bar
Here we will first create a VBA module. So let us see a simple process to know how you can display or hide the status bar in Microsoft Excel.
Step 1
Consider any Excel sheet. First, right?click on the sheet name and select "View Code" to open the VBA application. Then click on "Insert" and select "Module.
Right click > View code > Insert > Module.

Step 2
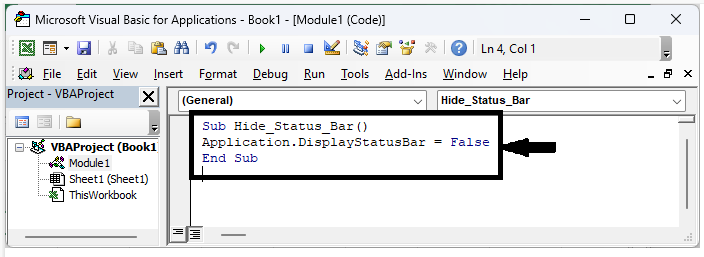
Then copy the below code into the text box, similar to the below image.
Code
Sub Hide_Status_Bar()
Application.DisplayStatusBar = False
End Sub
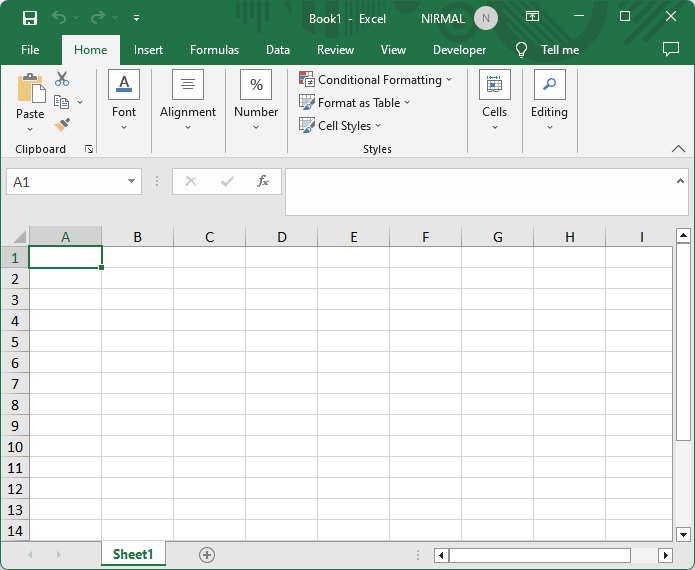
Step 3
Then save the sheet as a macro?enabled template and click F5 to complete the task. The status bar will be hidden.
Note ?
If you want to display the status, use the below code.
Code
Sub Show_Status_Bar()
Application.DisplayStatusBar = True
End Sub
Conclusion
In this tutorial, we have used a simple example to demonstrate how you can display or hide the status bar in Microsoft Excel to highlight a particular set of data.

1K+ Views
