
Article Categories
- All Categories
-
 Data Structure
-
 Networking
-
 RDBMS
RDBMS
-
 Operating System
-
 Java
Java
-
 MS Excel
-
 iOS
iOS
-
 HTML
HTML
-
 CSS
CSS
-
 Android
-
 Python
-
 C Programming
-
 C++
C++
-
 C#
C#
-
 MongoDB
-
 MySQL
MySQL
-
 Javascript
-
 PHP
PHP
-
 Economics & Finance
How To Display Or Hide Sheet Tabs And Sheet Tab Bar In Excel?
Excel is a robust spreadsheet programme that enables you to efficiently organise and manage data. The ability to work with numerous sheets within a worksheet is one of Excel's key capabilities. To make switching between sheets simple, Excel by default places the sheet tabs and sheet tab bar at the bottom of the workbook window. To best meet your needs, you might wish to alter how these pieces are displayed in some circumstances. In this tutorial, we'll look at a variety of ways to make Excel's sheet tabs and sheet tab bar visible or invisible.
This article will show you step?by?step how to manage sensitive information or organise your workplace by adjusting the visibility of sheet tabs and the sheet tab bar. Let's begin by learning how to customise Excel to your liking.
Display Or Hide Sheet Tabs And Sheet Tab Bar In Excel
Here, we will first create a VBA module and then run it to complete the task. So let us see a simple process to know how you can display or hide sheet tabs and the Sheet Tab Bar in Excel.
Step 1
Consider any Excel sheet. First, right?click on the sheet name and select "View Code" to open the VBA application. Then click on "Insert" and select "Module.
Right click > View code > Insert > Module.

Step 2
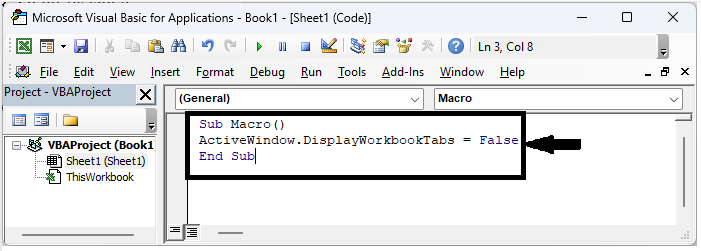
Then copy the below code into the text box, similar to the below image.
Code
Sub Macro()
ActiveWindow.DisplayWorkbookTabs = False
End Sub
Step 3
Then save the sheet as a macro-enabled template and click F5 to complete the task. The sheet tab will be hidden.

Note?
If you want to display the sheet tab, use the below code.
Code
Sub Macro()
ActiveWindow.DisplayWorkbookTabs = True
End Sub
Conclusion
In this tutorial, we have used a simple example to demonstrate how you can display or hide sheet tabs and the Sheet Tab Bar in Excel to highlight a particular set of data.

894 Views
