
Article Categories
- All Categories
-
 Data Structure
-
 Networking
-
 RDBMS
RDBMS
-
 Operating System
-
 Java
Java
-
 MS Excel
-
 iOS
iOS
-
 HTML
HTML
-
 CSS
CSS
-
 Android
-
 Python
-
 C Programming
-
 C++
C++
-
 C#
C#
-
 MongoDB
-
 MySQL
MySQL
-
 Javascript
-
 PHP
PHP
-
 Economics & Finance
How to create Tab Bar Layout in an iOS App?
In this post we’re going to see how one can use tab bar layout in their application.
As per apple’s documentation −
A tab bar appears at the bottom of an app screen and provides the ability to quickly switch between different sections of an app. Tab bars are translucent, may have a background tint, maintain the same height in all screen orientations, and are hidden when a keyboard is displayed. A tab bar may contain any number of tabs, but the number of visible tabs varies based on the device size and orientation.
You can read more about the same here
https://developer.apple.com/design/human-interface-guidelines/ios/bars/tab-bars/

So let’s get started,
Step 1 − Create a new single view application and name it “TabBarController”
Step 2 − Open your Main.storyboard and add tab view from object library, as shown in the figure

Step 3 − Delete the existing view controller from storyboard, and go to new file and create new file with name, SecondViewController.
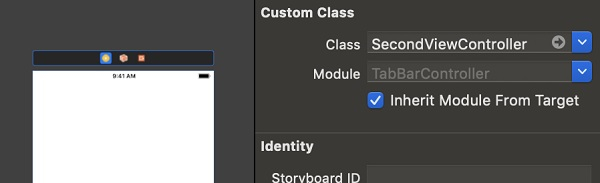
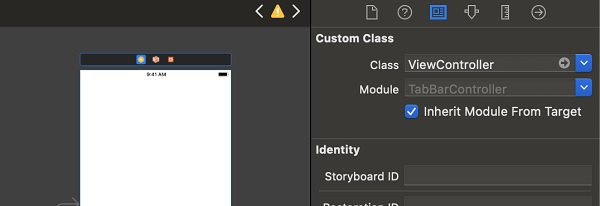
Step 4 − Navigate to storyboard and add the classes for both the view controller, for item 1, add ViewController.swift and for item 2 add SecondViewController.swift as shown below
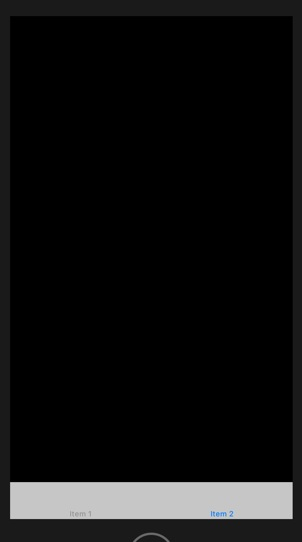
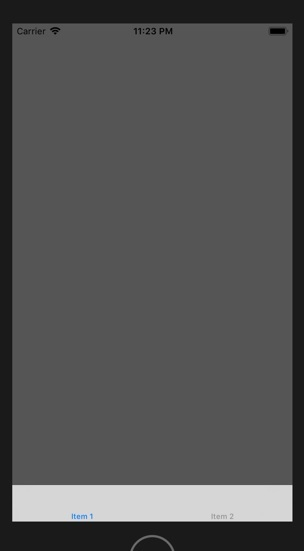
Step 5 − Now change the background color of both the viewcontroller to grey and black.
Step 6 − Do not forget to check in tab bar controller as initial view controller.
Step 7 − Run the project.

458 Views
