- ASP.NET WP - Home
- ASP.NET WP - Overview
- ASP.NET WP - Environment Setup
- ASP.NET WP - Getting Started
- ASP.NET WP - View Engines
- Project Folder Structure
- ASP.NET WP - Global Pages
- ASP.NET WP - Programming Concepts
- ASP.NET WP - Layouts
- ASP.NET WP - Working with Forms
- ASP.NET WP - Page Object Model
- ASP.NET WP - Database
- ASP.NET WP - Add Data to Database
- ASP.NET WP - Edit Database Data
- ASP.NET WP - Delete Database Data
- ASP.NET WP - WebGrid
- ASP.NET WP - Charts
- ASP.NET WP - Working with Files
- ASP.NET WP - Working with Images
- ASP.NET WP - Working with Videos
- ASP.NET WP - Add Email
- ASP.NET WP - Add Search
- Add Social Networking to the Website
- ASP.NET WP - Caching
- ASP.NET WP - Security
- ASP.NET WP - Publish
ASP.NET WP - Layouts
In this chapter, we will be covering how to create a website with a consistent layout. On a daily basis you might have seen many websites with a consistent look and feel, like −
Every page has the same header
Every page has the same footer
Every page has the same style and layout
To make it more efficient and to create web pages for your site, you can create reusable blocks of content like headers and footers for your website, and you can create a consistent layout for all the pages.
Create Reusable Blocks of Content
The ASP.NET lets you create a separate file with a content block that can contain text, markup, and code, just like a regular web page.
You can then insert the content block in other pages on the site where you want the information to appear.
That way you don't have to copy and paste the same content into every page.
Creating common content like this also makes it easier to update your site.
If you need to change the content, you can just update a single file, and the changes are then reflected everywhere the content has been inserted.
Lets have a look into a simple example in which we will create a page that references two content blocks − a header and a footer that are located in separate files. You can use these same content blocks in any page of your website.
Create a new index.cshtml file in your root directory by right clicking on the project and selecting a new file.
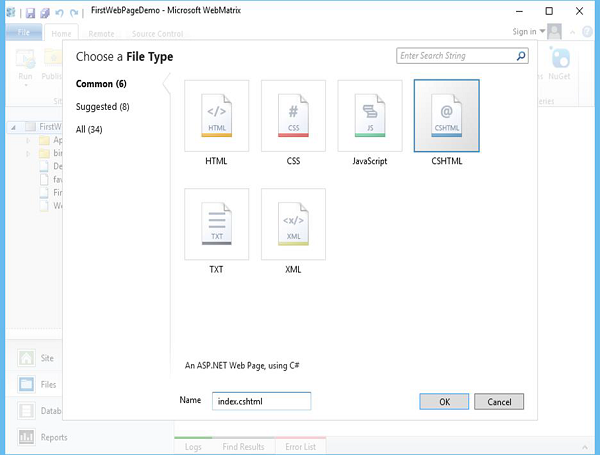
Select CSHTML file type and enter index.cshtml in the Name field and click OK and replace the code with following in index.cshtml file
@{ }
<!DOCTYPE html>
<html lang = "en">
<head>
<meta charset = "utf-8" />
<title>My Website</title>
</head>
<body>
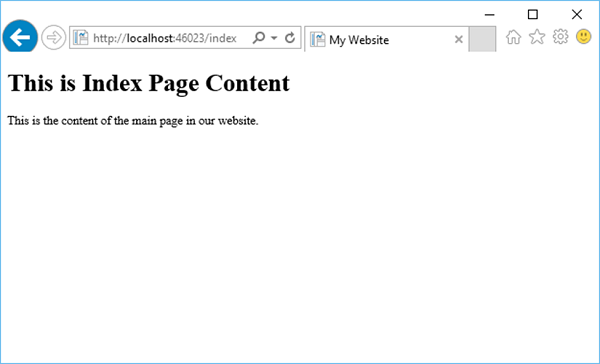
<h1>This is Index Page Content</h1>
<p>This is the content of the main page in our website.</p>
</body>
</html>
Now lets run the application and specify the following url http://localhost:46023/index then you will see the following output.
Now, we need to add a header and a footer in the website, so in the root folder, create a folder by right clicking on the project and select a New Folder and then name it as Shared. It is a common practice to store files that are shared among Web pages in a folder named Shared. You can refer to the following screenshot as well.

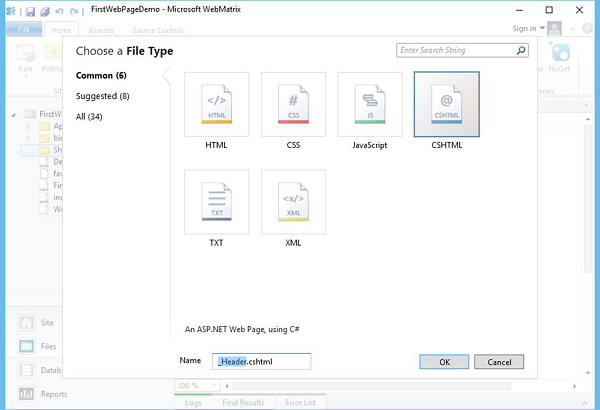
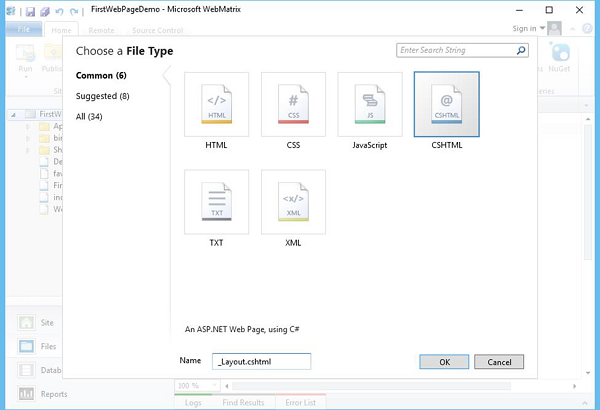
Right click on the Shared folder and select New File.
Select the CSHTML file type and enter _Header.cshtm in the Name field and click OK.
The leading underscore (_) character is significant. If a page name starts with an underscore, ASP.NET will not directly send that page to the browser. This convention lets you define pages that are required for your site, but at the same time the users shouldn't be able to request them directly.
Replace the code in _Header.cshtm as shown in the following program.
<div class = "header">
   This is header text from _Header.cshtml file
</div>
Similarly, add another file _footer.cshtml in the Shared folder and replace the code as shown in the following program.
<div class = "footer">
   © 2016 XYZ Pvt. Ltd. All rights reserved.
</div>
As you can see that we have added the header and the footer, now we need to show these from the Index.cshtml page by calling the RenderPage method as shown in the following program.
@{ }
<!DOCTYPE html>
<html lang = "en">

   <head>
      <meta charset = "utf-8" />
      <title>My Website</title>
   </head>

   <body>
      @RenderPage("/Shared/_Header.cshtml")
      <h1>This is Index Page Content</h1>
      <p>This is the content of the main page in our website.</p>
      @RenderPage("/Shared/_Footer.cshtml")
   </body>

</html>
You can insert a content block into a web page by calling RenderPage method and pass it on to the name of the file whose contents you want to insert at that point. In the above code you can see that we have inserted the contents of the _Header.cshtml and _Footer.cshtml files into the Index.cshtml file.
Now lets run the application again and specify the following url − http://localhost:46023/indexthen you will see the following output.
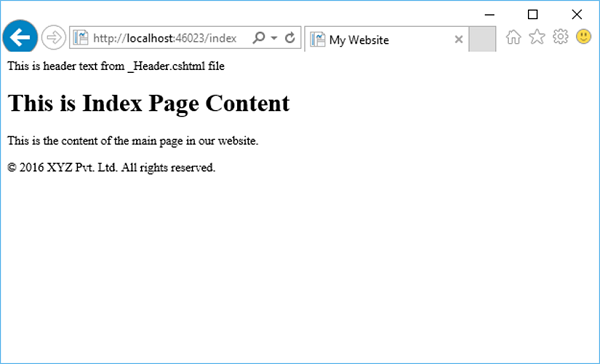
Similarly, you can add the header and footer on all the pages of your website just by calling RenderPage method and pass it the name of the file.
Create a Consistent look using Layout Pages
A more structured approach for creating a consistent look for a site is to use layout pages. A layout page defines the structure of a web page, but doesn't contain any actual content.
The layout page is just like any HTML page, except that it contains a call to the RenderBody method.
The position of the RenderBody method in the layout page determines where the information from the content page will be included.
When the layout page is created, you can create web pages that contain the content and then link them to the layout page easily.
When these pages are displayed, they will be formatted according to the layout page.
layout page acts as a kind of template for content that's defined in other pages.
Lets add a layout page into the root of the website by right clicking and selecting a New File.
Click OK to continue and replace the following code.
@{ }
<!DOCTYPE html>
<html lang = "en">

   <head>
      <title> Structured Content </title>
      <link href = "@Href("/Styles/Site.css")" rel = "stylesheet" type = "text/css" />
   </head>

   <body>
      @RenderPage("/Shared/_Header.cshtml")
      <div id = "main">@RenderBody()</div>
      @RenderPage("/Shared/_Footer.cshtml")
   </body>

</html>
You can use the RenderPage method in a layout page to insert content blocks like we have used for header and footer in the above code. A layout page can contain only one call to the RenderBody method.
In the above code you can see that we have added reference to Site.css file, but we have not created this file, so we need to add a new folder in the root folder, and name it Styles.
In the Styles folder, create a file named Site.css

Add the following style definitions in Site.css file −
h1 {
   border-bottom: 3px solid #2f84d6;
   font: 3em/2em Georgia, serif;
   color: #911a42;
}
ul {
   list-style-type: none;
}
body {
   margin: auto;
   padding: 1em;
   background-color: #d9dbdb;
   font: 75%/1.75em "Trebuchet MS", Verdana, sans-serif;
   color: #100478;
}
#list {
   margin: 1em 0 7em -3em;
   padding: 1em 0 0 0;
   background-color: #ffffff;
   color: #996600;
   width: 25%;
   float: left;
}
#header, #footer {
   margin: 0;
   padding: 0;
   color: #996600;
}
Now lets add another cshtml file in your project with MyLayoutPage.cshtml name and by adding the following code.
@{
Layout = "~/_Layout.cshtml";
}
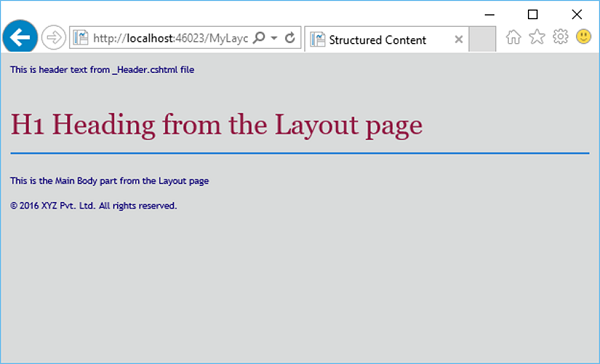
<h1> H1 Heading from the Layout page </h1>
<p> This is the Main Body part from the Layout page</p>
To use the new layout from any page you can just add the following line at the top of any page as shown in the following program.
@{
   Layout = "~/_Layout.cshtml";
}
Now lets run the application again and specify the following url http://localhost:46023/MyLayoutPage then you will see the following output.