- Advanced Android - Home
- Advanced Android - Material Design
- Advanced Android - Sliding Menu
- Advanced Android - Tabs
- Advanced Android - Sliders
- Advanced Android - Floating Labels
- Advanced Android - ViewPager
- Material Login & Registration
- Advanced Android - Snackbar
- Expandable List View
- Search Functionality
- Count Down Functionality
- Draw Spritesheet
- Advanced Android - Linkify Class
- Advanced Android - ViewFlipper
- Advanced Android - loader
- Advanced Android - Slider Menu
- SwipeRefreshLayout
- Shake to Refresh
- Advanced Android - Color Palette
- Crumbling Layout
- Advanced Android - Page Flip
- Ken Burns effect
- Advanced Android - Parallax Header
- Borderless Dialog
- Advanced Android - Holder View
- Scrolling TextView by Ticker
- Floating Action Menu
- Spinner Data from Database
- Advanced Android - Flexbox Layout
- Advanced Android - YouTube API
- Video Streaming
- Cardview & Recycleview
Advanced Android - Material Design
What is Material Design?
According to Wikipedia, Material Design is a design language developed in 2014 by Google. Expanding upon the "card" motifs that debuted in Google Now, Material Design makes more liberal use of grid-based layouts, responsive animations and transitions, padding, and depth effects such as lighting and shadows
Some of its salient features are as follows −
In-built responsive designing.
Includes new versions of common user interface controls such as buttons, check boxes, and text fields which are adapted to follow Material Design concepts.
Includes enhanced and specialized features like cards, column layouts, sliders, spinners, tabs, typography, and so on.
Free to use.
Creating Material Design Theme
Open Android studio and go to File ⇒ New Project and fill all basic information required to create a new project. When it prompts to select a default activity, select Blank Activity and click finish button.
Open colors.xml under res ⇒ values folder in android studio directory and add the following code as shown below −
<?xml version = "1.0" encoding = "utf-8"?>
<resources>
   <color name = "colorPrimary">#F50057</color>
   <color name = "colorPrimaryDark">#C51162</color>
   <color name = "textColorPrimary">#FFFFFF</color>
   <color name = "windowBackground">#FFFFFF</color>
   <color name = "navigationBarColor">#000000</color>
   <color name = "colorAccent">#FF80AB</color>
</resources>
Open styles.xml under res ⇒ values and add the following code −
<resources>
   <style name = "MyMaterialTheme" parent = "MyMaterialTheme.Base"></style>

   <style name = "MyMaterialTheme.Base" parent = "Theme.AppCompat.Light.DarkActionBar">
      <item name = "windowNoTitle">true</item>
      <item name = "windowActionBar">false</item>
      <item name = "colorPrimary">@color/colorPrimary</item>
      <item name = "colorPrimaryDark">@color/colorPrimaryDark</item>
      <item name = "colorAccent">@color/colorAccent</item>
   </style>

</resources>
At finally, Add your theme in Android Manifest.xml file as shown below −
<?xml version = "1.0" encoding = "utf-8"?>
<manifest xmlns:android = "http://schemas.android.com/apk/res/android"
   package = "myapplication.example.com.card_recycle">

   <application
      android:allowBackup = "true"
      android:icon = "@mipmap/ic_launcher"
      android:label = "@string/app_name"
      android:supportsRtl = "true">
      <android:theme = "@style/MyMaterialTheme">

      <activity android:name = ".MainActivity">
         <intent-filter>
            <action android:name = "android.intent.action.MAIN"/>
            <category android:name = "android.intent.category.LAUNCHER"/>
         </intent-filter>
      </activity>
   </application>

</manifest>
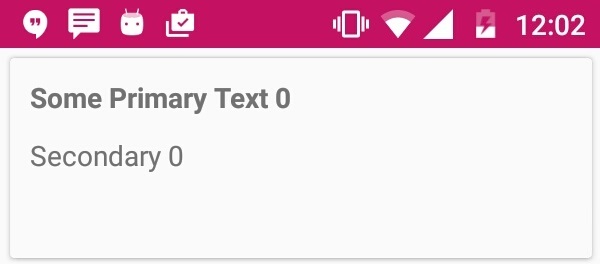
Let's try to run your application. I assume you have connected your actual Android Mobile device with your computer. To run the app from android studio, open one of your project's activity files and click Run  icon from the toolbar. The sample output should be like below −
Adding the Toolbar to Material Design Theme
Create an xml file named toolbar.xml under res ⇒ layout and add the following code.
<?xml version = "1.0" encoding = "utf-8"?>
<android.support.v7.widget.Toolbar xmlns:android =
   "http://schemas.android.com/apk/res/android"

   xmlns:local = "http://schemas.android.com/apk/res-auto"
   android:id =" @+id/toolbar"
   android:layout_width = "match_parent"
   android:layout_height = "wrap_content"
   android:minHeight = "?attr/actionBarSize"
   android:background = "?attr/colorPrimary"
   local:theme = "@style/ThemeOverlay.AppCompat.Dark.ActionBar"
   local:popupTheme = "@style/ThemeOverlay.AppCompat.Light"/>
Open the layout file of your main activity and include the following code −
<include android:id = "@+id/toolbar" layout = "@layout/toolbar" />
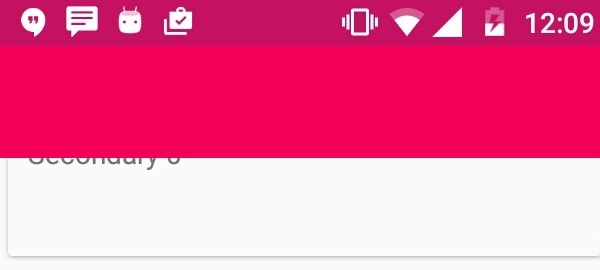
Let's try to run your application. I assume you have connected your actual Android Mobile device with your computer. To run the app from android studio, open one of your project's activity files and click Run icon from the toolbar. The sample output should be like below −
Adding a Toolbar Title
To create Asset folder, right click on res ⇒ New ⇒ Image Asset. It will show you a popup window to import the resource.

Now it will open Configure image asset pop up as shown below −
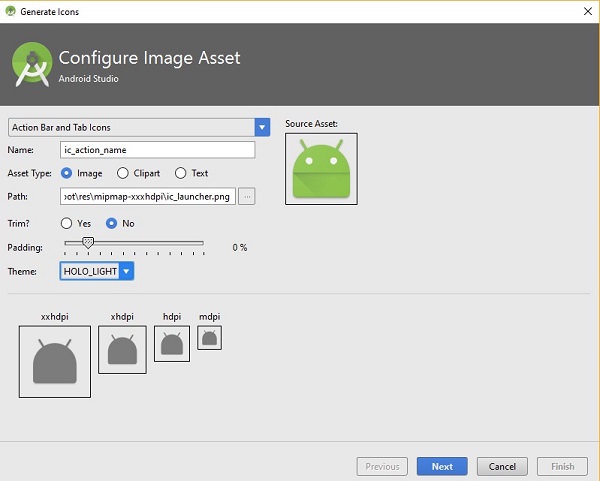
Set Configuration according to your project specifications and click on finish button.
Now open your main activity file. It should extends the activity from AppCompatActivity. Add the following code in onCreate() as shown below −
Toolbar mToolbar = (Toolbar) findViewById(R.id.toolbar);
setSupportActionBar(mToolbar);
getSupportActionBar().setDisplayShowHomeEnabled(true);
Let's try to run your application. I assume you have connected your actual Android Mobile device with your computer. To run the app from android studio, open one of your project's activity files and click Run icon from the toolbar. The sample output should be like below −
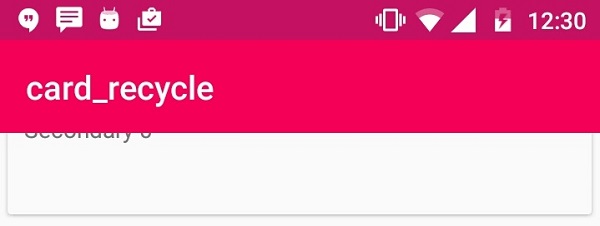
In the above image, It shows Application name on Tool Bar
