- Microsoft Expression Web Tutorial
- MS Expression Web - Home
- MS Expression Web - Overview
- Environment Setup
- MS Expression Web - New Website
- Blank Web Page
- Webpage Layout
- MS Expression Web - HTML Layout
- Horizontal Navigation
- Vertical Navigation
- MS Expression Web - Validate Pages
- Dynamic Web Template
- MS Expression Web - Search Page
- MS Expression Web - Images
- MS Expression Web - Hyperlinks
- MS Expression Web - Video
- SQL Datasource
- MS Expression Web - MS Word
- MS Expression Web - Gridview
- MS Expression Web - Master Pages
- MS Expression Web - Data Table
- MS Expression Web - Publish
- Backup Website
- MS Expression Web - Add-Ins
- MS Expression Web Resources
- MS Expression Web - Quick Guide
- MS Expression Web - Resources
- MS Expression Web - Discussion
Microsoft Expression Web - Data Table
In this chapter, we will learn how to add data table in your webpage. Let’s create a new HTML page, but here we want to apply the Dynamic Web Template as well to our HTML page.
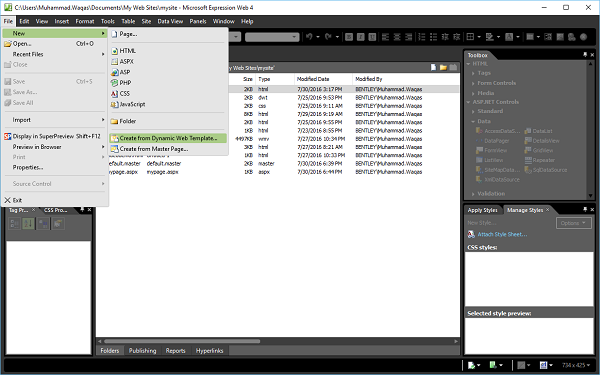
Step 1 − Let’s go to the File menu and select New → Create from Dynamic Web Template…
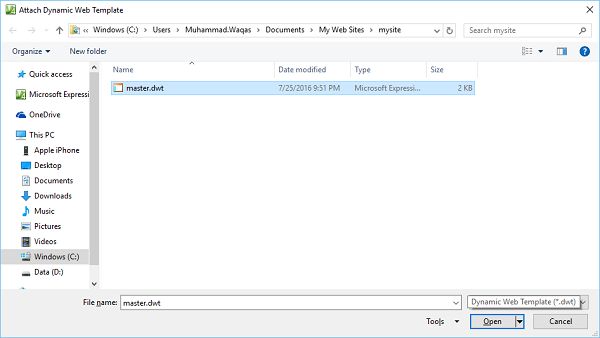
It will open the following dialog box as shown in the following screenshot.
Step 2 − Select the master.dwt file and then click the Open button.
Step 3 − Save the web page and call it datatable.html.
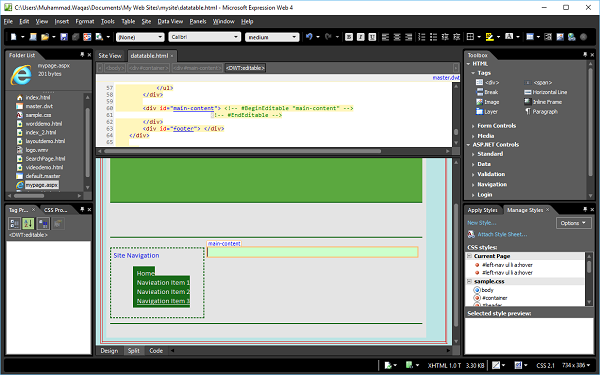
Step 4 − In Design View, go to the main-content section and remove the text.
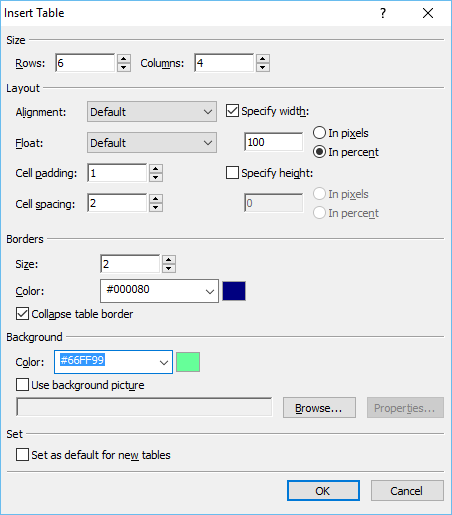
Step 5 − Next, go to the Table → Insert Table… menu option which will open the Insert Table dialog box.
Select the number of rows and columns. You can also set different layout options like alignment, padding, border’s size and color, and Background color, etc. Once you are done, click OK.
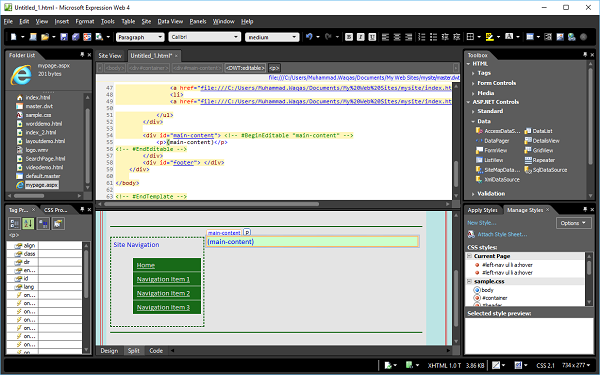
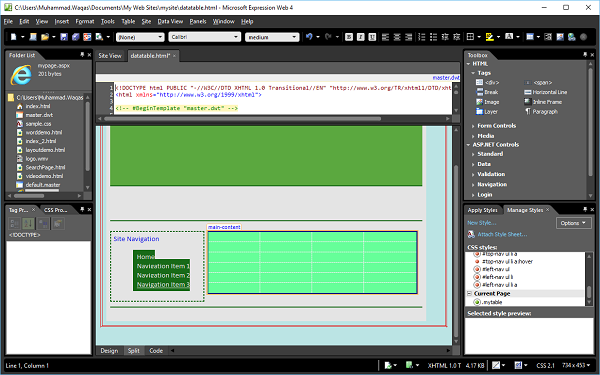
Step 6 − The Design View of datatable.html will now appear as follows −

Now, if you look at the Code View of the page, you will see the following code is added by Expression Web.
<table class = "auto-style2" style = "width: 100%">
   <tr>
      <td> </td>
      <td> </td>
      <td> </td>
      <td> </td>
   </tr>

   <tr>
      <td> </td>
      <td> </td>
      <td> </td>
      <td> </td>
   </tr>

   <tr>
      <td> </td>
      <td> </td>
      <td> </td>
      <td> </td>
   </tr>

   <tr>
      <td> </td>
      <td> </td>
      <td> </td>
      <td> </td>
   </tr>

   <tr>
      <td> </td>
      <td> </td>
      <td> </td>
      <td> </td>
   </tr>

   <tr>
      <td> </td>
      <td> </td>
      <td> </td>
      <td> </td>
   </tr>
</table>
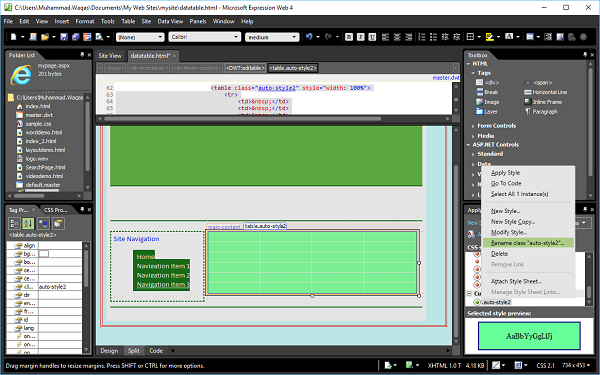
Step 7 − On the Manage Styles task panel, right-click “.auto-style2”. Click the Choose rename class "auto-style2".
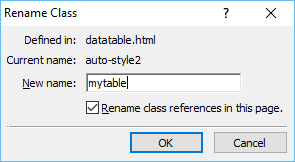
Step 8 − In the Rename Class dialog, enter mytable in the New name field. Make sure Rename class references in this page is ticked and then click OK.
Now, take a look at your web page in Design View. It will appear as follows −
Step 9 − To format this table and apply some style to it, go to the Manage Styles task panel and click New Style…

Step 10 − In the New Style dialog box, set the border settings and then click Ok. There is another option to format your data table. In the Design View, right-click on the table and select Modify → Table AutoFormat…

In this dialog box, you will see the different formats and other settings. Let’s select the Professional format and click OK.
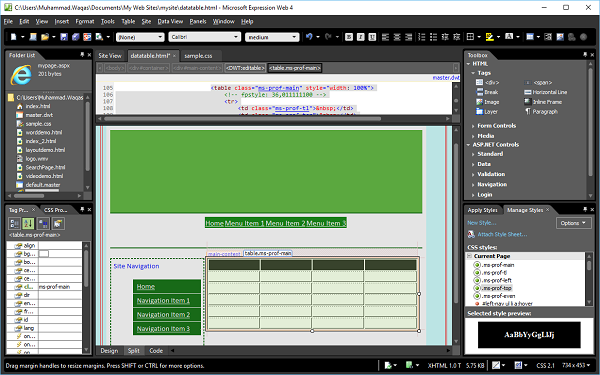
Step 11 − Now, the Design View of your web page looks as follows −
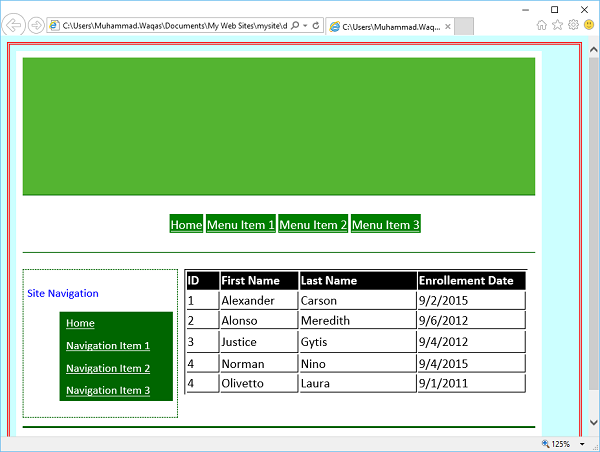
Let’s add some data in the design view.
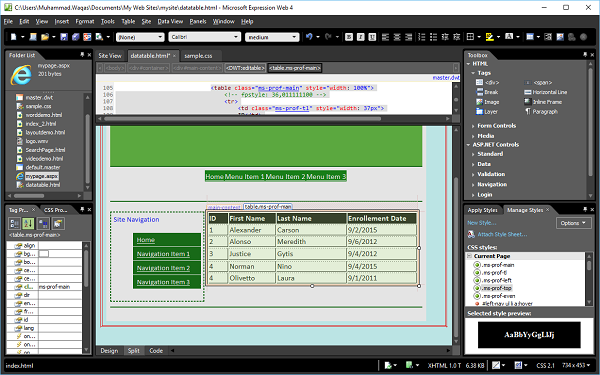
Step 12 − Save your webpage and preview it in a browser. It will look like the following screenshot.