- Gerrit Tutorial
- Gerrit - Home
- Gerrit - Overview
- Setting up Git
- Installation
- Configure Git
- Set Your Username & Email
- Set Up SSH Keys in Gerrit
- Generate New SSH Key
- Add Your SSH Key
- Add SSH Key to your Gerrit Account
- Add SSH Key to use with Git
- Download Extension Using Git
- Prepare to work with Gerrit
- Installing Git-Review
- Configuring Git-Review
- Setting up Git-Review
- How to Submit a Patch
- Gerrit - Update Master
- Gerrit - Create Branch
- Make & Commit Your Change
- Prepare Push change set to Gerrit
- Push your change set to Gerrit
- View the Change / Next Steps
- Editing via the Web-Interface
- How Code is reviewed in Gerrit
- Review Before Merge
- Gerrit - Project Owners
- How to Comment on, review, merge
- Gerrit Useful Resources
- Gerrit - Quick Guide
- Gerrit - Useful Resources
- Gerrit - Discussion
Gerrit - Editing via the Web-Interface
You can edit the project via the web interface after logging in to the Gerrit account as shown in the following steps.
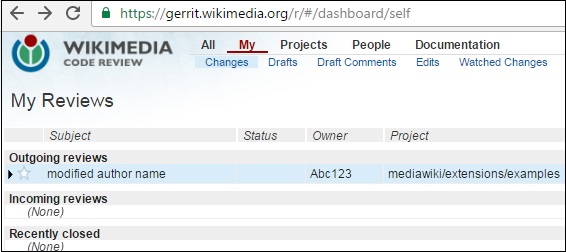
Step 1 − Go to Gerrit dashboard by clicking this link. You will get the following screenshot.
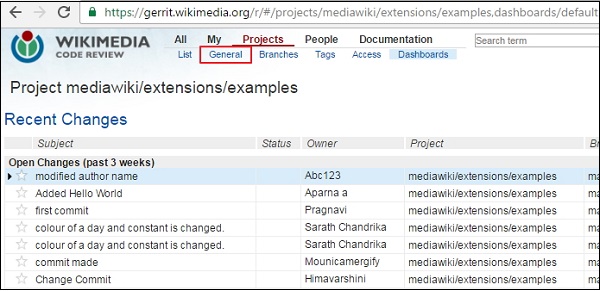
Step 2 − Next click the mediawiki/extensions/examples link specified under Project column.
Step 3 − Click the General link in the toolbar as shown in the following screenshot.
Step 4 − When you open the General link, it will show a screenshot as the following.
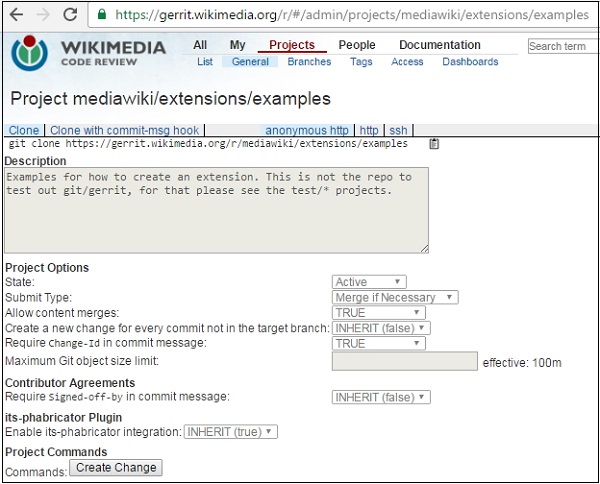
Step 5 − Click the Create Change button and it will open a popup window with some details as shown in the following screenshot.
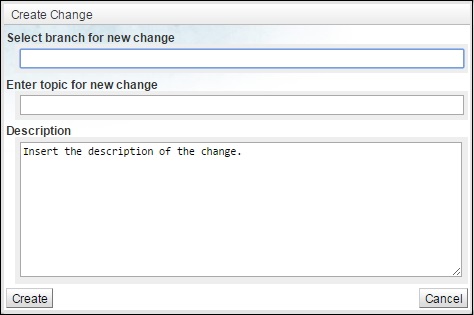
Step 6 − Enter the information and click the Create button.
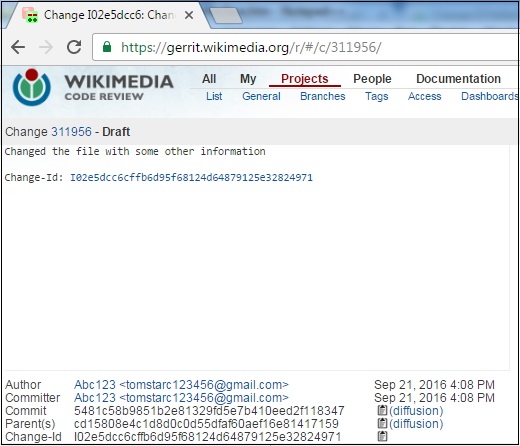
After creating the change, it will display the information as shown in the following screenshot.
Step 7 − Click Edit and then click Add. Now select the file you want to edit. Here we have selected the file Example/i18n/en.json.

When you open the file, it will show the json data as specified in the following screenshot.

Step 8 − Click Save and then click the Close button.
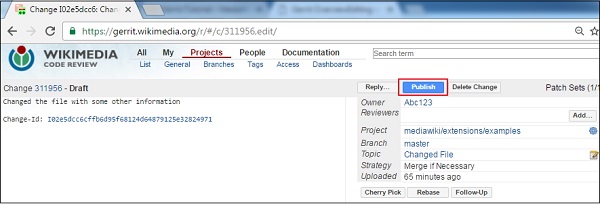
Step 9 − Finally click the Publish button to publish the edited file
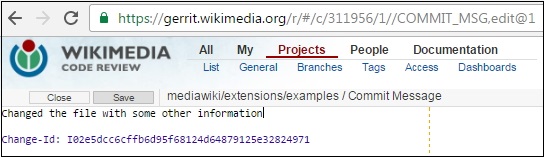
Step 10 − You can change commit message by clicking the Commit Message link as shown in the following screenshot.

Step 11 − Press e on the keyboard and add some extra information, if you wish to Click Save and then click the Close button.