- Excel Macros Tutorial
- Excel Macros - Home
- Excel Macros - Overview
- Excel Macros - Creation
- Macros in a Single Workbook
- Excel Macros - Security
- Excel Macros - Absolute References
- Excel Macros - Relative References
- Excel Macros - VBA
- Excel Macros - Understanding Codes
- Assigning Macros to Objects
- Excel Macros - Running a Macro
- Creating a Macro Using VBA Editor
- Excel Macros - Editing
- Excel Macros - UserForms
- Excel Macros - Debugging a Code
- Excel Macros - Configuring a Macro
- Excel Macros Useful Resources
- Excel Macros - Quick Guide
- Excel Macros - Useful Resources
- Excel Macros - Discussion
Excel Macros - Creation
You can create a macro with Excel commands by recording the key strokes and mouse clicks, giving the macro a name and specifying how to store the macro. A macro thus recorded can be run with an Excel command.
Suppose you have to collect certain results repeatedly in the following format −
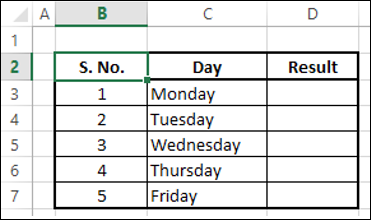
Instead of creating the table each time, you can have a macro to do it for you.
Recording a Macro
To record a macro do the following −
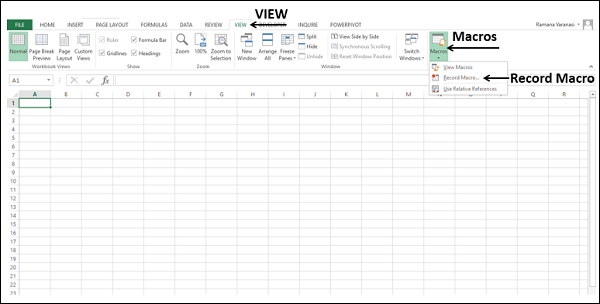
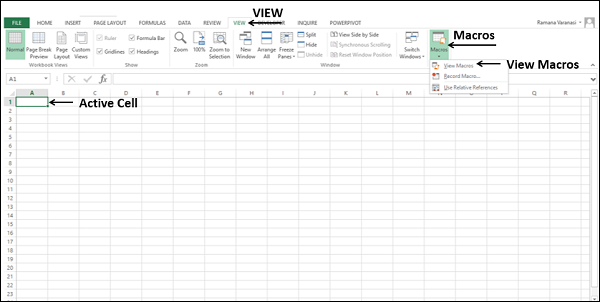
- Click the VIEW tab on the Ribbon.
- Click Macros in the Macros group.
- Select Record Macro from the dropdown list.
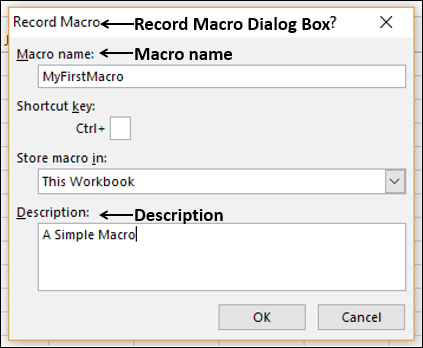
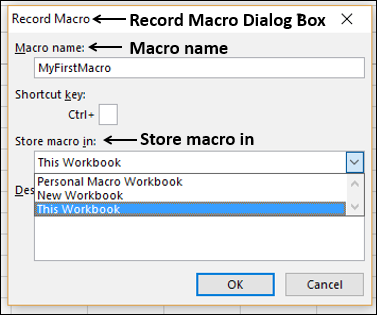
The Record Macro dialog box appears.
Type MyFirstMacro in the Macro name box.
Type A Simple Macro in the Description box and click OK.
Remember that whatever key strokes and mouse clicks you do, will be recorded now.
Click in the cell B2.
Create the table.
Click in a different cell in the worksheet.
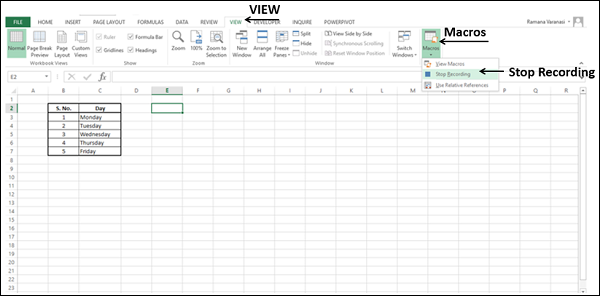
Click the VIEW tab on the Ribbon.
Click Macros.
Select Stop Recording from the dropdown list.
Your macro recording is completed.
The first step to click on a particular cell is important as it tells where exactly the macro has to start placing the recorded steps. Once you are done with the recording, you have to click Stop Recording to avoid recording of unnecessary steps.
Running a Macro
You can run the macro you have recorded any number of times you want. To run the macro, do the following −
- Click on a new worksheet.
Note the active cell. In our case, it is A1.
Click the VIEW tab on the Ribbon.
Click Macros.
Select View Macros from the dropdown list.
The Macro dialog box appears.
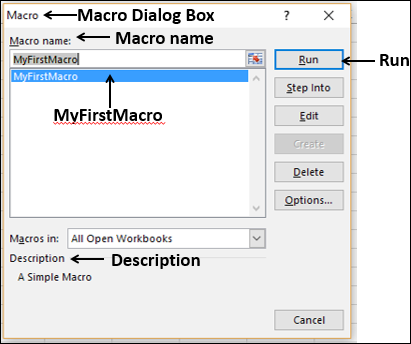
Only the macro that you recorded appears in the Macros list.
Click the macro name – MyFirstMacro in the Macro dialog box. The description you typed while recording the macro will get displayed. Macro description allows you to identify for what purpose you have recorded the macro.
Click the Run button. The same table that you have created while recording the macro will appear in just a split of a second.

You have discovered the magic wand that Excel provides you to save time on mundane tasks. You will observe the following −
Though the active cell before running the macro was A1, the table is placed in the cell B2 as you have recorded.
In addition, the active cell became E2, as you have clicked that cell before you stopped recording.
You can run the macro in multiple worksheets with different active cells before running the macro and observe the same conditions as given above. Just keep a note of this and you will understand later in this tutorial why it has occurred so.
You can also have a macro recording that places your recorded steps in the active cell. You will learn how to do this as you progress in the tutorial.
Storing a Macro
You might wonder how to save the macros that are created. In this context you need to know −
- Storing a macro
- Saving a macro enabled file
As and when you create a macro, you can choose where to store that particular macro. You can do this in the Record Macro dialog box.
Click the box - Store macro in. The following three options are available −
- This Workbook.
- New Workbook.
- Personal Macro Workbook
This Workbook
This is the default option. The macro will be stored in your current workbook from where you created the macro.
New Workbook
This option, though available, is not recommended. You will be asking Excel to store the macro in a different new workbook and mostly it is not necessary.
Personal Macro Workbook
If you create several macros that you use across your workbooks, Personal Macro Workbook provides you with the facility to store all the macros at one place. You will learn more about this option in the next chapter.
Saving a Macro Enabled File
If you had chosen This Workbook as the option for storing the macro, you would need to save your workbook along with the macro.
Try to save the workbook. By default, you would be asking Excel to save the workbook as an .xls file. Excel displays a message saying that an Excel feature VB project cannot be saved in a macro free workbook, as shown below.
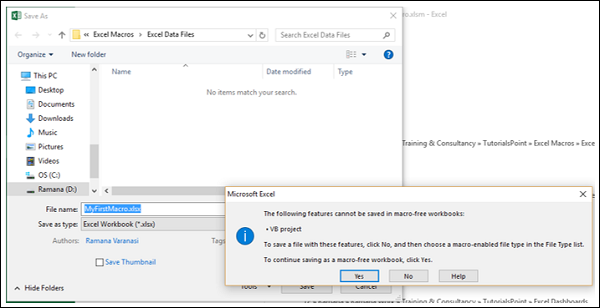
Note − If you click Yes, Excel will save your workbook as a macro free .xls file and your macro that you stored with This Workbook option will not get saved. To avoid this, Excel provides you an option to save your workbook as a macro-enabled workbook that will have .xlsm extension.
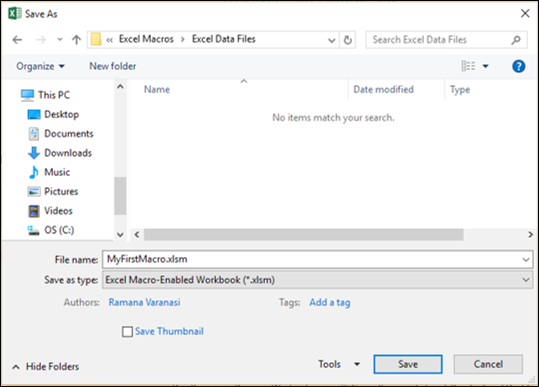
- Click No in the warning message box.
- Select Excel Macro-Enabled Workbook (*.xlsm) in the Save as type.
- Click Save.
You will learn more about these in later chapters in this tutorial.