- ASP.NET MVC Tutorial
- ASP.NET MVC - Home
- ASP.NET MVC - Overview
- ASP.NET MVC - Pattern
- ASP.NET MVC - Environment Setup
- ASP.NET MVC - Getting Started
- ASP.NET MVC - Life Cycle
- ASP.NET MVC - Routing
- ASP.NET MVC - Controllers
- ASP.NET MVC - Actions
- ASP.NET MVC - Filters
- ASP.NET MVC - Selectors
- ASP.NET MVC - Views
- ASP.NET MVC - Data Model
- ASP.NET MVC - Helpers
- ASP.NET MVC - Model Binding
- ASP.NET MVC - Databases
- ASP.NET MVC - Validation
- ASP.NET MVC - Security
- ASP.NET MVC - Caching
- ASP.NET MVC - Razor
- ASP.NET MVC - Data Annotations
- Nuget Package Management
- ASP.NET MVC - Web API
- ASP.NET MVC - Scaffolding
- ASP.NET MVC - Bootstrap
- ASP.NET MVC - Unit Testing
- ASP.NET MVC - Deployment
- ASP.NET MVC - Self-hosting
- ASP.NET MVC Useful Resources
- ASP.NET MVC - Quick Guide
- ASP.NET MVC - Useful Resources
- ASP.NET MVC - Discussion
ASP.NET MVC - Self-hosting
In this chapter, we will cover Self-Hosting. Self-Hosting creates a runtime environment for the application to run in any environment say MAC, or in Linux box, etc. Self-Hosting also means it will have a mini CLR version.
Deploy using File System
Let’s take a look at a simple example of self-hosting.
Step 1 − Once your ASP.NET MVC application is completed and you want to use selfhosting, right-click on the Project in the solution explorer.
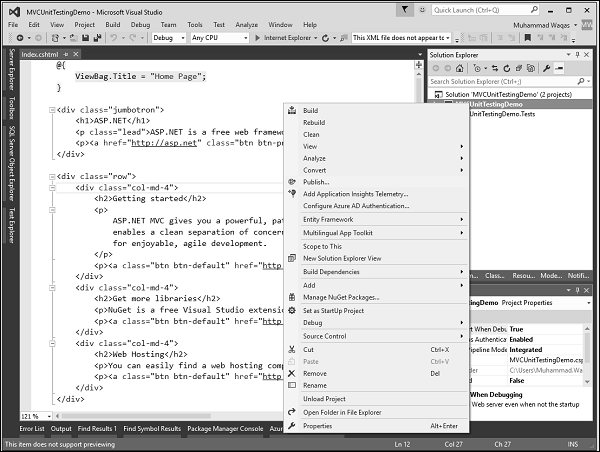
You will see the following dialog.
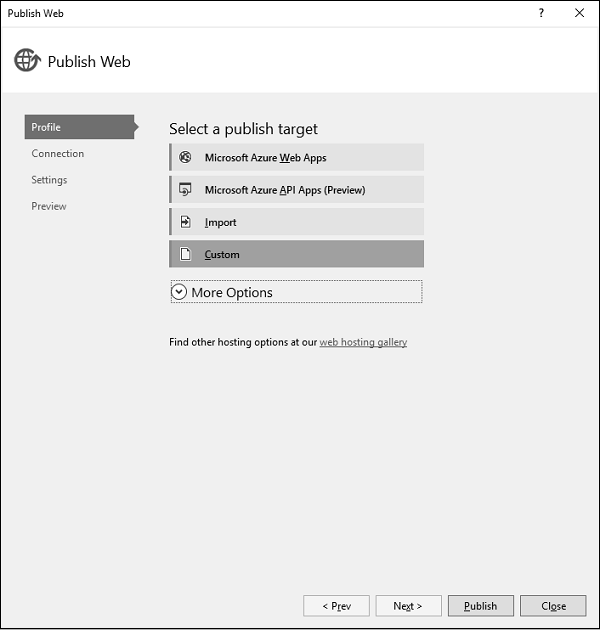
Step 2 − Click the ‘Custom’ option, which will display the New Custom Profile dialog.
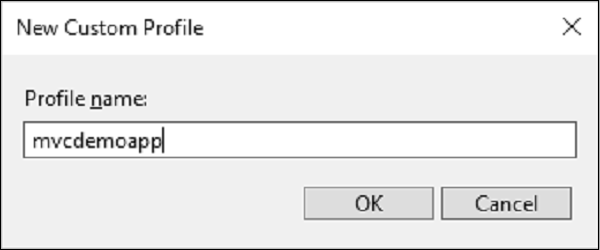
Step 3 − Enter the profile name and click Ok.
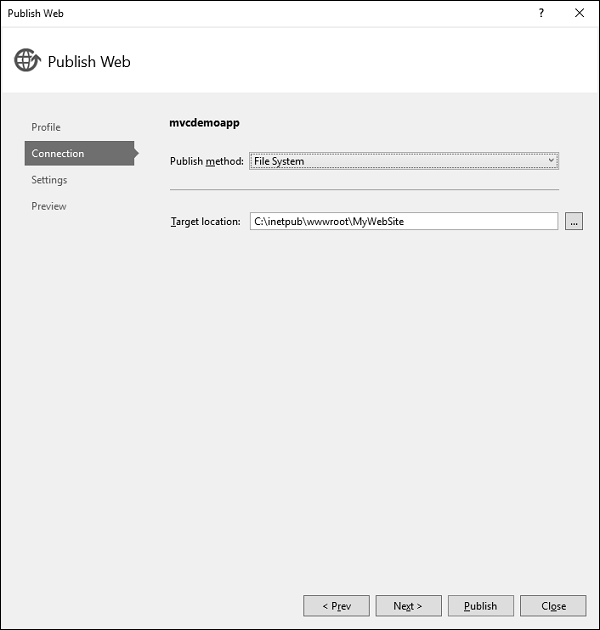
Step 4 − Select the File System from the Publish method dropdown list and also specify the target location. Click ‘Next’ button.
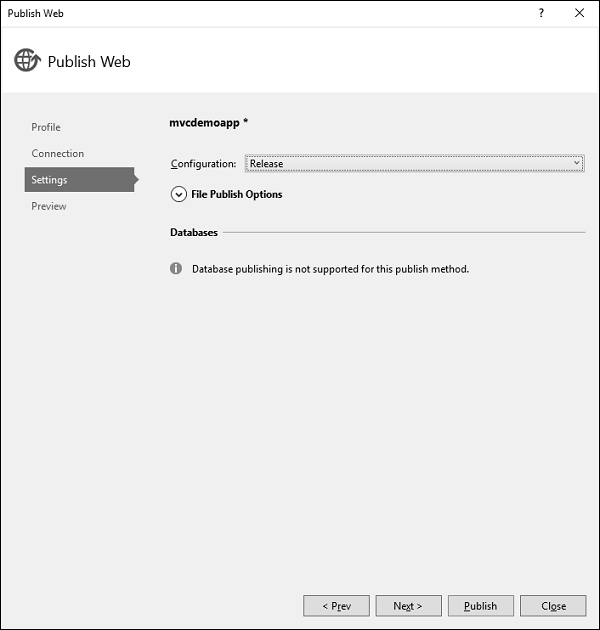
Step 5 − Expand the File Publish Options.
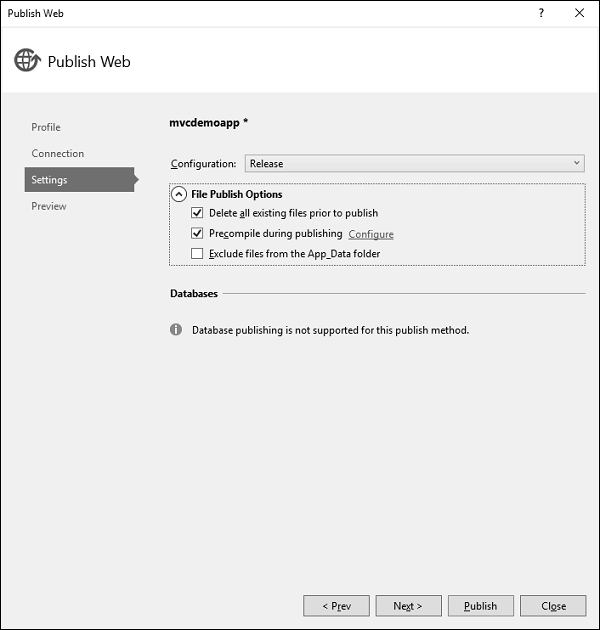
Step 6 − Check the ‘Delete all existing files prior to publish’ and ‘Precompile during publishing’ checkboxes and click ‘Next’ to continue.
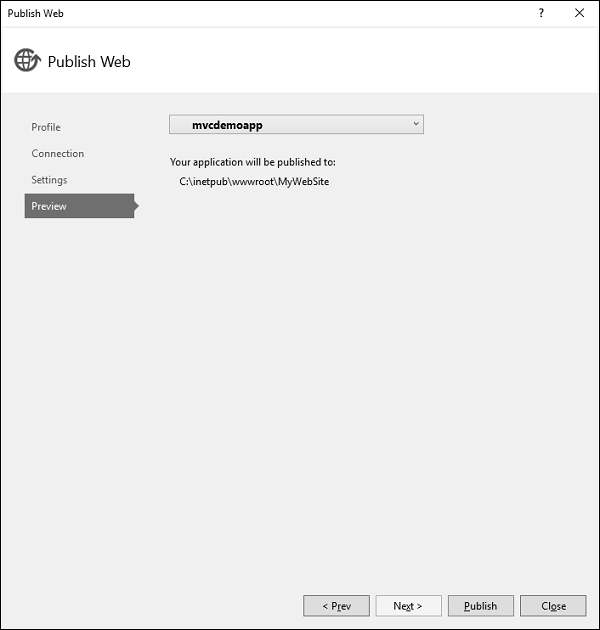
Step 7 − Click ‘Publish’ button, it will publish the files at the desired location.
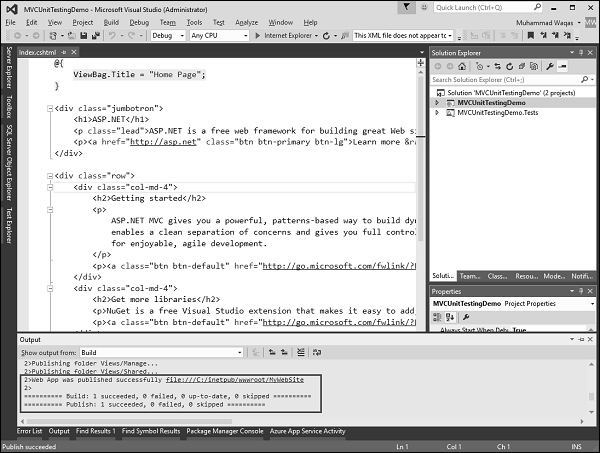
You will see all the files and folders in the target location on your system.
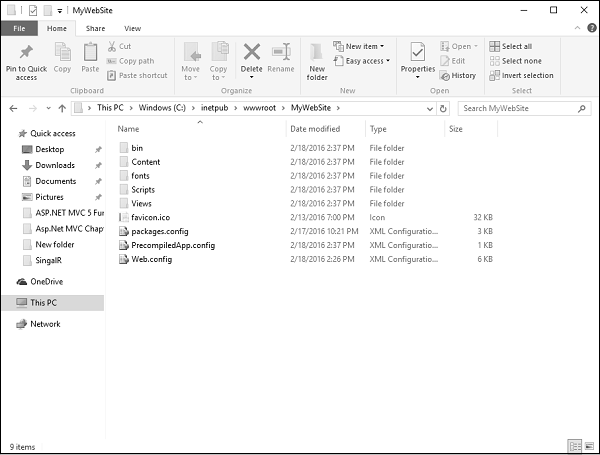
It will have all the files required to get deployed on the localhost.
Step 8 − Now open the Turn Windows Feature on or off and Expand Internet Information Services → World Wide Web Services → Application Development Features.
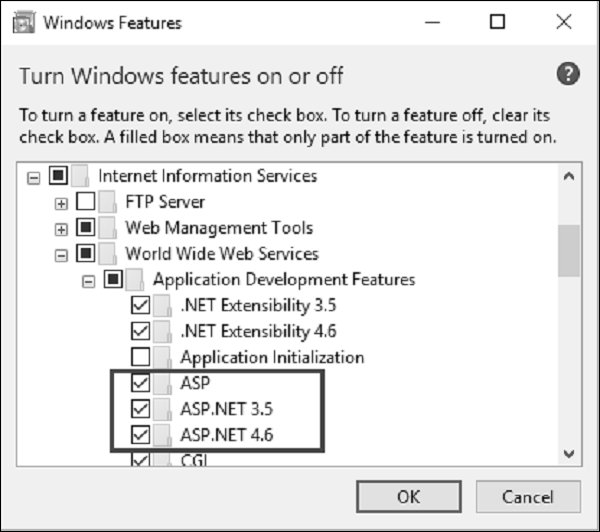
Step 9 − Check the checkboxes as shown in the above screenshot and click Ok.
Step 10 − Let’s open the IIS Manager as shown in the following screenshot.
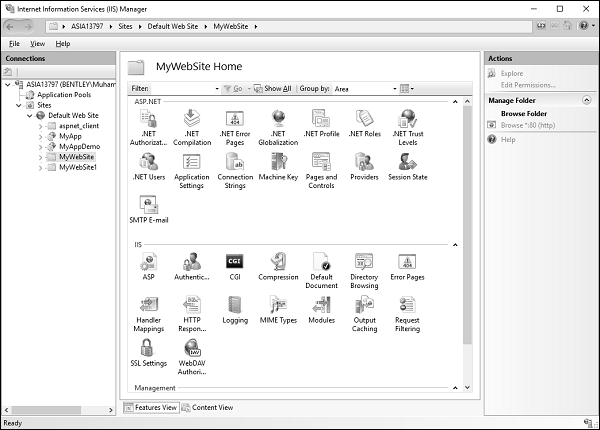
Step 11 − You will see different connections on the left side of the screen, right-click on MyWebSite.
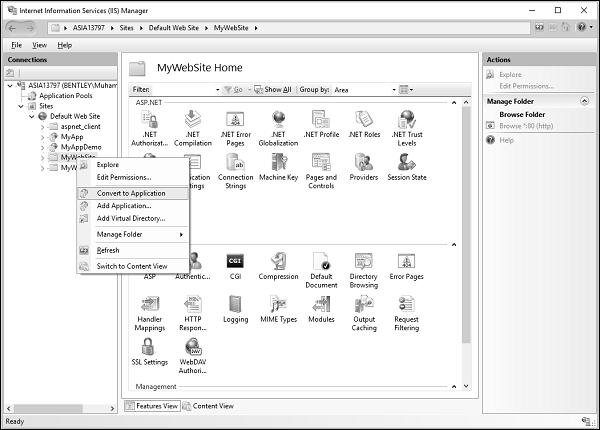
Step 12 − Select the ‘Convert to Application’ option.
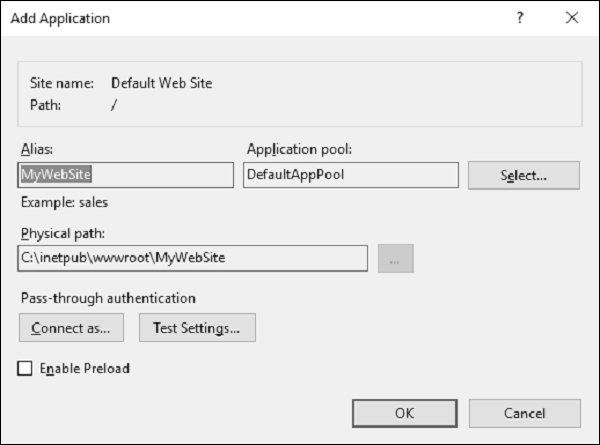
As you can see, its physical path is the same as we have mentioned above while publishing, using the File system.
Step 13 − Click Ok to continue.
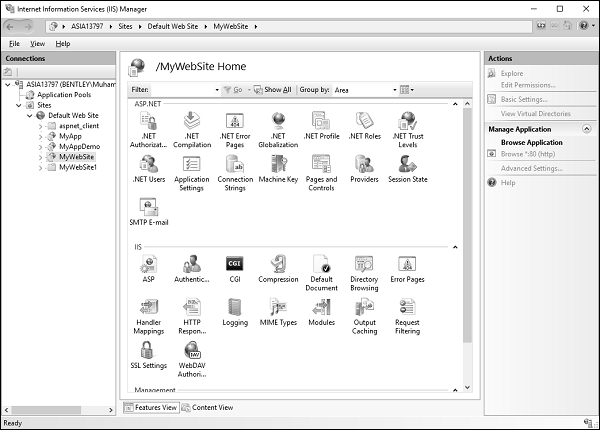
Now you can see that its icon has changed.
Step 14 − Open your browser and specify the following URL http://localhost/MyWebSite

You can see that it is running from the folder which we have specified during deployment.