- Windows Server 2012 - Home
- Overview
- Installation
- Server Roles
- PowerShell
- Remote Management
- Windows Firewall
- Remote Desktop Management
- Resource Monitor
- Active Directory
- DC Accounts
- File System
- Group Managed Service Accounts
- Group Policy Overview
- DHCP Role
- DNS Role
- Primary Zones
- Manage Records
- IIS Overview
- IIS Security
- Hyper-V
- Advanced Configuration
- Configure WSUS Role
- WSUS Policies & Tuning
- Sharing of Files
- File Manager
- Print Server
- Easy Printing
- Configure Print Drivers
- Network Services
- Backup Management
Windows Server 2012 - Sharing of Files
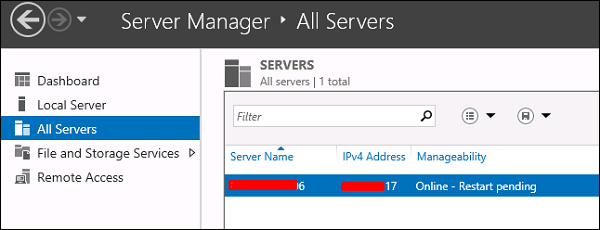
Another important service for Windows Server is Sharing Files and for this purpose the Windows Server 2012 has File and Storage Services, which is found in Server Manager on the left pane as shown in the screenshot given below.
Now let us see how to create a Share in the system with its respective rights. To do this, we should follow the steps given below.
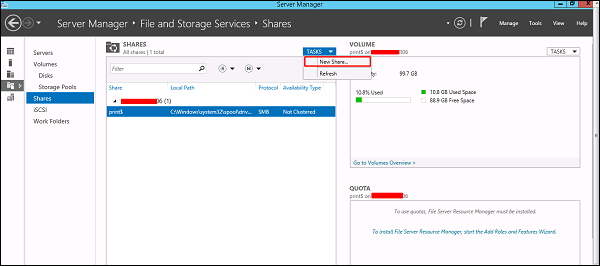
Step 1 − Click Server Manager → then click on File and Storage Services in the Server Manager sidebar → click on Shares → click on the Shares drop-down list → click on New Share.
Step 2 − This will open the New Share Wizard → From here, select a type of share → I will create a very basic SMB share, so click on SMB Share Quick. We can later configure the user rights of this share.

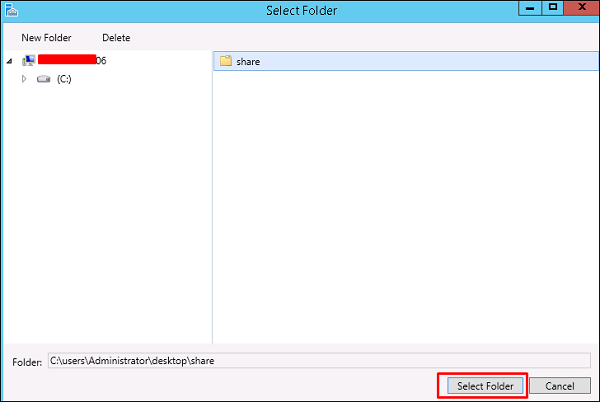
Step 3 − Click Type a custom path → click on Browse button.

Step 4 − Select the folder that you want to share → Click Select Folder.
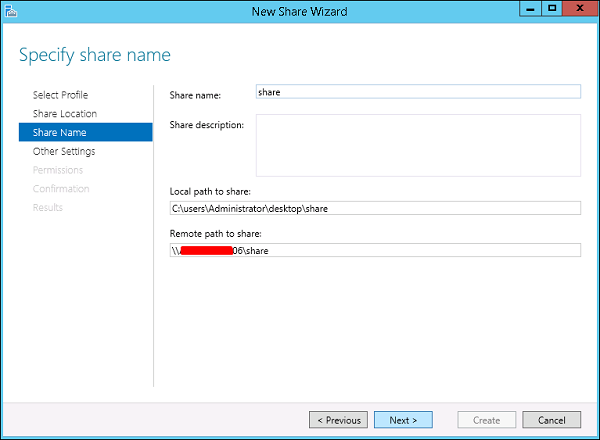
Step 5 − Click Next.
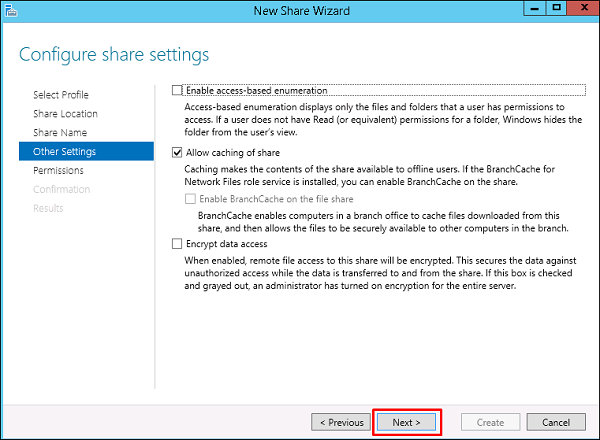
Step 6 − You can choose one of the three options as per your need. The explanations are also mentioned alongside the check boxes, once selected → Next.
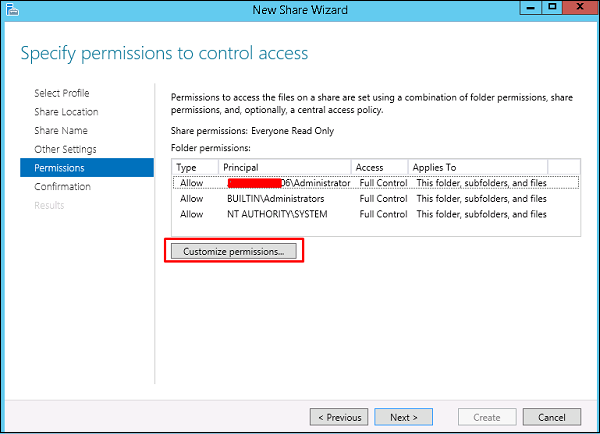
Step 7 − Click on Customize Permissions to authorize the rights that your users need to have.
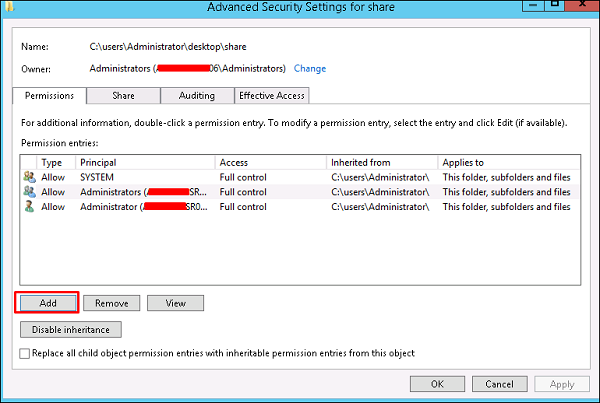
Step 8 − Click on Add if you would like to add other users.
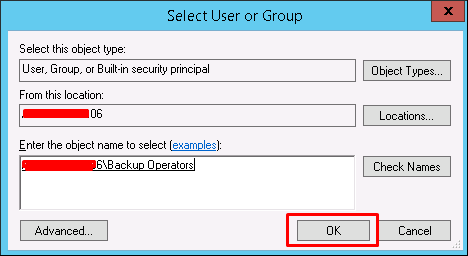
Step 9 − Click on Select a principal.
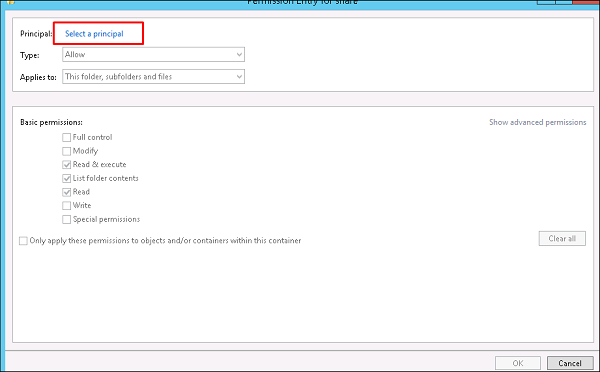
Step 10 − We should give rights that can be done by entering the object name, which is Backup Operator in this case and then → OK.
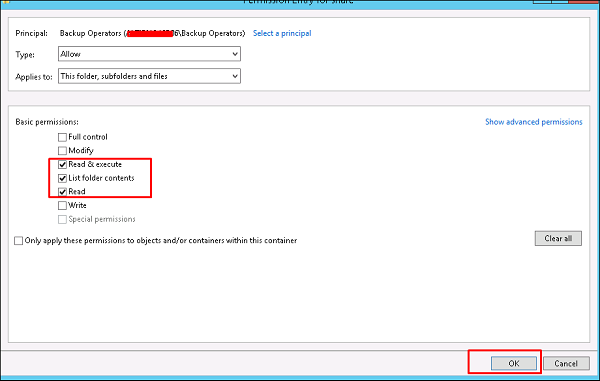
Step 11 − To this user we will give Read\Write rights, for that we will check the respective boxes and then → OK → OK → Next.
Step 12 − Click on Create.

