- Windows Server 2012 - Home
- Overview
- Installation
- Server Roles
- PowerShell
- Remote Management
- Windows Firewall
- Remote Desktop Management
- Resource Monitor
- Active Directory
- DC Accounts
- File System
- Group Managed Service Accounts
- Group Policy Overview
- DHCP Role
- DNS Role
- Primary Zones
- Manage Records
- IIS Overview
- IIS Security
- Hyper-V
- Advanced Configuration
- Configure WSUS Role
- WSUS Policies & Tuning
- Sharing of Files
- File Manager
- Print Server
- Easy Printing
- Configure Print Drivers
- Network Services
- Backup Management
Windows Server 2012 - Easy Printing
Easy Printing is a feature which allows the client that connects via RDS to print over the network. It is installed in Windows server 2012 by default. Easy Printing is basically where the printer device is defined on the client system and a printer is connected directly via the network. All configuration is done via Group Policy Objects.
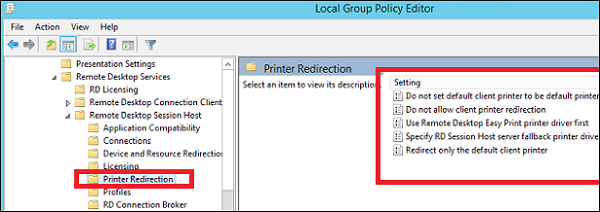
The configuration settings can be found at Computer Configuration Administrative Templates Remote Desktop Services Printer Redirection.
For User Configuration, it will be have the same path Administrative Templates Remote Desktop Services Printer Redirection.
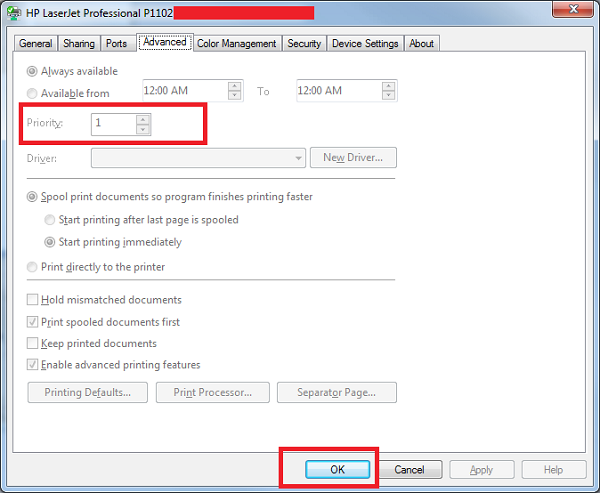
In administration, another important aspect is to set the priority for the printer, so the users have the same printer installer and can print as per their priorities. In this, the users printing with higher priorities overpass the printing will lower priorities.
To do so, you need to add different logical printers and then add then as per the users or departments that have different priorities.
To do this, firstly let us add a printer to the print server by following the steps given below.
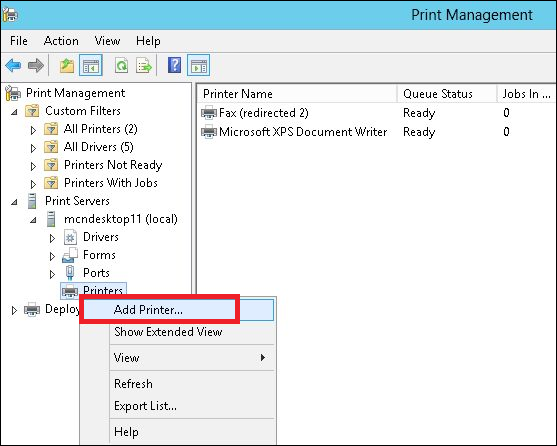
Step 1 − Click on Server Manager → Tools → Print Management → then on the left panel click Print Servers → then right click on Printers and → Add Printer.
Step 2 − Next, follow the wizard to add the network printer like you do for a normal workstation and at the end this printer will be shown in the Printer Management.
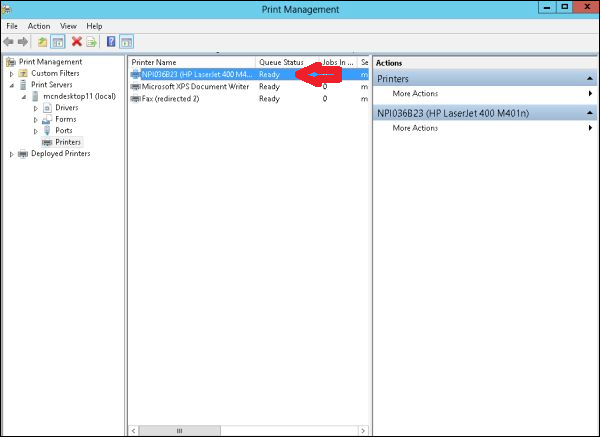
Step 3 − Now that we have installed the printer, we can set the priority on this printer Right click on the printer → Advanced → put a number at Priority from 1-99 → OK.