- Windows Server 2012 - Home
- Overview
- Installation
- Server Roles
- PowerShell
- Remote Management
- Windows Firewall
- Remote Desktop Management
- Resource Monitor
- Active Directory
- DC Accounts
- File System
- Group Managed Service Accounts
- Group Policy Overview
- DHCP Role
- DNS Role
- Primary Zones
- Manage Records
- IIS Overview
- IIS Security
- Hyper-V
- Advanced Configuration
- Configure WSUS Role
- WSUS Policies & Tuning
- Sharing of Files
- File Manager
- Print Server
- Easy Printing
- Configure Print Drivers
- Network Services
- Backup Management
Windows Server 2012 - Server Roles
Like the previous version, Windows Server 2012 has the following roles which can be used and in the subsequent chapter, we will see how to install and configure the most important ones.
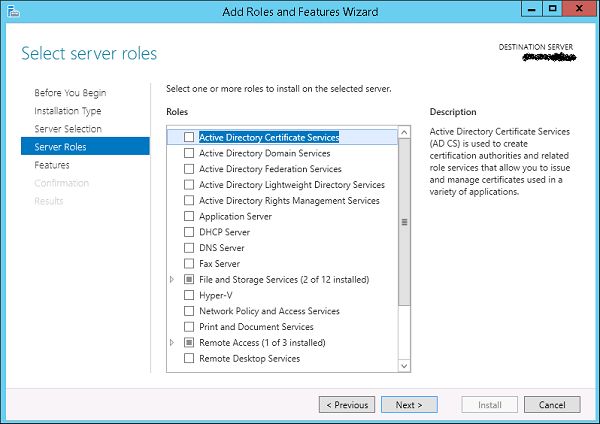
The following picture shows all the roles. A small reminder! - Roles and Features are the tools that you need to install or activate in order to complete your IT Administration duties, without their installation you cannot do anything.

To add a role in the server we should adhere to the following steps −
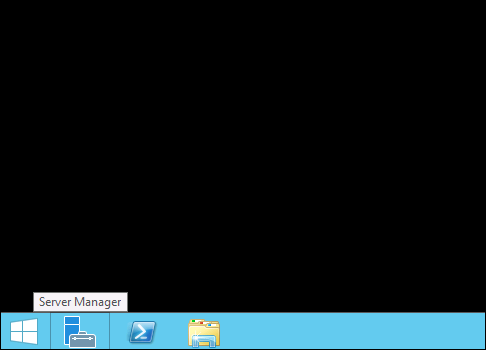
Step 1 − Click with the mouse on Server Manager which is found in the task bar as shown in the following screenshot.
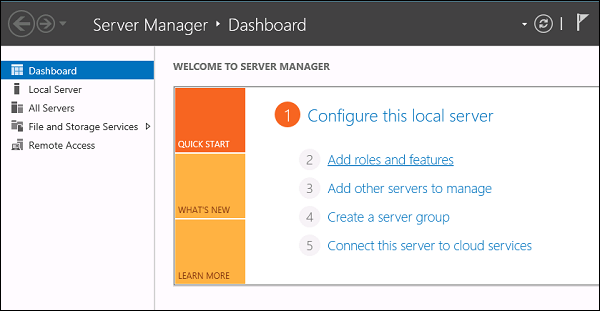
Step 2 − After opening the Server Manager, click on the second option Add roles and features.
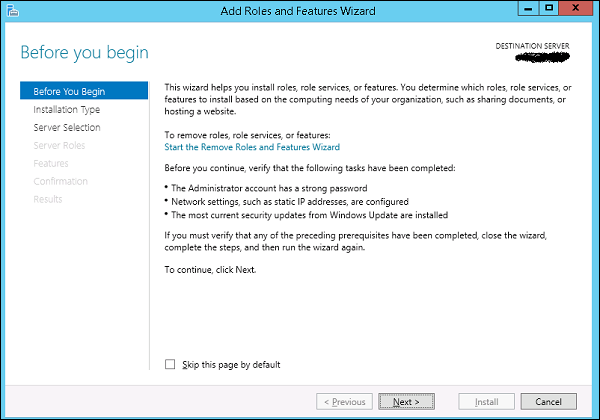
Step 3 − The following screen will appear, then you can Click on the Next button.
Step 4 − Select the Role-based or feature-based installation and then click on the Next button.

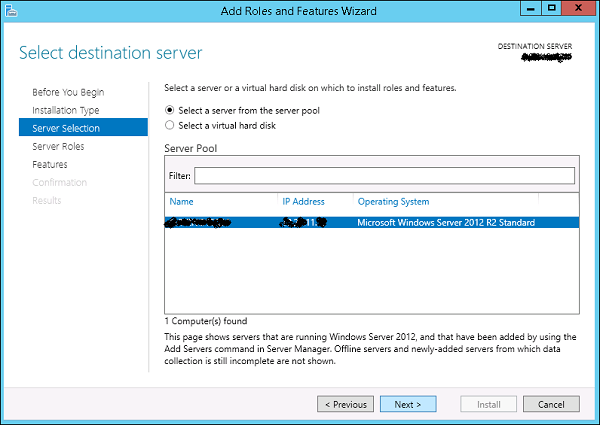
In the next screen that appears, you will have the following two options −
Option 1 − Select a server from the server pool. This option is if you want to install the services in the physical server like being done in the following screenshot.
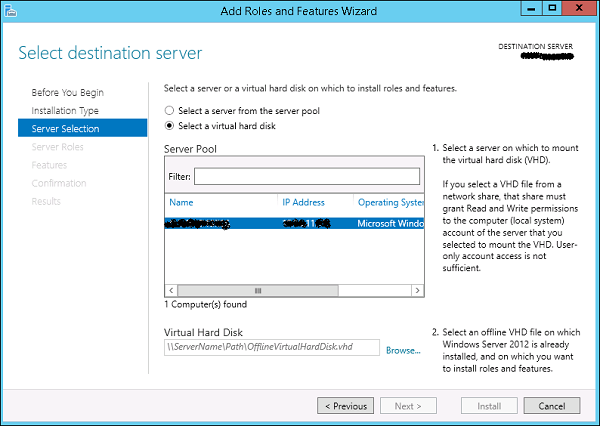
Option 2 − Select a virtual Hard disk if you want to install the services in a virtual disk that can be somewhere in the network storage. Take a look at the following screenshot for better understanding.
Step 5 − The last step will be to check the service that you want to install, but in the upcoming chapters we will continue this setup for each and every important services.