- Windows Server 2012 - Home
- Overview
- Installation
- Server Roles
- PowerShell
- Remote Management
- Windows Firewall
- Remote Desktop Management
- Resource Monitor
- Active Directory
- DC Accounts
- File System
- Group Managed Service Accounts
- Group Policy Overview
- DHCP Role
- DNS Role
- Primary Zones
- Manage Records
- IIS Overview
- IIS Security
- Hyper-V
- Advanced Configuration
- Configure WSUS Role
- WSUS Policies & Tuning
- Sharing of Files
- File Manager
- Print Server
- Easy Printing
- Configure Print Drivers
- Network Services
- Backup Management
Selected Reading
Group Policy Overview
The features of Group Policy Management were installed during the DC Role Installation. Many of the management features havent changed as compared to the previous versions of Windows Server. To create a GPO (Group Policy Overview), we need to follow the steps given below.
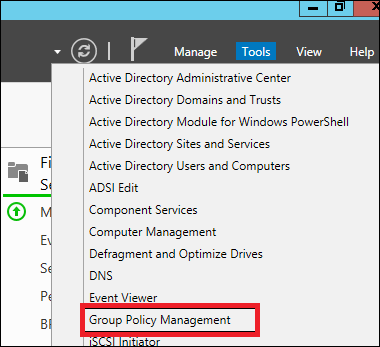
Step 1 − To create a GPO open the Group Policy Management Console (GPMC), go to Server Manager → Tools → Group Policy Management as shown in the screenshot below.
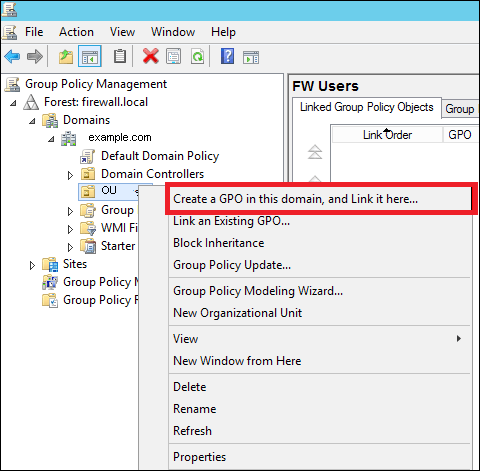
Step 2 − Right-click on an OU → select the first option Create a GPO in this domain and Link it here.
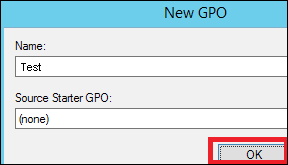
Step 3 − Type the Name for this GPO object → click OK button. We have selected the name as Test GPO.
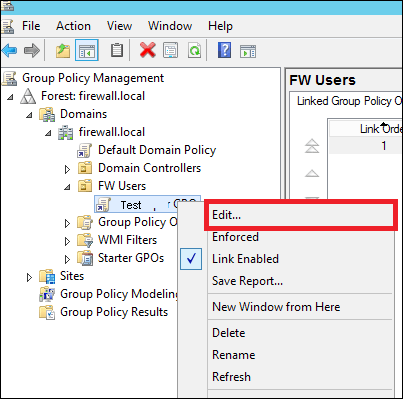
Step 4 − Right-click the GPO object and click Edit.

Advertisements