- Windows Server 2012 - Home
- Overview
- Installation
- Server Roles
- PowerShell
- Remote Management
- Windows Firewall
- Remote Desktop Management
- Resource Monitor
- Active Directory
- DC Accounts
- File System
- Group Managed Service Accounts
- Group Policy Overview
- DHCP Role
- DNS Role
- Primary Zones
- Manage Records
- IIS Overview
- IIS Security
- Hyper-V
- Advanced Configuration
- Configure WSUS Role
- WSUS Policies & Tuning
- Sharing of Files
- File Manager
- Print Server
- Easy Printing
- Configure Print Drivers
- Network Services
- Backup Management
Advanced Configuration
In this chapter, we will see how to create a virtual machine. Firstly, we should open the Hyper-V manager and then follow the steps given below.
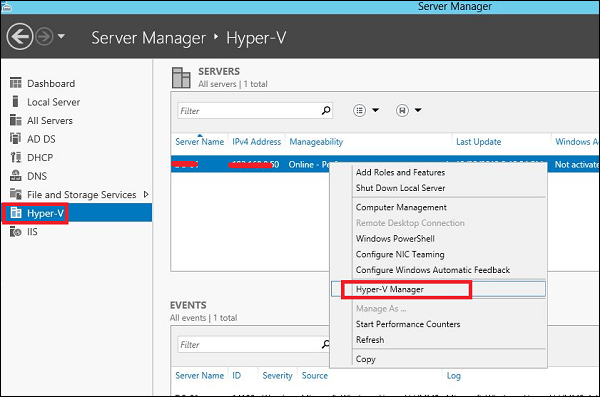
Step 1 − Open Server Manager → and then Click on Hyper-V.
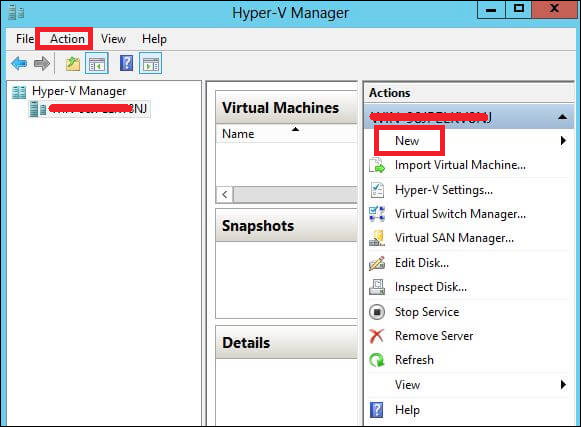
Step 2 − Click New on the Right side Panel or click on Action button in the options as shown in the screenshot below.
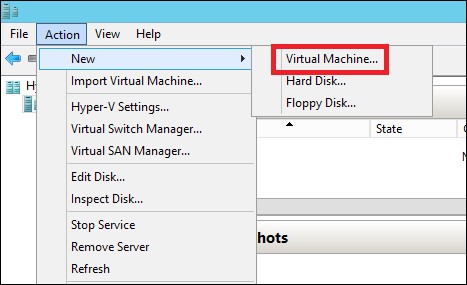
Step 3 − Double Click on the Virtual Machine option as shown in the following screenshot.
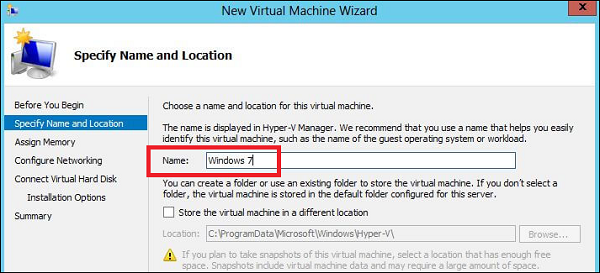
Step 4 − A new table will be open → Type the Name of your new machine and then click Next.
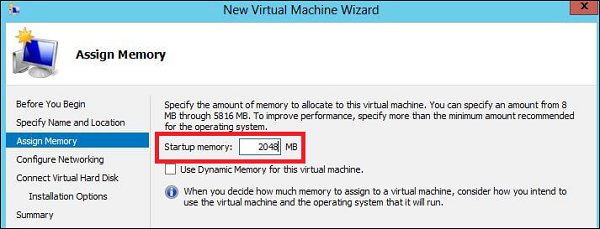
Step 5 − A new table will be open where you must allocate the memory. Keep in mind that you cannot choose more memory than what you have in your system.
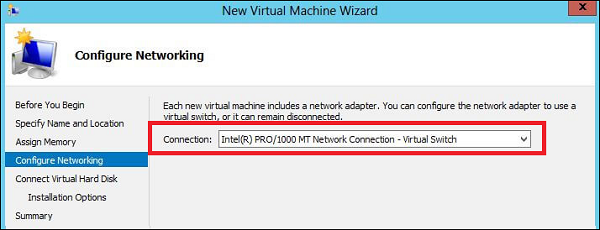
Step 6 − In the Connection dropdown box, choose you physical network adaptor and click Next.
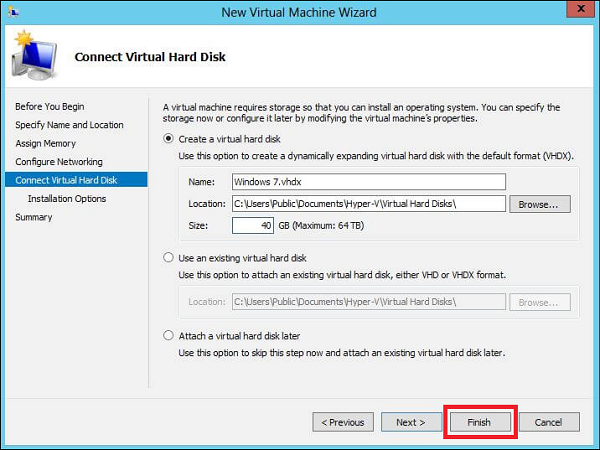
Step 7 − Now it is time to Create a Virtual Hard disk. If you already have one, choose the second option.
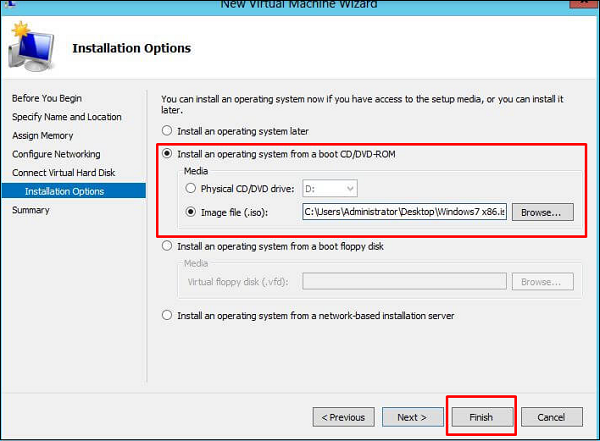
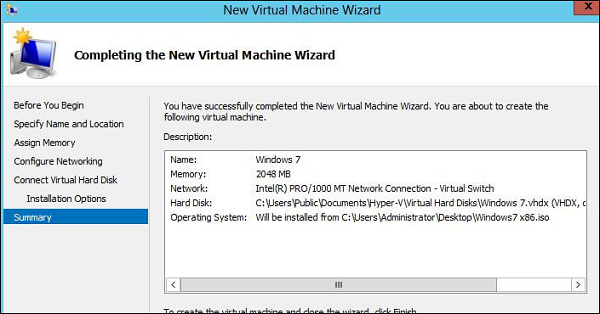
Step 8 − Select the Image of ISO that should be installed and then click Finish.
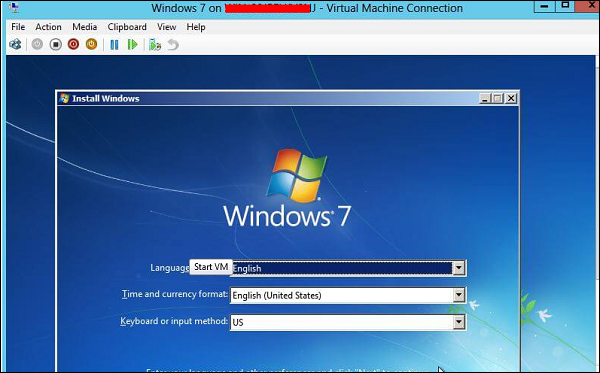
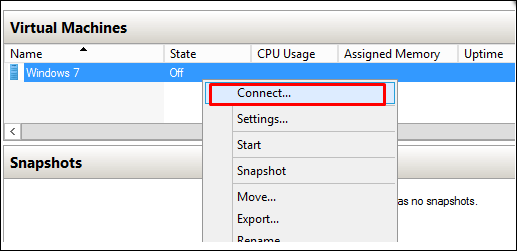
Step 9 − Connect to the Virtual machine. To do so, Right Click on the machine name and then → Connect.
Step 10 − After that, the Installation of your ISO will continue.