- Silverlight - Home
- Silverlight - Overview
- Silverlight - Environment Setup
- Silverlight - Getting Started
- Silverlight - XAML Overview
- Silverlight - Project Types
- Silverlight - Fixed Layouts
- Silverlight - Dynamic Layout
- Constrained vs. Unconstrained
- Silverlight - CSS
- Silverlight - Controls
- Silverlight - Buttons
- Silverlight - Content Model
- Silverlight - ListBox
- Silverlight - Templates
- Silverlight - Visual State
- Silverlight - Data Binding
- Silverlight - Browser Integration
- Silverlight - Out-of-Browser
- Silverlight - Applications, Resources
- Silverlight - File Access
- Silverlight - View Model
- Silverlight - Input Handling
- Silverlight - Isolated Storage
- Silverlight - Text
- Silverlight - Animation
- Silverlight - Video and Audio
- Silverlight - Printing
Silverlight - Input Handling
In this chapter, we will learn how to handle user input in Silverlight applications. Silverlight provides a powerful API with the help of which an application can get input from various devices such as mouse, keyboard, and touch etc.
Input Types
There are several different ways, a user can interact with your application. The most obvious way is with a mouse. Silverlight offers events for tracking −
- Mouse movements
- Button clicks, and
- Wheel activity
There is also the keyboard, of course, and Silverlight also supports touch screen input. If you are familiar with touch support in Windows, you know that touch input can be represented either as low-level events providing detailed information, or it can be summarized into high-level events called gestures.
Mouse Events
Let us get started by looking at the mouse input events Silverlight offers. Some events are concerned with the movement of the mouse pointer.
The MouseMove event is raised anytime the pointer moves while it is over the elements to which you have attached the handler.
You also get MouseEnter and MouseLeave events to notify you of when the mouse moves in to, and out of the element.
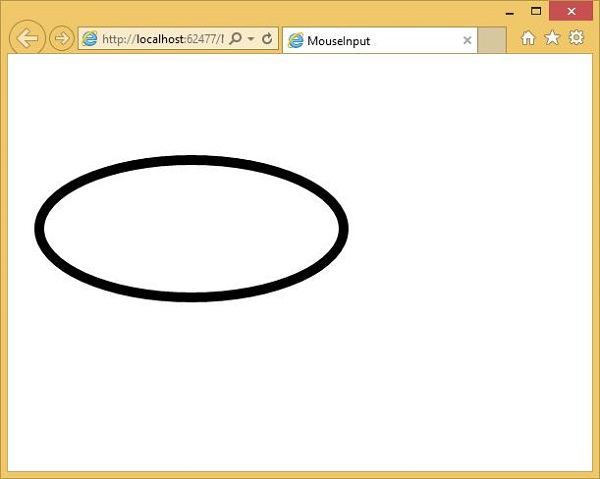
Given below is the XAML code in which ellipse and TextBlock is added.
<UserControl x:Class="MouseInput.MainPage"
   xmlns = "http://schemas.microsoft.com/winfx/2006/xaml/presentation"
   xmlns:x = "http://schemas.microsoft.com/winfx/2006/xaml"
   xmlns:d = "http://schemas.microsoft.com/expression/blend/2008"
   xmlns:mc = "http://schemas.openxmlformats.org/markup-compatibility/2006"
   mc:Ignorable = "d"
   d:DesignHeight = "300" d:DesignWidth = "400">

   <Grid x:Name = "LayoutRoot" Background = "White">

      <TextBlock x:Name = "mouseText" FontSize = "40"
         VerticalAlignment = "Top" Height = "76" Margin = "0,10,0,0" />

      <Ellipse
         Name = "myEllipse"
         Width = "320" Height = "150" HorizontalAlignment = "Left"
         VerticalAlignment = "Top" Margin = "27,103,0,0"
         Stroke = "Black" StrokeThickness = "10" Fill = "#00FF0000"
         MouseEnter = "myEllipse_MouseEnter"
         MouseLeave = "myEllipse_MouseLeave"
         MouseMove = "myEllipse_MouseMove" />

   </Grid>

</UserControl>
Given below is the implementation for different mouse input events.
using System.Windows.Controls;
using System.Windows.Input;
using System.Windows.Media;

namespace MouseInput {

   public partial class MainPage : UserControl {

      public MainPage() {
         InitializeComponent();
      }

      private void myEllipse_MouseEnter(object sender, MouseEventArgs e) {
         mouseText.Text = "Mouse Enter";
         myEllipse.Stroke = new SolidColorBrush(Colors.Blue);
      }

      private void myEllipse_MouseLeave(object sender, MouseEventArgs e) {
         mouseText.Text = "Mouse Leave";
         myEllipse.Stroke = new SolidColorBrush(Colors.Black);
      }

      private void myEllipse_MouseMove(object sender, MouseEventArgs e) {
         mouseText.Text = "Mouse Move: " + e.GetPosition(myEllipse);
      }
   }
}
When the above code is compiled and executed, you will see the following output.
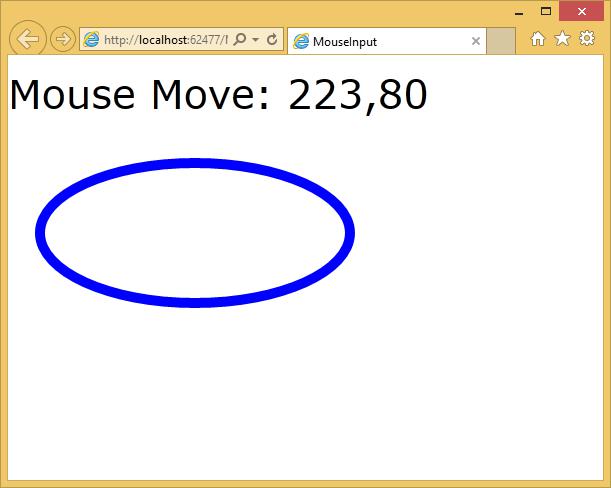
When the mouse enters the ellipse, you will see the change in color and coordinates.
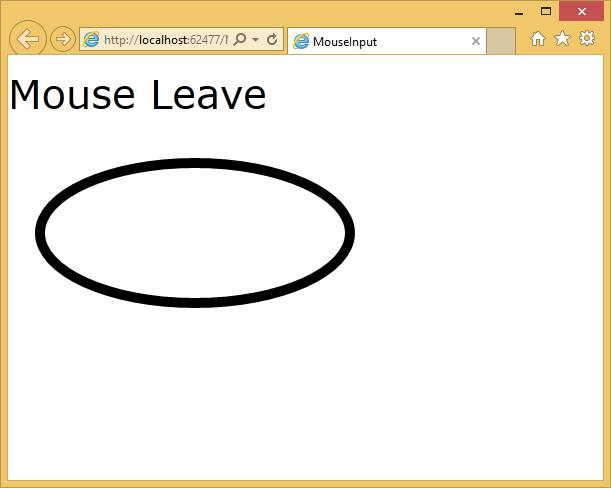
When the mouse leaves the ellipse, it will show a message mouse leave and will change to the default color.
Keyboard
The easiest way for a user to enter textual data into your application is through the keyboard, where available. Remember that not all mobile devices have keyboards except for laptops and desktops.
Silverlight offers two straightforward events for keyboard input, KeyUp and KeyDown.
Both of these pass a KeyEventArgs to the handler, and the Key property indicates which key was pressed.
In the below example some of the keyboard input are handled.
The following example defines a handler for the Click event and a handler for the KeyDown event.
Given below is the XAML code in which different UI elements are added.
<UserControl x:Class = "KeyboardInput.MainPage"
   xmlns = "http://schemas.microsoft.com/winfx/2006/xaml/presentation"
   xmlns:x = "http://schemas.microsoft.com/winfx/2006/xaml"
   xmlns:d = "http://schemas.microsoft.com/expression/blend/2008"
   xmlns:mc = "http://schemas.openxmlformats.org/markup-compatibility/2006"
   mc:Ignorable = "d"
   d:DesignHeight = "300" d:DesignWidth = "400">

   <Grid x:Name = "LayoutRoot" Background = "White">

      <StackPanel Orientation = "Horizontal" KeyDown = "OnTextInputKeyDown">
         <TextBox Width = "400" Height = "30" Margin = "10"/>

         <Button Click = "OnTextInputButtonClick"
            Content = "Open" Margin = "10" Width = "50" Height = "30"/>

      </StackPanel>

   </Grid>

</UserControl>
Given below is the C# code in which different keyboard and click events are handled.
using System.Windows;
using System.Windows.Controls;
using System.Windows.Input;
namespace KeyboardInput {
public partial class MainPage : UserControl {
public MainPage() {
InitializeComponent();
}
private void OnTextInputKeyDown(object sender, KeyEventArgs e) {
if (e.Key == Key.O) {
handle();
e.Handled = true;
}
}
private void OnTextInputButtonClick(object sender, RoutedEventArgs e) {
handle();
//e.Handled = true;
}
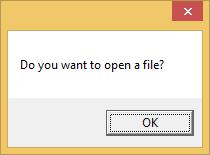
public void handle() {
MessageBox.Show("Do you want to open a file?");
}
}
}
When the above code is compiled and executed, you will see the following −
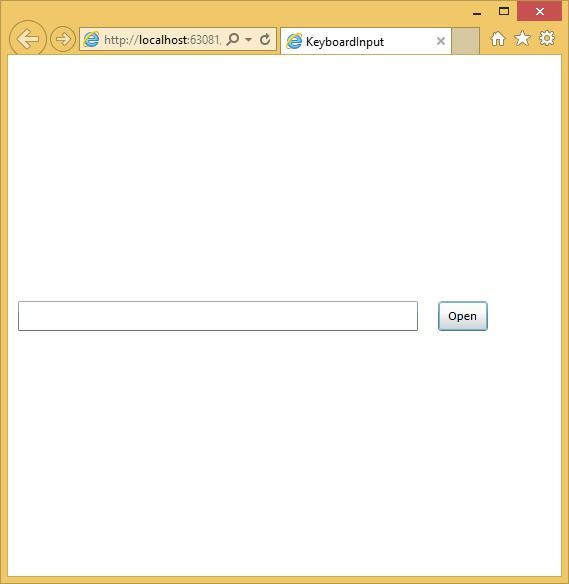
If you click the Open button or click in the textbox and click OK, then it will display the same message.
We recommend you to execute the above example for better understanding.
