- Silverlight - Home
- Silverlight - Overview
- Silverlight - Environment Setup
- Silverlight - Getting Started
- Silverlight - XAML Overview
- Silverlight - Project Types
- Silverlight - Fixed Layouts
- Silverlight - Dynamic Layout
- Constrained vs. Unconstrained
- Silverlight - CSS
- Silverlight - Controls
- Silverlight - Buttons
- Silverlight - Content Model
- Silverlight - ListBox
- Silverlight - Templates
- Silverlight - Visual State
- Silverlight - Data Binding
- Silverlight - Browser Integration
- Silverlight - Out-of-Browser
- Silverlight - Applications, Resources
- Silverlight - File Access
- Silverlight - View Model
- Silverlight - Input Handling
- Silverlight - Isolated Storage
- Silverlight - Text
- Silverlight - Animation
- Silverlight - Video and Audio
- Silverlight - Printing
Silverlight - Environment Setup
Microsoft provides two important tools for Silverlight application development. They are −
- Visual Studio
- Expression Blend
Currently, both tools can create Silverlight projects, but the fact is that Visual Studio is used more by developers while Blend is still used more often by designers. Microsoft provides a free version of visual studio, which can be downloaded from https://www.visualstudio.com. For this tutorial, we will be mostly using Visual Studio.
Installation
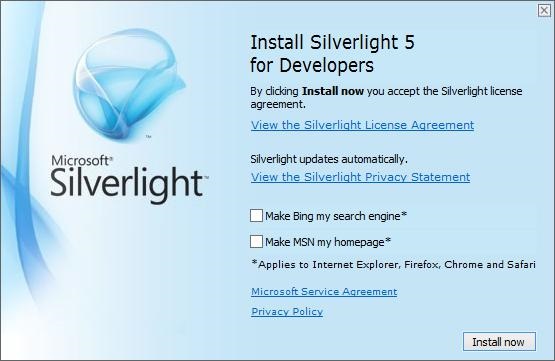
Step 1 − Once Silverlight is downloaded, run the installer. The following dialog box will be displayed.
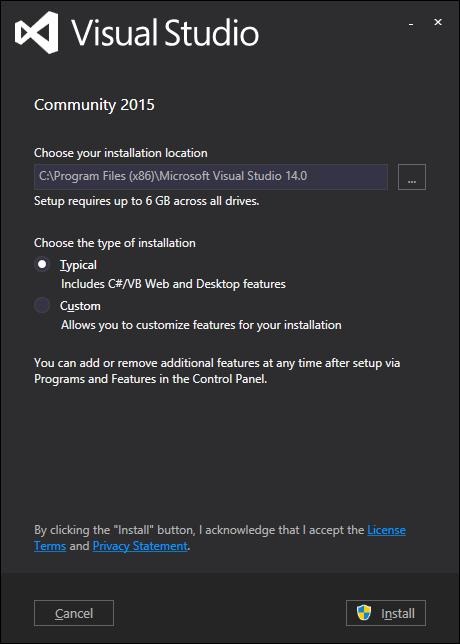
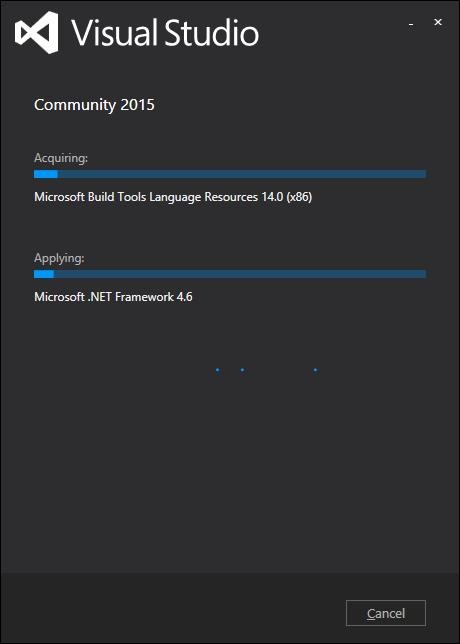
Step 2 − Click the Install button and it will start the installation process.
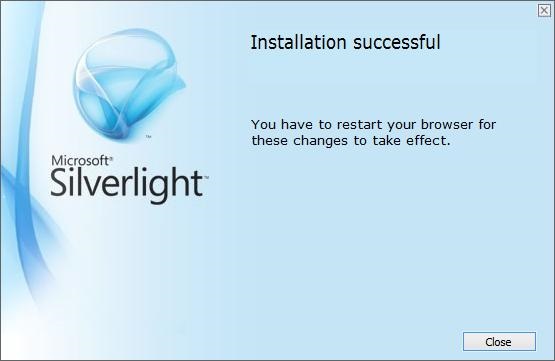
Step 3 − Once Sivelight is installed successfully, you will see the following dialog box.
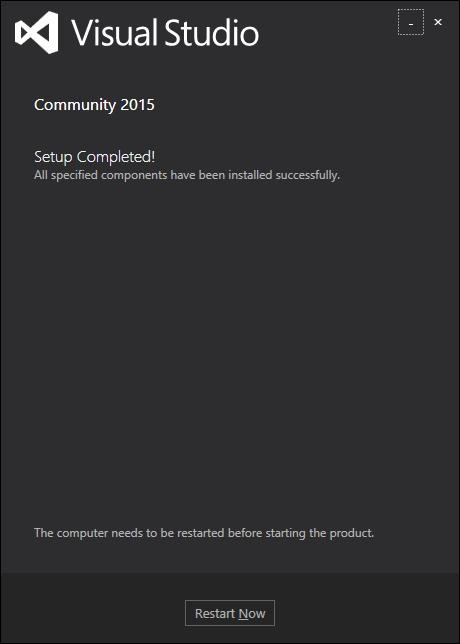
Step 4 − Close this dialog box and restart your computer if required.
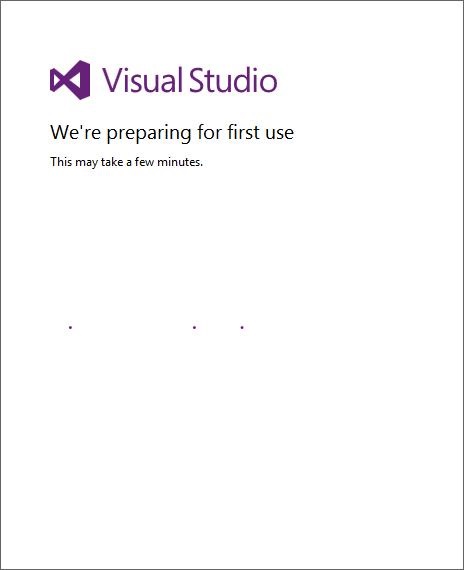
Step 5 − Now open Visual studio from the Start menu, which will open the dialog box shown below. It will take some time for preparation, while staring for the first time.
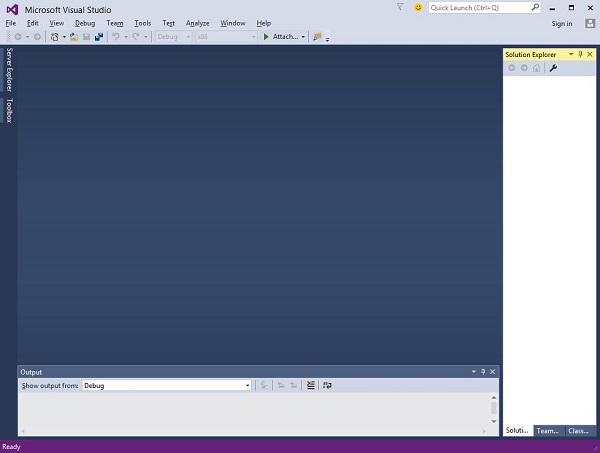
Step 6 − Next, you will see the main window of Visual Studio.
Step 7 − Now, to start with Silverlight application, you also need to install Silverlight Developer tool on your machine. Download and install the latest Silverlight Developer tool from here
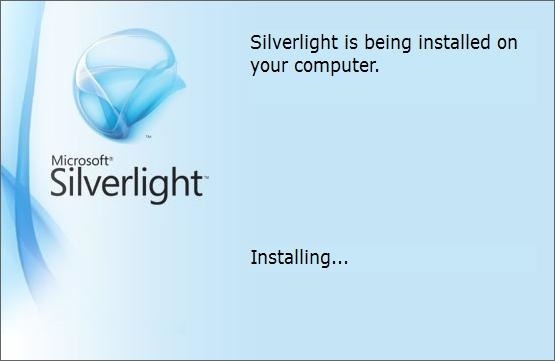
Step 8 − Click Install. It will take some time for installation.
Step 9 − Once the installation is complete, you will see the following message.
Step 10 − Now you are ready to build your first Silverlight application. Click Close.
