- PPT - Home
- PPT - Getting Started
- PPT - Explore Windows
- PPT - Backstage View
- PPT - Create Presentation
- PPT - Add New Slides
- PPT - Adding Text in Boxes
- PPT - Adding New Text Boxes
- PPT - Deleting Existing Slide
- PPT - Rearranging Slides
- PPT - Adding Slide Notes
- PPT - Managing Sections
- PPT - Working with Outlines
- PPT - Powerpoint Sidebar
- PPT - Presentation Views
- PPT - Setting Backgrounds
- PPT - Slide Orientations
- PPT - Saving Presentation
- PPT - Review Presentation
- PPT - Adding Slide Numbers
- PPT - Adding Header & Footer
- PPT - Running Slide Show
- PPT - Keyboard Shortcuts
- PPT - Get Context Help
- PPT - Copy & Paste Content
- PPT - Find & Replace Content
- PPT - Undo Edited Changes
- PPT - Spelling Check
- PPT - Content Translation
- PPT - Setting Language Type
- PPT - Duplicating Content
- PPT - Special Characters
- PPT - Slides Zoom In-Out
- Formatting Presentation
- PPT - Font Management
- PPT - Setting Text Fonts
- PPT - Text Decoration
- PPT - Change Text Case
- PPT - Change Text Size
- PPT - Change Text Color
- PPT - Text Alignments
- PPT - Indent Paragraphs
- PPT - Set Line Spacing
- Borders and Shades
- PPT - Apply Formatting
- PPT - Using Slide Master
- PPT - Save Design Template
- Working with Multimedia
- PPT - Add Pictures to Slide
- PPT - Editing Added Pictures
- PPT - Format Added Pictures
- PPT - Inserting a Screenshot
- PPT - Adding Shapes to Slide
- PPT - Editing Added Shapes
- PPT - Format Added Shapes
- PPT - Adding Text to Shapes
- PPT - Arrange Shapes/Images
- PPT - Group/Ungroup Objects
- PPT - Adding Audio & Video
- PPT - Add & Format Tables
- PPT - Add & Format Charts
- PPT - Add & Format SmartArt
- PPT - Add & Preview Animations
- PPT - Add & Preview Transitions
- Sharing Presentation
- PPT - Create a PDF File
- PPT - Create a Video File
- PPT - Create Image File
- PPT - Printing Presentation
- PPT - Broadcast Slide Show
- PPT - Packaging Presentation
- PPT - Setting Document Password
- PPT - Email Slide Show
- MS Powerpoint Useful Resources
- PPT - Quick Guide
- PPT - Useful Resources
- PPT - Discussion
Using Slide Master in Powerpoint 2010
Slide master is simple way of applying changes to the entire slide. Every presentation has at least one slide master, but you can have more than one. Using features like copy/ paste and format painting you can make changes to different sections within the presentation to make them look similar, however, if you want to use a theme and background throughout the slide, using the slide master is a simpler and more graceful way of approaching it.
Given below are the steps to customize your slide master.
Step 1 − Go to the Master Views group under the View ribbon.
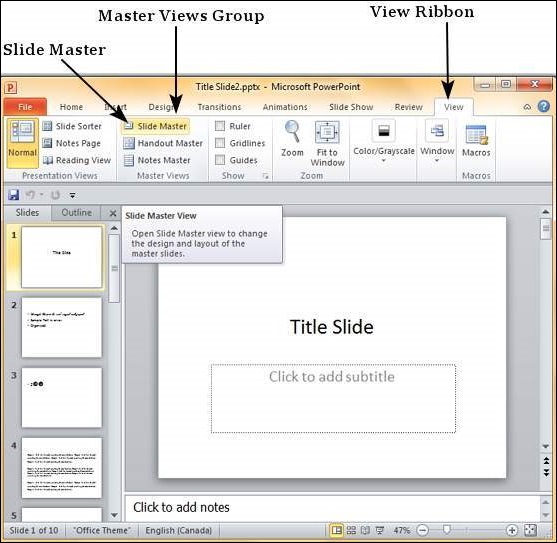
Step 2 − Click on Slide Master to open the Slide Master Ribbon. The top most slide in the left sidebar is the Master slide. All the slides within this master template will follow the settings you add on this master slide.
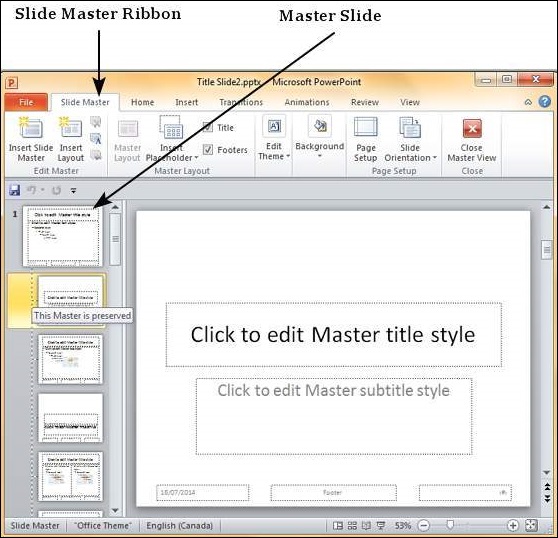
Step 3 − You can make changes to the master slide in terms of the theme, design, font properties, position and size of the title and other content using the remaining ribbons which are still accessible.
Step 4 − While PowerPoint provides some default slide layouts, you can create your own layouts by clicking on the "Insert Layout" in the Edit Master section of the Slide Master ribbon.
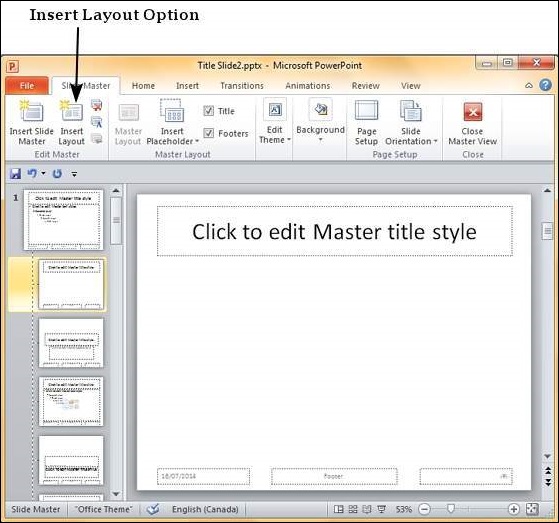
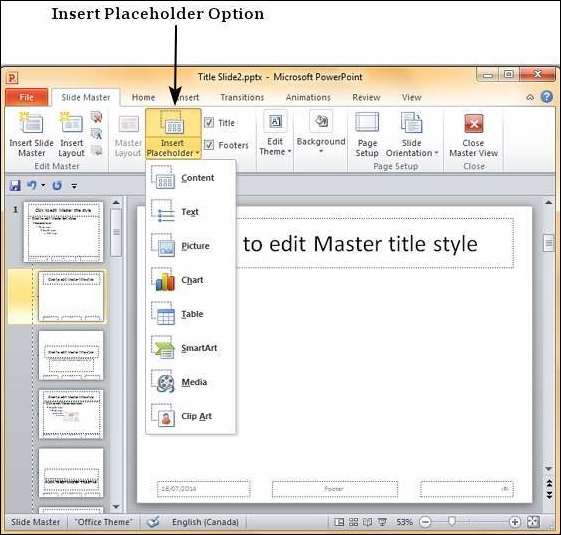
Step 5 − You can add content placeholders to the slide layouts using the "Insert Placeholder" in the Master Layout group under the Slide Master ribbon. Under the Placeholder dropdown, you can either create a generic content placeholder or specify the kind of content you want in that placeholder.
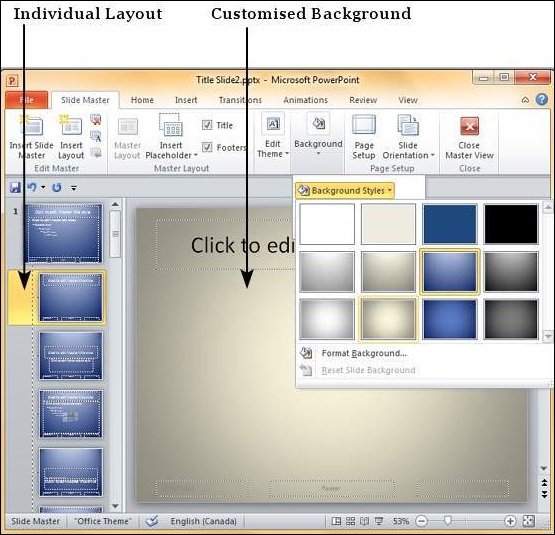
Step 6 − You can apply different themes, background and page setup settings to all the slides from the master slide
Step 7 − You can also customize individual slide layouts to be different from the master slide using the menu options available with the layouts.