- Jenkins - Home
- Jenkins - Overview
- Jenkins - Installation
- Jenkins - Tomcat Setup
- Jenkins - Git Setup
- Jenkins - Maven Setup
- Jenkins - Configuration
- Jenkins - Management
- Jenkins - Setup Build Jobs
- Jenkins - Unit Testing
- Jenkins - Automated Testing
- Jenkins - Notification
- Jenkins - Reporting
- Jenkins - Code Analysis
- Jenkins - Distributed Builds
- Jenkins - Automated Deployment
- Jenkins - Metrics and Trends
- Jenkins - Server Maintenance
- Jenkins - Continuous Deployment
- Jenkins - Managing Plugins
- Jenkins - Security
- Jenkins - Backup Plugin
- Jenkins - Remote Testing
Jenkins - Git Setup
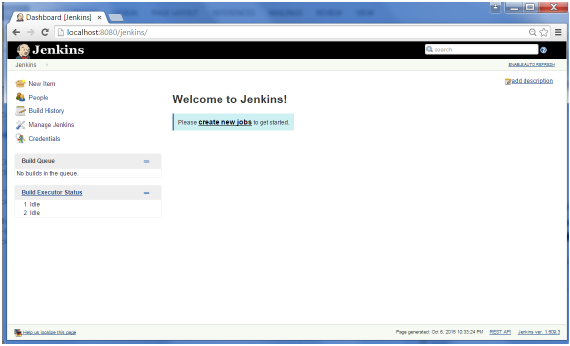
For this exercise, you have to ensure that Internet connectivity is present from the machine on which Jenkins is installed. In your Jenkins Dashboard (Home screen), click the Manage Jenkins option on the left hand side.
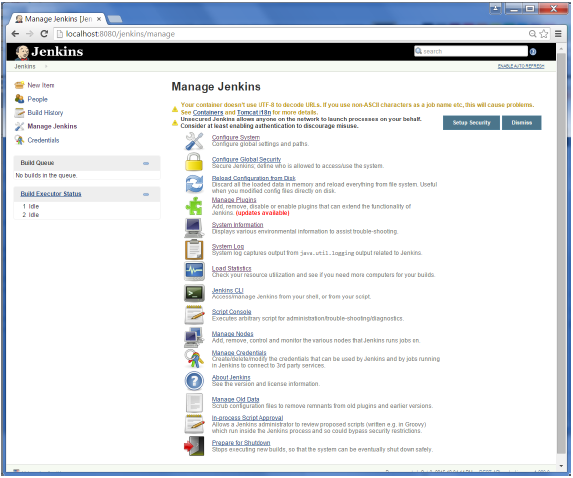
In the next screen, click the Manage Plugins option.
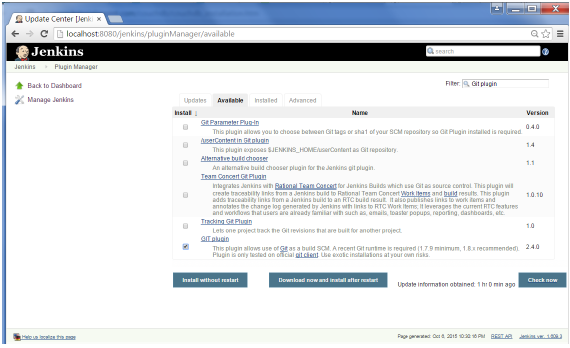
In the next screen, click the Available tab. This tab will give a list of plugins which are available for downloading. In the Filter tab type Git plugin

The list will then be filtered. Check the Git Plugin option and click on the button Install without restart
The installation will then begin and the screen will be refreshed to show the status of the download.
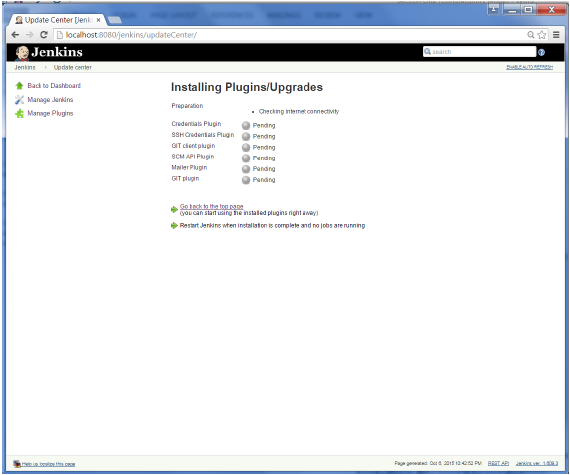
Once all installations are complete, restart Jenkins by issue the following command in the browser. http://localhost:8080/jenkins/restart
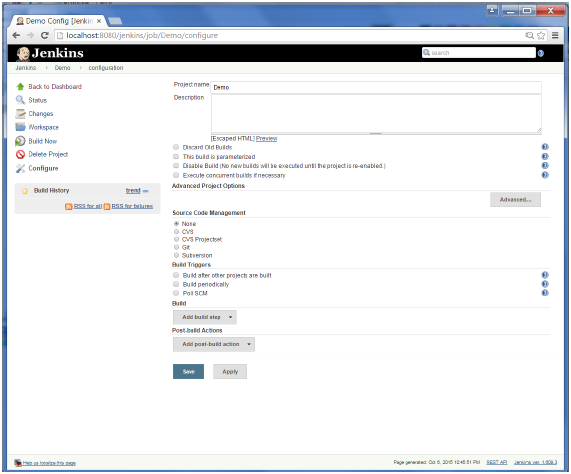
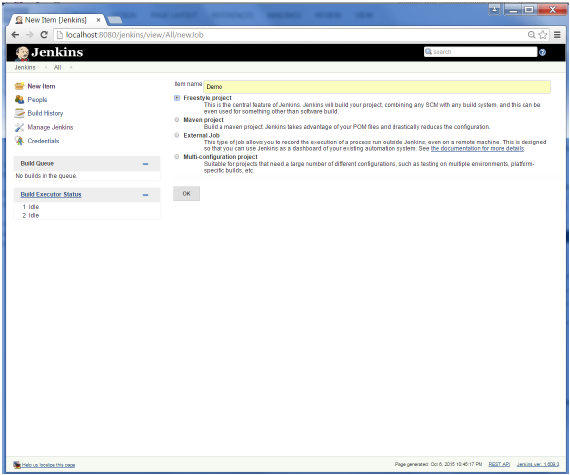
After Jenkins is restarted, Git will be available as an option whilst configuring jobs. To verify, click on New Item in the menu options for Jenkins. Then enter a name for a job, in the following case, the name entered is Demo. Select Freestyle project as the item type. Click the Ok button.
In the next screen, if you browse to the Source code Management section, you will now see Git as an option.