- Jenkins - Home
- Jenkins - Overview
- Jenkins - Installation
- Jenkins - Tomcat Setup
- Jenkins - Git Setup
- Jenkins - Maven Setup
- Jenkins - Configuration
- Jenkins - Management
- Jenkins - Setup Build Jobs
- Jenkins - Unit Testing
- Jenkins - Automated Testing
- Jenkins - Notification
- Jenkins - Reporting
- Jenkins - Code Analysis
- Jenkins - Distributed Builds
- Jenkins - Automated Deployment
- Jenkins - Metrics and Trends
- Jenkins - Server Maintenance
- Jenkins - Continuous Deployment
- Jenkins - Managing Plugins
- Jenkins - Security
- Jenkins - Backup Plugin
- Jenkins - Remote Testing
Jenkins - Continuous Deployment
Jenkins provides good support for providing continuous deployment and delivery. If you look at the flow of any software development through deployment, it will be as shown below.
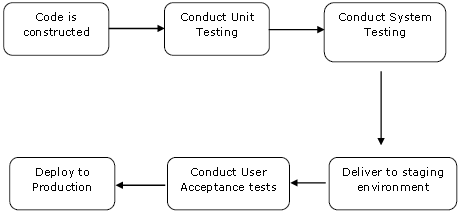
The main part of Continuous deployment is to ensure that the entire process which is shown above is automated. Jenkins achieves all of this via various plugins, one of them being the Deploy to container Plugin which was seen in the earlier lessons.
There are plugins available which can actually give you a graphical representation of the Continuous deployment process. But first lets create another project in Jenkins, so that we can see best how this works.
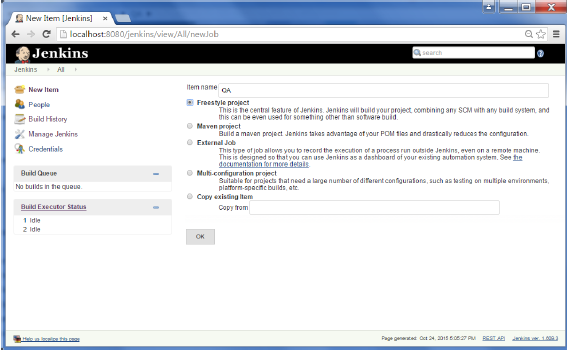
Lets create a simple project which emulates the QA stage, and does a test of the Helloworld application.
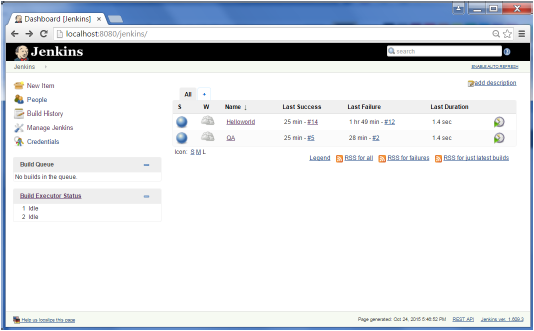
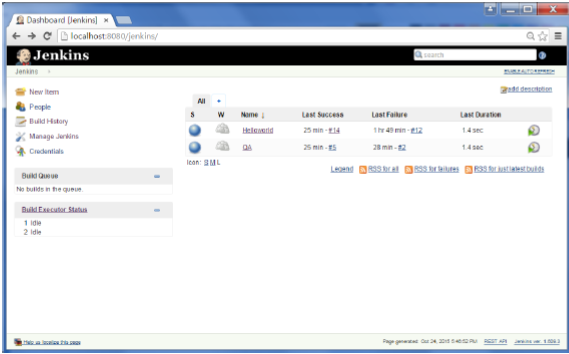
Step 1 − Go to the Jenkins dashboard and click on New Item. Choose a Freestyle project and enter the project name as QA. Click on the Ok button to create the project.
Step 2 − In this example, we are keeping it simple and just using this project to execute a test program for the Helloworld application.
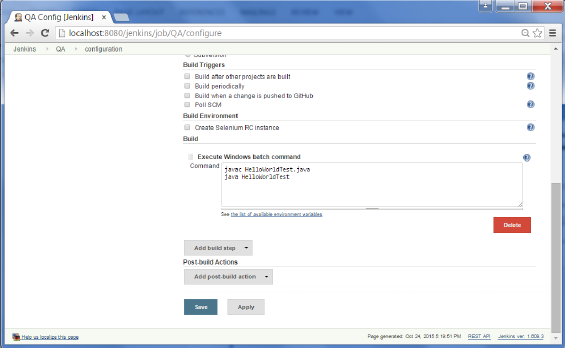
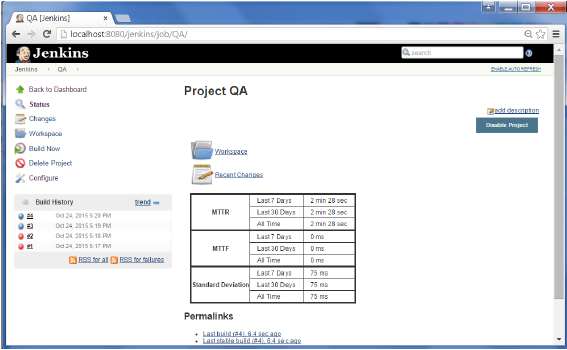
So our project QA is now setup. You can do a build to see if it builds properly.
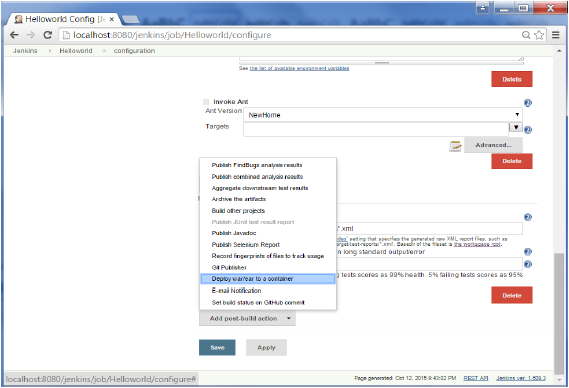
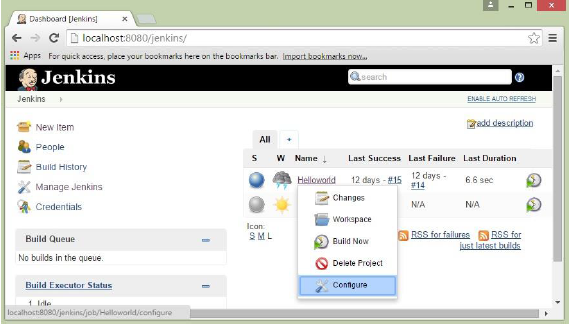
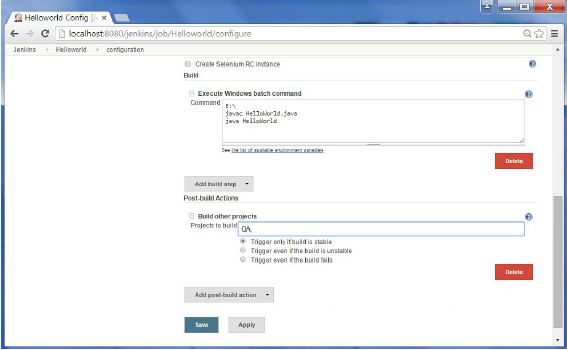
Step 3 − Now go to you Helloworld project and click on the Configure option
Step 4 − In the project configuration, choose the Add post-build action and choose Build other projects
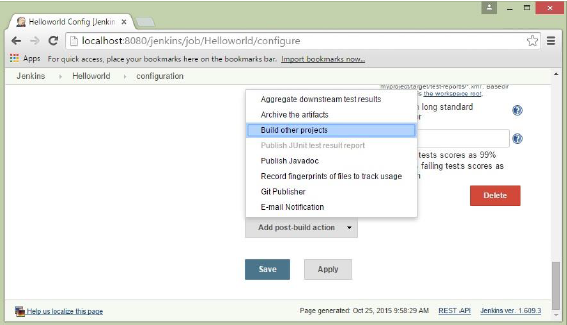
Step 5 − In the Project to build section, enter QA as the project name to build. You can leave the option as default of Trigger only if build is stable. Click on the Save button.
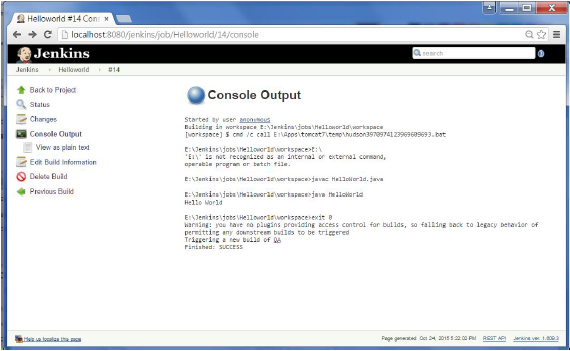
Step 6 − Build the Helloworld project. Now if you see the Console output, you will also see that after the Helloworld project is successfully built, the build of the QA project will also happen.
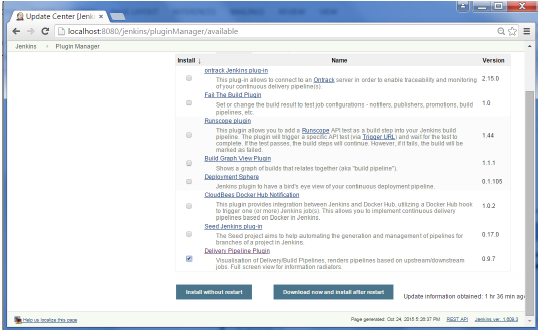
Step 7 − Let now install the Delivery pipeline plugin. Go to Manage Jenkins → Manage Plugins. In the available tab, search for Delivery Pipeline Plugin. Click On Install without Restart. Once done, restart the Jenkins instance.
Step 8 − To see the Delivery pipeline in action, in the Jenkins Dashboard, click on the + symbol in the Tab next to the All Tab.
Step 9 − Enter any name for the View name and choose the option Delivery Pipeline View.
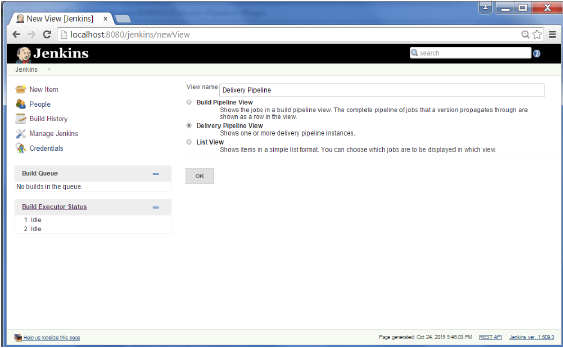
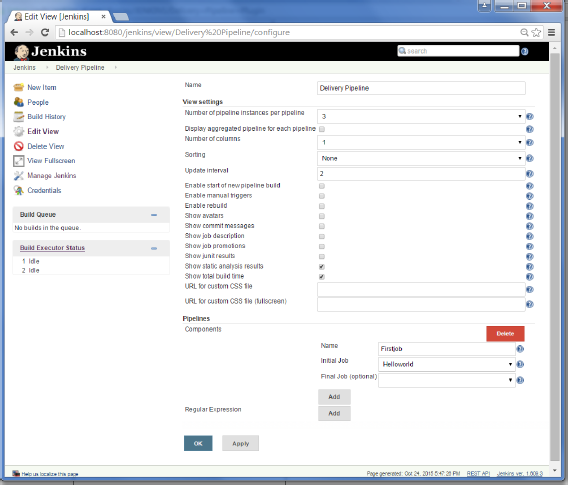
Step 10 − In the next screen, you can leave the default options. One can change the following settings −
- Ensure the option Show static analysis results is checked.
- Ensure the option Show total build time is checked.
- For the Initial job Enter the Helloworld project as the first job which should build.
- Enter any name for the Pipeline
- Click the OK button.
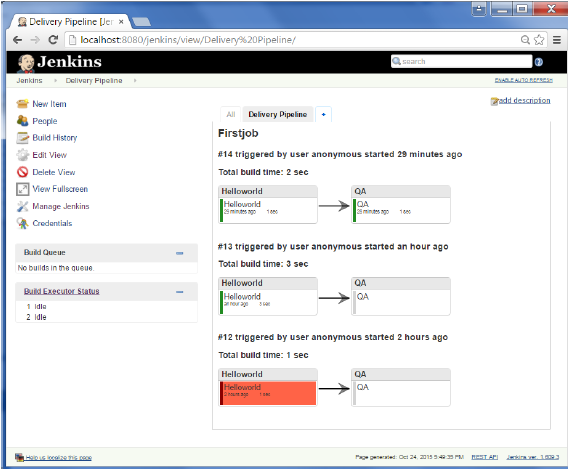
You will now see a great view of the entire delivery pipeline and you will be able to see the status of each project in the entire pipeline.
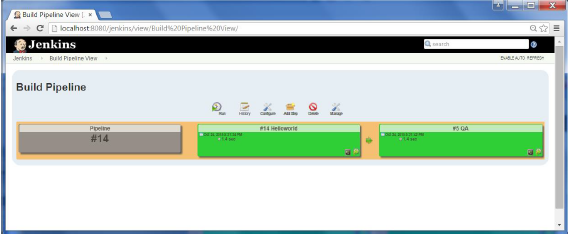
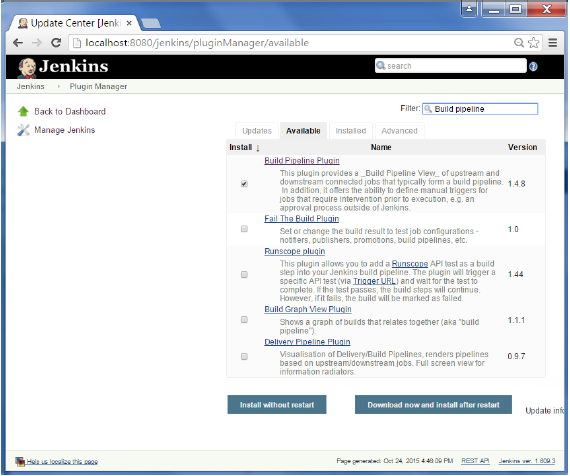
Another famous plugin is the build pipeline plugin. Lets take a look at this.
Step 1 − Go to Manage Jenkins → Manage Plugins. In the available tab, search for Build Pipeline Plugin. Click On Install without Restart. Once done, restart the Jenkins instance.
Step 2 − To see the Build pipeline in action, in the Jenkins Dashboard, click on the + symbol in the Tab next to the All Tab.
Step 3 − Enter any name for the View name and choose the option Build Pipeline View.
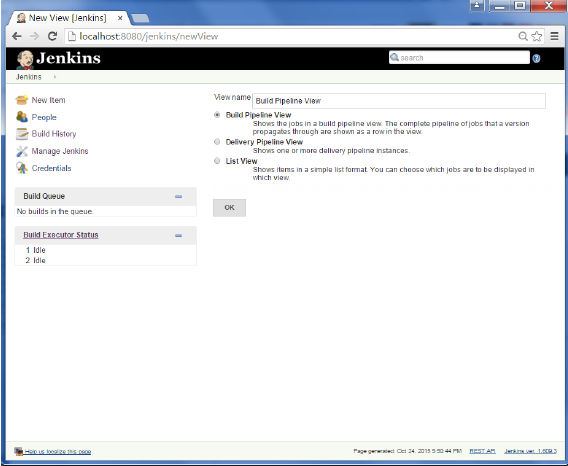
Step 4 − Accept the default settings, just in the Selected Initial job, ensure to enter the name of the Helloworld project. Click on the Ok button.
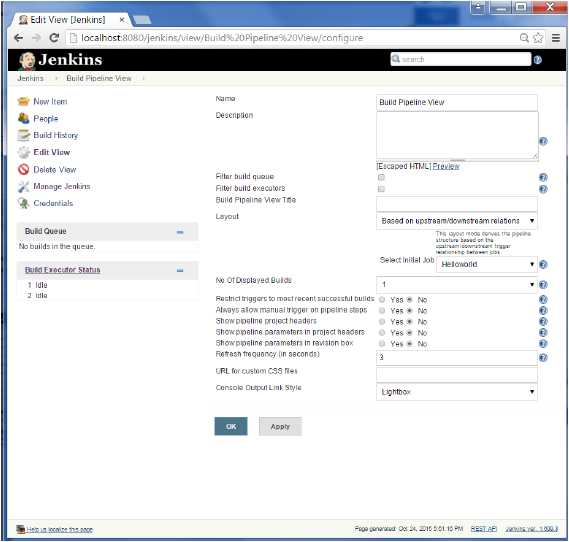
You will now see a great view of the entire delivery pipeline and you will be able to see the status of each project in the entire pipeline.