 Data Structure
 Networking
 RDBMS
RDBMS Operating System
 Java
Java MS Excel
 iOS
iOS HTML
HTML CSS
CSS Android
 Python
 C Programming
 C++
C++ C#
C# MongoDB
 MySQL
MySQL Javascript
 PHP
PHP
- Selected Reading
- UPSC IAS Exams Notes
- Developer's Best Practices
- Questions and Answers
- Effective Resume Writing
- HR Interview Questions
- Computer Glossary
- Who is Who
How to add radiobuttons to a submenu in Tkinter?
Tkinter, Python's standard GUI toolkit, provides a diverse range of widgets for crafting interactive applications. As applications grow in complexity, there arises a requirement for enhanced organization and user-friendliness. This prompts the integration of radio buttons within submenus using Tkinter, facilitating a more systematic and intuitive interface.
This article delves into the method of seamlessly incorporating radio buttons into Tkinter submenus, amplifying the functionality of graphical applications. By exploring this process, developers can unlock the potential to create more sophisticated and user-centric interfaces, leveraging Tkinter's capabilities to optimize the user experience in Python GUI development.
Creating Menu with a Submenu
Before deep diving into the implementation of adding radiobuttons to a submenu in Tkinter, we need to understand creating a menu with a submenu. The Menu widget is used to create menus, and within menus, you can include submenus using the add_cascade method. Let's check out a simple example using below code snippet
Example
# Importing the neccessary libraries
import tkinter as tk

# Create the main window
root = tk.Tk()
# Give title to the main window
root.title("Simple example of Creating menu with a submenu")

# Set window dimensions
root.geometry("720x250")

# Create a menu
menu_bar = tk.Menu(root)
root.config(menu=menu_bar)

# Create a submenu
submenu = tk.Menu(menu_bar, tearoff=0)
menu_bar.add_cascade(label="File", menu=submenu)

# Add items to the submenu
submenu.add_command(label="Open")
submenu.add_command(label="Save")
submenu.add_separator()
submenu.add_command(label="Exit")

# Run the Tkinter event loop
root.mainloop()
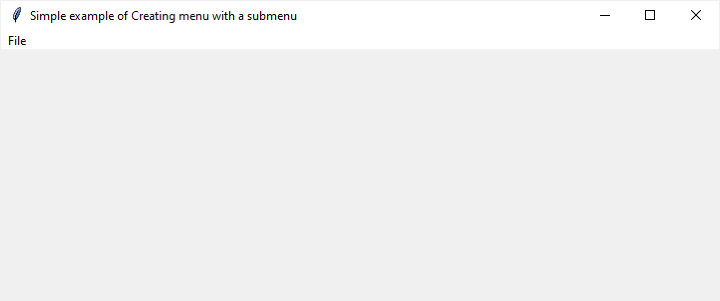
The above basic example demonstrates the creation of a menu with a submenu. Let's check out the output below:
Output

Clicking on File menu, it will give you three options namely Open, Save and Exit as submenu.
Now, let's proceed to integrate radio buttons within a submenu and understand it with an implementation example.
Adding Radio Buttons to a Submenu
To include radio buttons in a submenu, we need to utilize the add_radiobutton method provided by Tkinter. This method allows us to add radio button options to the menu, each associated with a specific variable. When a radio button is selected, its corresponding variable is updated. Below is the implementation example
Example
# Importing the necessary libraries
import tkinter as tk
# Defining the function to create radio buttons in submenu
def on_radio_select(submenu_name):
   selected_option = submenu_var[submenu_name].get()
   print(f"{submenu_name}: Selected option - {selected_option}")

# Create the main window
root = tk.Tk()
# Give title to the main window
root.title("Cretaing Multiple Submenus with Radiobuttons")

# Set window dimensions
root.geometry("720x250")

# Create a menu bar
menubar = tk.Menu(root)
root.config(menu=menubar)

# Create a dictionary to store StringVars for each submenu
submenu_var = {}

# Create the first submenu
submenu1 = tk.Menu(menubar, tearoff=0)
menubar.add_cascade(label="Menu 1", menu=submenu1)

submenu_var["Menu 1"] = tk.StringVar()

submenu1.add_radiobutton(label="Option A", variable=submenu_var["Menu 1"], value="Option A", command=lambda: on_radio_select("Menu 1"))
submenu1.add_radiobutton(label="Option B", variable=submenu_var["Menu 1"], value="Option B", command=lambda: on_radio_select("Menu 1"))
submenu1.add_radiobutton(label="Option C", variable=submenu_var["Menu 1"], value="Option C", command=lambda: on_radio_select("Menu 1"))

# Create the second submenu
submenu2 = tk.Menu(menubar, tearoff=0)
menubar.add_cascade(label="Menu 2", menu=submenu2)

submenu_var["Menu 2"] = tk.StringVar()

submenu2.add_radiobutton(label="Option X", variable=submenu_var["Menu 2"], value="Option X", command=lambda: on_radio_select("Menu 2"))
submenu2.add_radiobutton(label="Option Y", variable=submenu_var["Menu 2"], value="Option Y", command=lambda: on_radio_select("Menu 2"))
submenu2.add_radiobutton(label="Option Z", variable=submenu_var["Menu 2"], value="Option Z", command=lambda: on_radio_select("Menu 2"))

# Run the Tkinter event loop
root.mainloop()
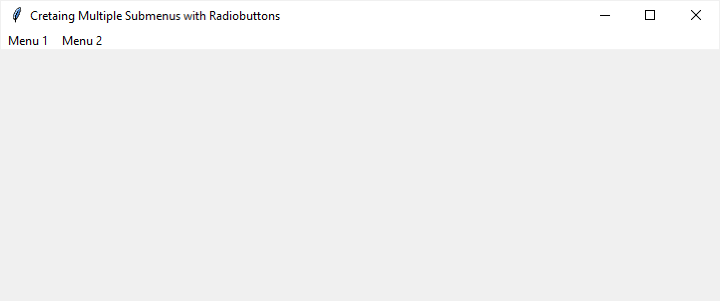
In this example, we create a main menu bar with two submenus, each containing its own set of radiobuttons. The on_radio_select function takes the submenu name as an argument and prints the selected option for that submenu.
Output

After clicking on Menu 1, it will show the three radio buttons namely "Option A", "Option B", and "Option C" in submenu. On the other hand, when you click on Menu 2, it will show the three radio buttons namely "Option X", "Option Y", and "Option Z" in submenu.
Conclusion
In conclusion, integrating radio buttons into submenus with Tkinter enriches the interactive capabilities of your Python GUIs. This straightforward process not only adds a layer of organization to your application but also enhances user-friendliness. By grouping related options within submenus and associating them with radio buttons, you create a more intuitive and visually appealing interface. The flexibility of Tkinter allows for extensive customization, enabling you to tailor the appearance and behavior of the radio buttons to align with your application's design. Moreover, the event-handling mechanisms provided by Tkinter empower you to execute specific actions based on user selections. Experimenting with these features opens the door to creating sophisticated and user-centric graphical applications, demonstrating the power and versatility of Tkinter in the realm of Python GUI development.

