- GitLab - Introduction
- GitLab - Installation
- GitLab - Git Commands
- GitLab - SSH Key Setup
- GitLab - Create Project
- GitLab - Fork a Project
- GitLab - Create a Branch
- GitLab - Add a File
- GitLab - Rebase Operation
- GitLab - Squashing Commits
- GitLab Users and Groups
- GitLab - Adding Users
- GitLab - Create Groups
- GitLab - Remove Users
- GitLab - User Permissions
- GitLab Issue Tracker
- GitLab - Create Issue
- GitLab - Merge Requests
- GitLab - Referencing Issues
- GitLab - Milestones
- GitLab - Wiki Pages
- GitLab Instance Management
- GitLab - Create Backup
- GitLab - Restore Backup
- GitLab - Import Repository
- GitLab Continuous Integration
- GitLab CI - Introduction
- GitLab - CI/CD
- GitLab - CI/CD Variables
- GitLab CI - Permissions
- Configuring GitLab Runners
- GitLab CI - Advanced usage of CI
- GitLab CI - Cycle Analytics
- GitLab CI - Container Registry
GitLab - SSH Key Setup
Description
The SSH stands for Secure Shell or Secure Socket Shell used for managing the networks, operating systems and configurations and also authenticates to the GitLab server without using username and password each time. You can set the SSH keys to provide a reliable connection between the computer and GitLab. Before generating ssh keygen, you need to have Git installed in your system.
Creating SSH Key
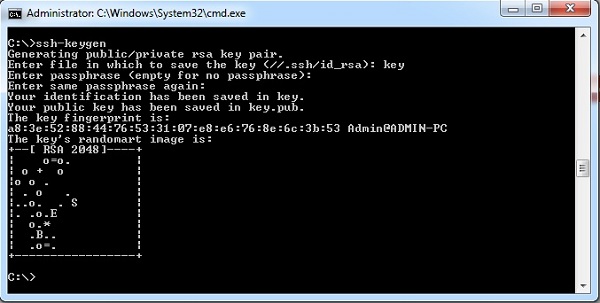
Step 1 − To create SSH key, open the command prompt and enter the command as shown below −
C:\−ssh-keygen
It will prompt for 'Enter file in which to save the key (//.ssh/id_rsa):', just type file name and press enter. Next a prompt to enter password shows 'Enter passphrase (empty for no passphrase):'. Enter some password and press enter. You will see the generated SSH key as shown in the below image −
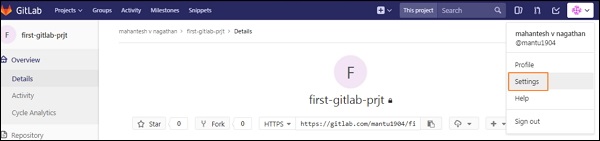
Step 2 − Now login to your GitLab account and click on the Settings option.
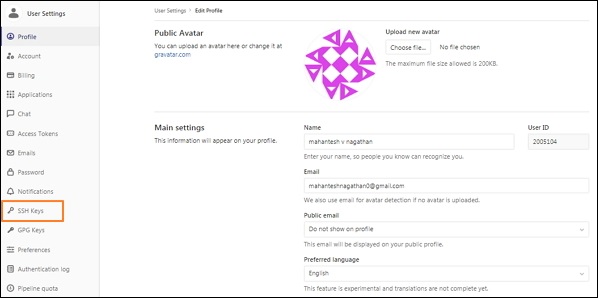
Step 3 − To create SSH key, click on the SSH keys tab at left side of the menu.
Step 4 − Now go to C drive, you will see the file with .pub extension which was generated in the first step.

Step 5 − Next open the key.pub file, copy the SSH key and paste it in the highlighted Key box as shown in the below image −
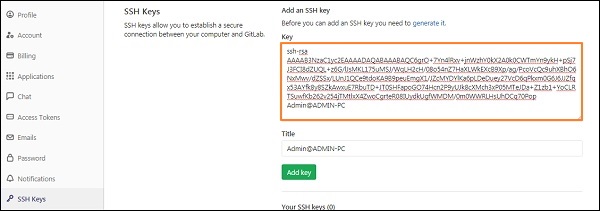
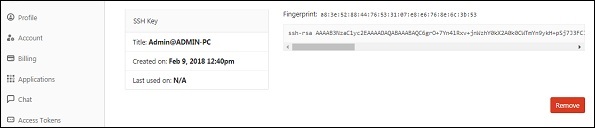
Step 6 − Click on the Add Key button, to add SSH key to your GitLab. You will see the fingerprint (it is a short version of SSH key), title and created date as shown in the image below −