- GitLab - Introduction
- GitLab - Installation
- GitLab - Git Commands
- GitLab - SSH Key Setup
- GitLab - Create Project
- GitLab - Fork a Project
- GitLab - Create a Branch
- GitLab - Add a File
- GitLab - Rebase Operation
- GitLab - Squashing Commits
- GitLab Users and Groups
- GitLab - Adding Users
- GitLab - Create Groups
- GitLab - Remove Users
- GitLab - User Permissions
- GitLab Issue Tracker
- GitLab - Create Issue
- GitLab - Merge Requests
- GitLab - Referencing Issues
- GitLab - Milestones
- GitLab - Wiki Pages
- GitLab Instance Management
- GitLab - Create Backup
- GitLab - Restore Backup
- GitLab - Import Repository
GitLab - Adding Users
In this chapter, we will discuss about how to add users to your project in the GitLab.
Steps for Adding User
Step 1 − Login to your GitLab account and go to your project under Projects section.

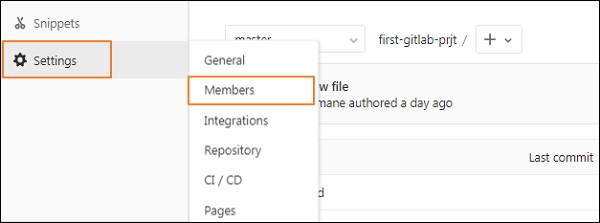
Step 2 − Next, click on the Members option under Settings tab −
Step 3 − It will open the below screen to add the member to your project −
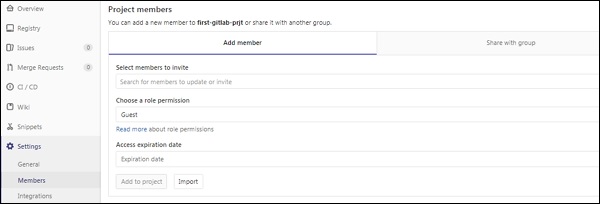
Step 4 − Now enter the user name, role permission, expiration date(optional) and click on Add to project button to add the user to project −

Step 5 − Next, you will get a successful message after adding user to the project.
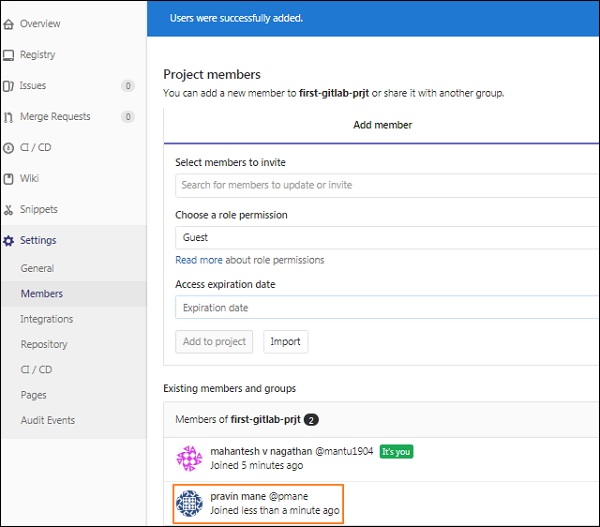
The highlighted box in the above image indicates, a new user has been added to the project −
Step 6 − You can also add user to the project by clicking on the Import button −

Step 7 − Now select the project from which you want to add the user to your project and click on the Import project members button −
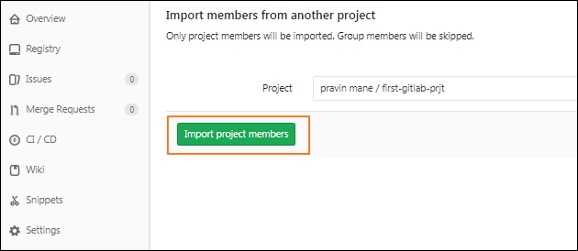
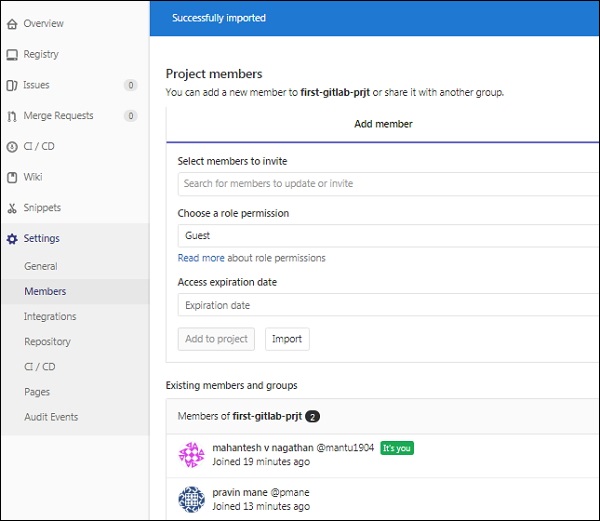
Step 8 − You will get a success message after importing user to the project −
