- GitLab - Introduction
- GitLab - Installation
- GitLab - Git Commands
- GitLab - SSH Key Setup
- GitLab - Create Project
- GitLab - Fork a Project
- GitLab - Create a Branch
- GitLab - Add a File
- GitLab - Rebase Operation
- GitLab - Squashing Commits
- GitLab Users and Groups
- GitLab - Adding Users
- GitLab - Create Groups
- GitLab - Remove Users
- GitLab - User Permissions
- GitLab Issue Tracker
- GitLab - Create Issue
- GitLab - Merge Requests
- GitLab - Referencing Issues
- GitLab - Milestones
- GitLab - Wiki Pages
- GitLab Instance Management
- GitLab - Create Backup
- GitLab - Restore Backup
- GitLab - Import Repository
- GitLab Continuous Integration
- GitLab CI - Introduction
- GitLab - CI/CD
- GitLab - CI/CD Variables
- GitLab CI - Permissions
- Configuring GitLab Runners
- GitLab CI - Advanced usage of CI
- GitLab CI - Cycle Analytics
- GitLab CI - Container Registry
GitLab - Import Repository
In this chapter, we will discuss about how to import a repository from Bitbucket to GitLab −
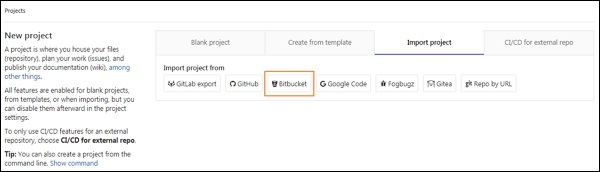
Step 1 − Login to your GitLab account and click on the New project button in the dashboard −

Step 2 − Click on the Bitbucket button under Import project tab −
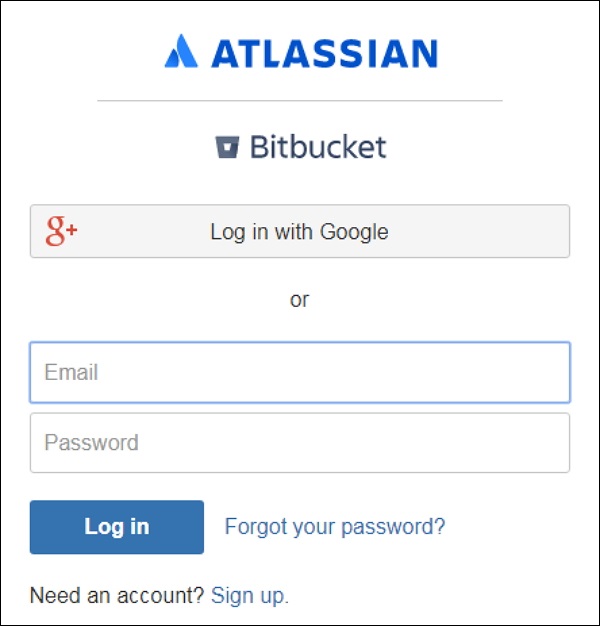
Step 3 − Next, you need to login to your Bitbucket account. If you don't have an account, then create a new account by clicking on Sign up link and then login to Bitbucket account.
Step 4 − When you click on the Bitbucket button (shown in step 2), it will display the below screen and click on the Grant access button −
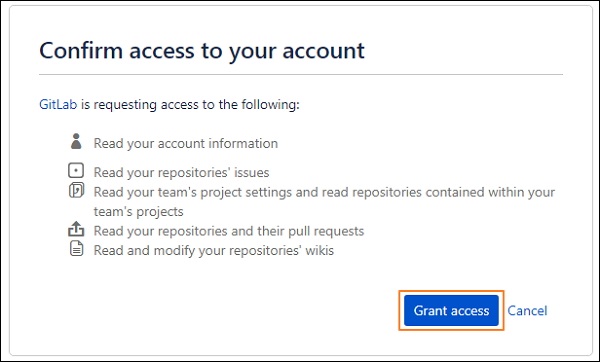
You need to grant the access to read the account information, repository issues, project settings, and modify the repositories.
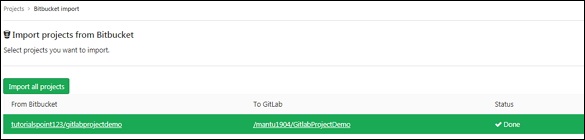
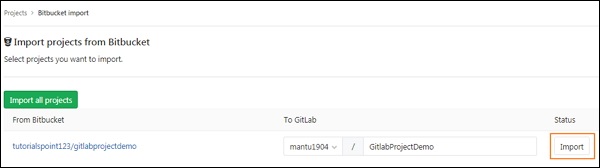
Step 5 − Click on the Import button to import the project from Bitbucket −
Step 6 − After importing the project successfully, it will display the status as Done −