- GitLab - Introduction
- GitLab - Installation
- GitLab - Git Commands
- GitLab - SSH Key Setup
- GitLab - Create Project
- GitLab - Fork a Project
- GitLab - Create a Branch
- GitLab - Add a File
- GitLab - Rebase Operation
- GitLab - Squashing Commits
- GitLab Users and Groups
- GitLab - Adding Users
- GitLab - Create Groups
- GitLab - Remove Users
- GitLab - User Permissions
- GitLab Issue Tracker
- GitLab - Create Issue
- GitLab - Merge Requests
- GitLab - Referencing Issues
- GitLab - Milestones
- GitLab - Wiki Pages
- GitLab Instance Management
- GitLab - Create Backup
- GitLab - Restore Backup
- GitLab - Import Repository
- GitLab Continuous Integration
- GitLab CI - Introduction
- GitLab - CI/CD
- GitLab - CI/CD Variables
- GitLab CI - Permissions
- Configuring GitLab Runners
- GitLab CI - Advanced usage of CI
- GitLab CI - Cycle Analytics
- GitLab CI - Container Registry
GitLab CI - Cycle Analytics
Description
Cycle Analytics specifies how much time taken by the team to complete the each stage in their workflow and allows GitLab to store data of development efforts in one central data store.
The cycle analytics page can be found under the Overview section.
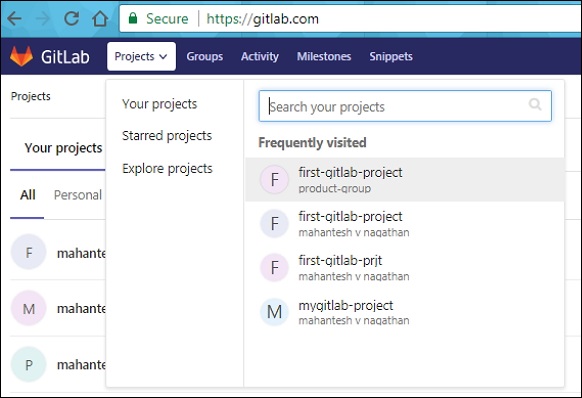
Step 1 − Login to your GitLab account and go to your project −
Step 2 − Click on the Cycle Analytics option under Overview tab which will open the screen as shown below −
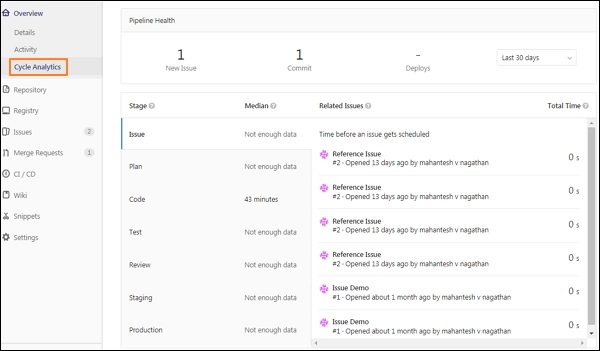
The cycle analytics contains following stages −
Issue − It specifies how much time taken to solve an issue.
Plan − It specifies the time between pushing first commit to branch and action took for previous stage.
Code − It specifies the time between pushing first commit to branch and created merge request for that commit.
Test − It specifies how much time need to GitLab CI/CD to test the code.
Review − It specifies time taken to review the merge request.
Staging − It defines the time spent between merging and deploying to production.
Production − It specifies the time taken to complete the entire process, from creating an issue to deploying code to production.
