
- Eclipse - Home
- Eclipse - Overview
- Eclipse - Installation
- Eclipse - Explore Windows
- Eclipse - Explore Menus
- Eclipse - Explore Views
- Eclipse - Perspectives
- Eclipse - Workspaces
- Eclipse - Create Java Project
- Eclipse - Create Java Package
- Eclipse - Create Java Class
- Eclipse - Create Java Interface
- Eclipse - Create XML File
- Eclipse - Java Build Path
- Eclipse - Run Configuration
- Eclipse - Running Program
- Eclipse - Create Jar Files
- Eclipse - Close Project
- Eclipse - Reopen Project
- Eclipse - Build Project
- Eclipse - Debug Configuration
- Eclipse - Debugging Program
- Eclipse - Preferences
- Eclipse - Content Assist
- Eclipse - Quick Fix
- Eclipse - Hover Help
- Eclipse - Search Menu
- Eclipse - Navigation
- Eclipse - Refactoring
- Eclipse - Add Bookmarks
- Eclipse - Task Management
- Eclipse - Install Plugins
- Eclipse - Code Templates
- Eclipse - Shortcuts
- Eclipse - Restart Option
- Eclipse - Tips & Tricks
- Eclipse - Web Browsers
Eclipse - Useful Resources
Eclipse - Installation
Downloading Eclipse Installer
You can download eclipse installer from https://www.eclipse.org/downloads/packages/installer. The installer page lists a number of flavors of eclipse.
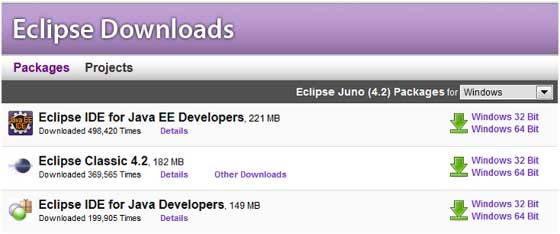
The capabilities of each packaging of eclipse are different. Java developers typically use Eclipse Classic or Eclipse IDE for developing Java applications.
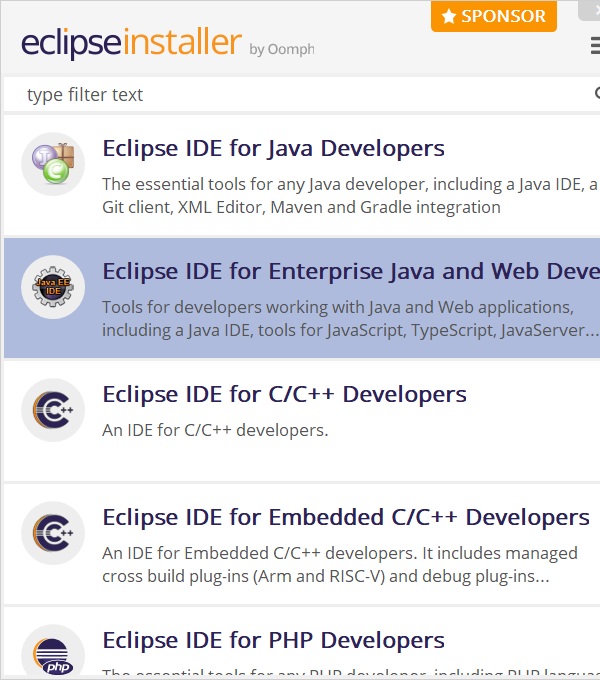
Installing Eclipse
When you start the installer, it asks for Eclispe Flavour to download. We're choosing Eclipse IDE for Enterprise Java and Web Developer.
Eclipse installer will show the option to select a folder for installation.
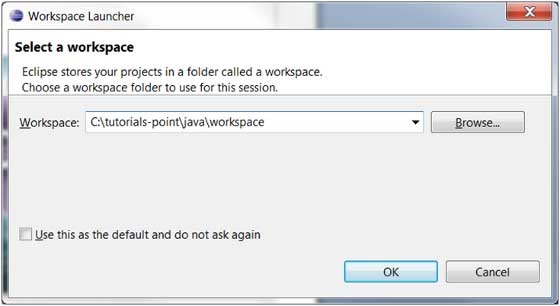
Launching Eclipse
When eclipse starts up for the first time it prompts you for the location of the workspace folder. All your data will be stored in the workspace folder. You can accept the default or choose a new location.
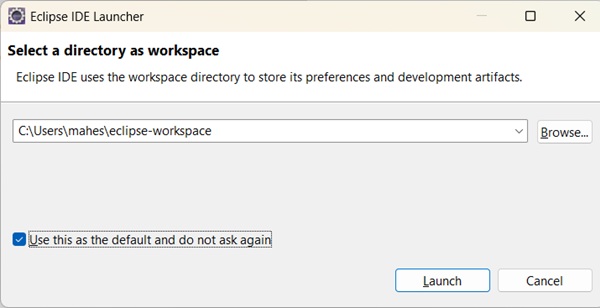
If you select "Use this as the default and do not ask again", this dialog box will not come up again. You can change this preference using the Workspaces Preference Page. See the Preference tutorial page for more details.