- ASP.NET - Home
- ASP.NET - Introduction
- ASP.NET - Environment
- ASP.NET - Life Cycle
- ASP.NET - First Example
- ASP.NET - Event Handling
- ASP.NET - Server Side
- ASP.NET - Server Controls
- ASP.NET - HTML Server
- ASP.NET - Client Side
- ASP.NET - Basic Controls
- ASP.NET - Directives
- ASP.NET - Managing State
- ASP.NET - Validators
- ASP.NET - Database Access
- ASP.NET - ADO.net
- ASP.NET - File Uploading
- ASP.NET - Ad Rotator
- ASP.NET - Calendars
- ASP.NET - Multi Views
- ASP.NET - Panel Controls
- ASP.NET - AJAX Control
- ASP.NET - Data Sources
- ASP.NET - Data Binding
- ASP.NET - Custom Controls
- ASP.NET - Personalization
- ASP.NET - Error Handling
- ASP.NET - Debugging
- ASP.NET - LINQ
- ASP.NET - Security
- ASP.NET - Data Caching
- ASP.NET - Web Services
- ASP.NET - Multi Threading
- ASP.NET - Configuration
- ASP.NET - Deployment
ASP.NET - Environment Setup
ASP.NET provides an abstraction layer on top of HTTP on which the web applications are built. It provides high-level entities such as classes and components within an object-oriented paradigm.
The key development tool for building ASP.NET applications and front ends is Visual Studio. In this tutorial, we work with Visual Studio 2008.
Visual Studio is an integrated development environment for writing, compiling, and debugging the code. It provides a complete set of development tools for building ASP.NET web applications, web services, desktop applications, and mobile applications.
Installation
Microsoft provides a free version of visual studio which also contains SQL Server and it can be downloaded from www.visualstudio.com.
Step 1 − Once downloading is complete, run the installer. The following dialog will be displayed.
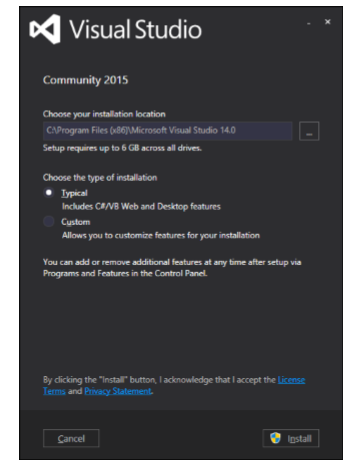
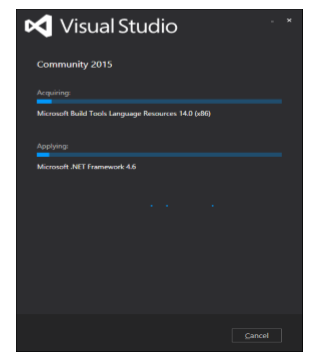
Step 2 − Click on the Install button and it will start the installation process.
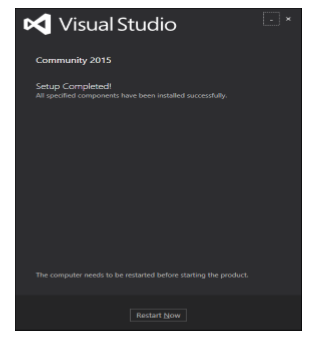
Step 3 − Once the installation process is completed successfully, you will see the following dialog. Close this dialog and restart your computer if required.
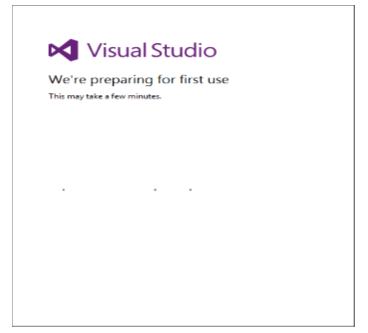
Step 4 − Open Visual Studio from start Menu which will open the following dialog. It will be a while for the first time for preparation.
Step 5 − Once all is done you will see the main window of Visual studio.
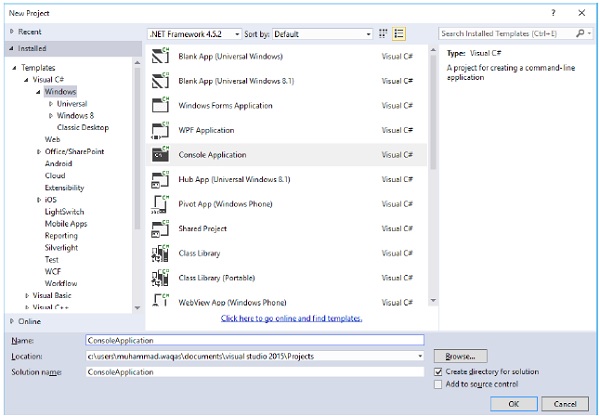
Lets create a new project from File → New → Project
The Visual Studio IDE
The new project window allows choosing an application template from the available templates.
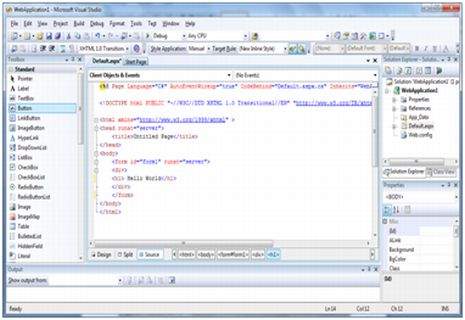
When you start a new web site, ASP.NET provides the starting folders and files for the site, including two files for the first web form of the site.
The file named Default.aspx contains the HTML and asp code that defines the form, and the file named Default.aspx.cs (for C# coding) or the file named Default.aspx.vb (for VB coding) contains the code in the language you have chosen and this code is responsible for the actions performed on a form.
The primary window in the Visual Studio IDE is the Web Forms Designer window. Other supporting windows are the Toolbox, the Solution Explorer, and the Properties window. You use the designer to design a web form, to add code to the control on the form so that the form works according to your need, you use the code editor.
Working with Views and Windows
You can work with windows in the following ways:
To change the Web Forms Designer from one view to another, click on the Design or source button.
To close a window, click on the close button on the upper right corner and to redisplay, select it from the View menu.
To hide a window, click on its Auto Hide button. The window then changes into a tab. To display again, click the Auto Hide button again.
To change the size of a window, just drag it.
Adding Folders and Files to your Website
When a new web form is created, Visual Studio automatically generates the starting HTML for the form and displays it in Source view of the web forms designer. The Solution Explorer is used to add any other files, folders or any existing item on the web site.
To add a standard folder, right-click on the project or folder under which you are going to add the folder in the Solution Explorer and choose New Folder.
To add an ASP.NET folder, right-click on the project in the Solution Explorer and select the folder from the list.
To add an existing item to the site, right-click on the project or folder under which you are going to add the item in the Solution Explorer and select from the dialog box.
Projects and Solutions
A typical ASP.NET application consists of many items: the web content files (.aspx), source files (.cs files), assemblies (.dll and .exe files), data source files (.mdb files), references, icons, user controls and miscellaneous other files and folders. All these files that make up the website are contained in a Solution.
When a new website is created. VB2008 automatically creates the solution and displays it in the solution explorer.
Solutions may contain one or more projects. A project contains content files, source files, and other files like data sources and image files. Generally, the contents of a project are compiled into an assembly as an executable file (.exe) or a dynamic link library (.dll) file.
Typically a project contains the following content files:
- Page file (.aspx)
- User control (.ascx)
- Web service (.asmx)
- Master page (.master)
- Site map (.sitemap)
- Website configuration file (.config)
Building and Running a Project
You can execute an application by:
- Selecting Start
- Selecting Start Without Debugging from the Debug menu,
- pressing F5
- Ctrl-F5
The program is built meaning, the .exe or the .dll files are generated by selecting a command from the Build menu.
