- Quality Center Tutorial
- QC - Home
- QC - Introduction
- QC - Environment Setup
- QC - Server Side Configurations
- QC - Common Functionalities
- QC - Management
- QC - Requirements
- QC - Test Plan
- QC - Test Lab
- QTP - QC Integration
- QC - Defects
- QC - Dashboard Analysis
- QC - Project Customization
- QC Useful Resources
- QC - Questions and Answers
- QC - Quick Guide
- QC - Useful Resources
- QC - Discussion
Hp-QC - Upload Requirements
Every time the user will NOT be in a position to create requirements manually. Hence HP has come up with an excel Addin with which the user can upload from excel directly. Let us understand the step-by-step procedure to upload requirements into QC from Excel.
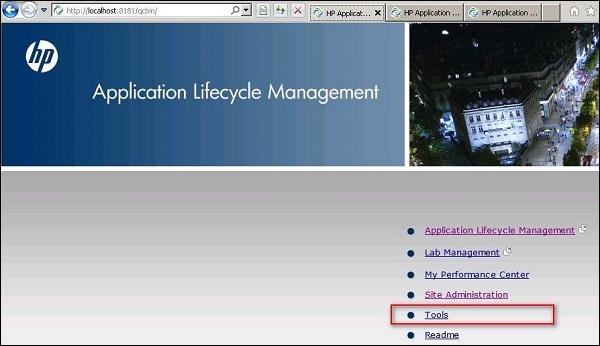
Step 1 − Navigate to ALM home page and click on "Tools" from the list of links.
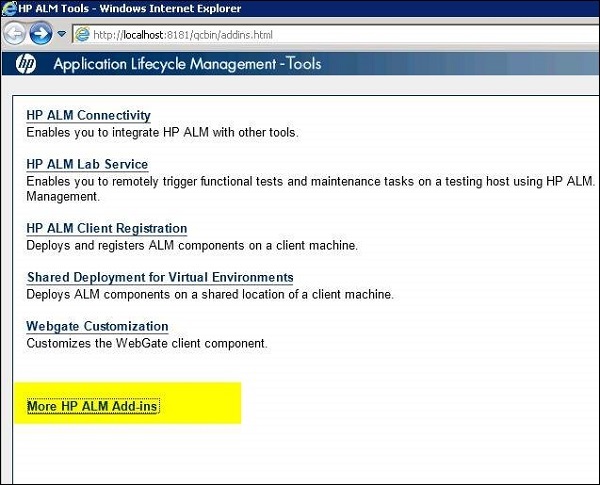
Step 2 − Click the "More HP ALM Addins" link from the Addins page as shown below.
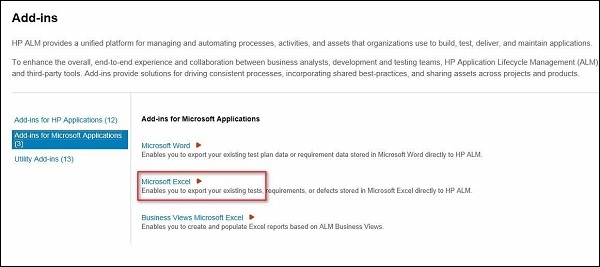
Step 3 − In the Addins page, select "Addins for Microsoft applications" and choose "Microsoft Excel"
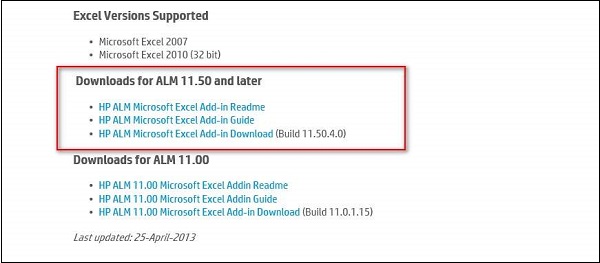
Step 4 − Upon selecting "Microsoft Excel", choose ALM 11.5 Excel addin. The exe file will be downloaded. Please also take a note of the supported MS Office Editions as shown in the following screenshot.
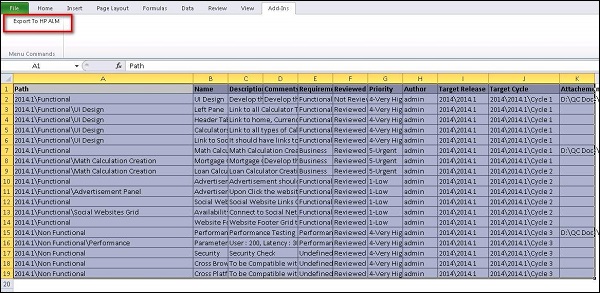
Step 5 − Once the Addin is installed, you can open the Excel file and go to Addins tab to see the Export to ALM button.
Step 6 − Select the Records that one would like to upload into ALM and click on "Export to ALM Button". The HP ALM Export Wizard opens as shown below. Enter the Quality Center URL.

Step 7 − Enter the Quality Center credentials to successfully establish a connection.

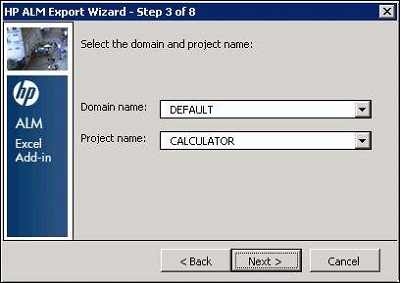
Step 8 − Select the Domain and Project as shown below and click "Next".
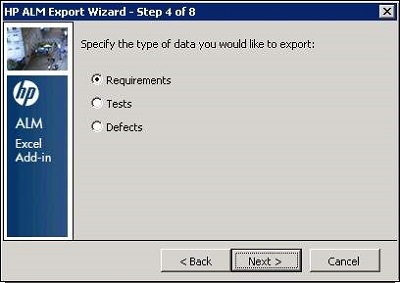
Step 9 − Select the Type of data that the user wishes to upload. In this case, it is requirements.
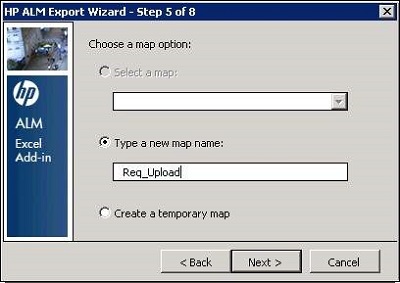
Step 10 − Enter a New map name. Upon creating once, we can reuse it any number of times for uploading Requirements.
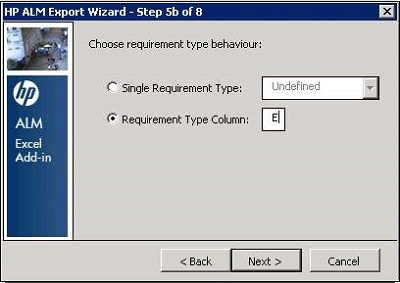
Step 11 − Select the "Requirement Type" column that we are going to upload. This should match as that of the Excel that we wish to upload.
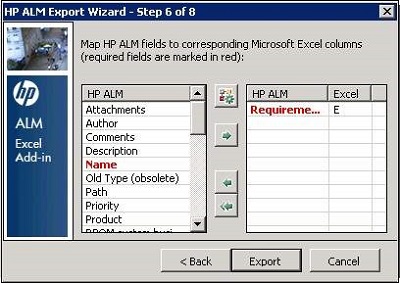
Step 12 − The Field Mapping dialog opens. Here the user has to map the field in Quality Center against the column ID in Excel.
Step 13 − Select the HP ALM field and click the Arrow button. Map Field with Column Dialog opens. There, the column Name in Excel should be entered.
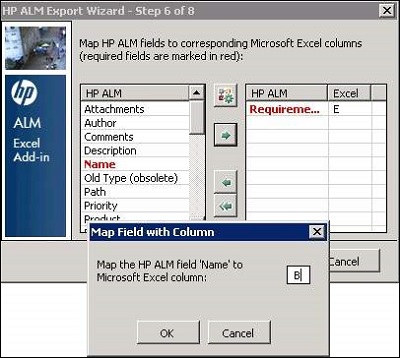
Step 14 − Map all the relevant columns. The Column Name in Red are the mandatory fields. Now, click "Export".

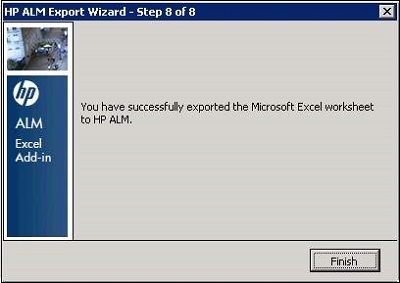
Step 15 − The Data would be uploaded and it displays the final output. If successful, it will upload completely and displays a message to the user with the "Finish" Button.
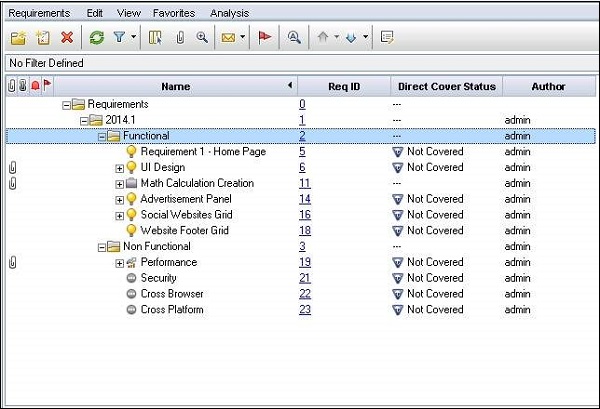
Step 16 − Login to Quality Center and check if the requirements are uploaded correctly. The requirements will be uploaded as shown below.