- Windows 10 - Home
- Windows 10 - Introduction
- Windows 10 – UWP
- Windows 10 – First App
- Windows 10 - Store
- Windows 10 - XAML Controls
- Windows 10 - Data Binding
- Windows 10 - XAML Performance
- Windows 10 - Adaptive Design
- Windows 10 - Adaptive UI
- Windows 10 - Adaptive Code
- Windows 10 - File Management
- Windows 10 - SQLite Database
- Windows 10 – Communication
- Windows 10 - App Localization
- Windows 10 - App Lifecycle
- Windows 10 - Background Execution
- Windows 10 - APP Services
- Windows 10 - Web Platform
- Windows 10 - Connected Experience
- Windows 10 - Navigation
- Windows 10 - Networking
- Windows 10 - Cloud Services
- Windows 10 - Live Tiles
- Windows 10 - Sharing Contract
- Windows 10 - Porting to Windows
Windows 10 Development - Cloud Services
As a developer, you may require data other than that available on your desktop. Cloud services can help you to access that data. This chapter gives a better understanding of the cloud services, which you may require.
Microsoft has provided a cloud-computing platform and the infrastructure, which is known as Microsoft Azure, where you can build, deploy and manage all the applications and services.
Azure was first released on 1 February 2010, as Windows Azure. Later it was renamed to Microsoft Azure on 25 March 2014.
It provides both, PaaS and IaaS services and supports many different programming languages, tools and frameworks, including both Microsoft-specific and third party software and systems.
Microsoft has upgraded the cloud services with Windows 10. The Microsoft account integration was introduced in Windows 8, though OneDrive has been around since 2007. For Windows 10, both services have been updated with increased integration and new functionality, which are attracting more users.
Microsoft Account
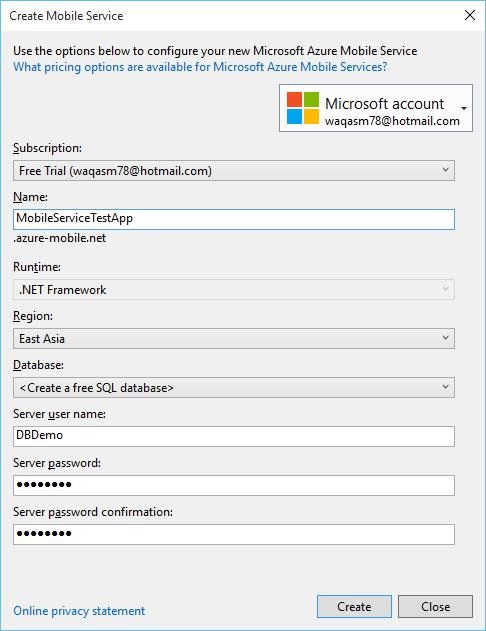
You can use Microsofts Azure cloud offerings with your Microsoft account. Of course, it is not free but you can use a free 30 days trial.
When you first set up a machine with Windows 10 and login with Microsoft account, you can use the same account for Microsoft Azure subscription. To sign up for Microsoft Azure click here https://azure.microsoft.com/en-us/
Once you subscribe for Microsoft Azure, go to the Azure Portal https://portal.azure.com/. You will see the following page.
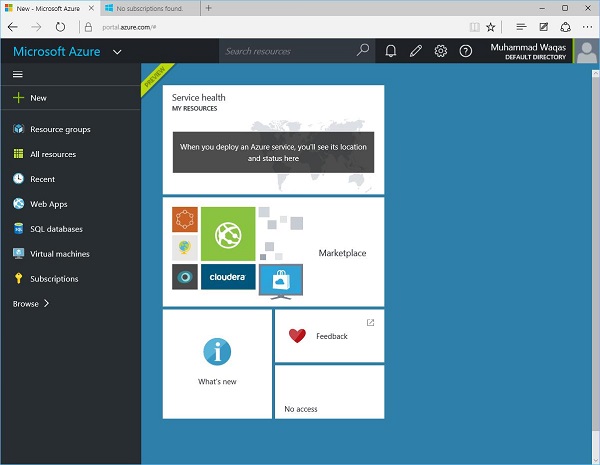
You can store in the databases, use Virtual machines etc. You can also build and host the back end of your mobile app.
Let us try this with an example by following the below mention steps.
Click on the New option in the left pane.
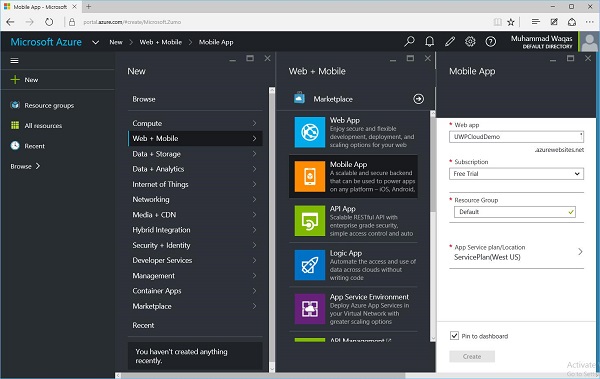
Select Web + Mobile > Mobile App and give a name to your Web app.
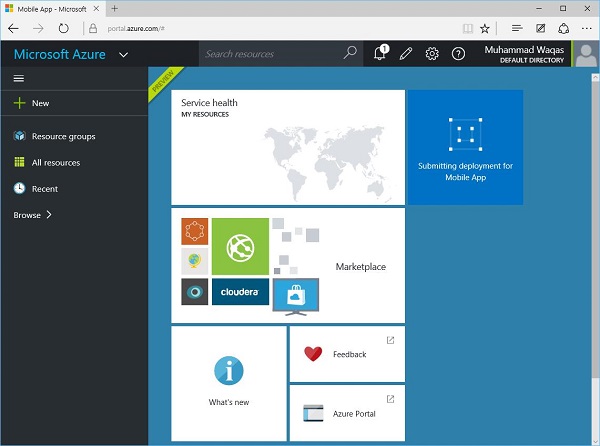
It will take some time for submitting and deploying your app. Once this process is completed, you will see the following page. Here, you can select the different kinds of mobile apps such Windows(C#), iOS Android, etc.
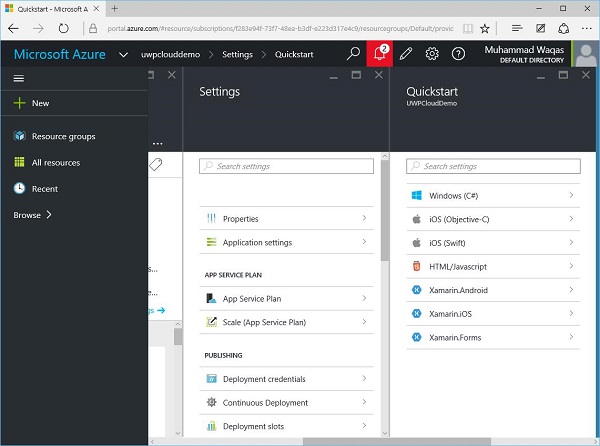
Since, we are talking about Windows 10, select Windows (C#), which will open the following page.
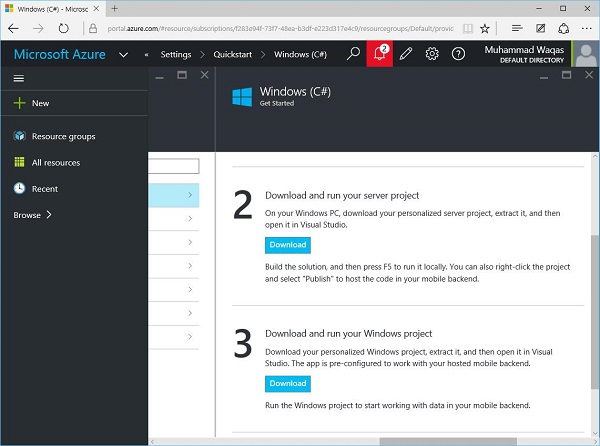
Here, you can see the two download options. These are sample projects, you can simply download and build in Visual Studio and then you can easily publish to Microsoft Azure.
Let us download the first one, which is a server project. It is a zip file.
When downloading is complete, unzip this and open in Visual Studio.
Now, build this application. If some errors are listed then build it again.
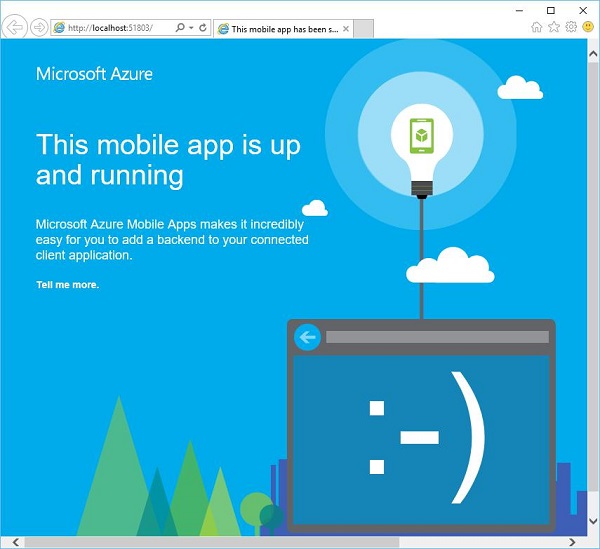
Run the application. You will see the following webpage, which is now on localhost.
Now to host this application on the cloud, right click on the Project option in Solution Explore as shown below.
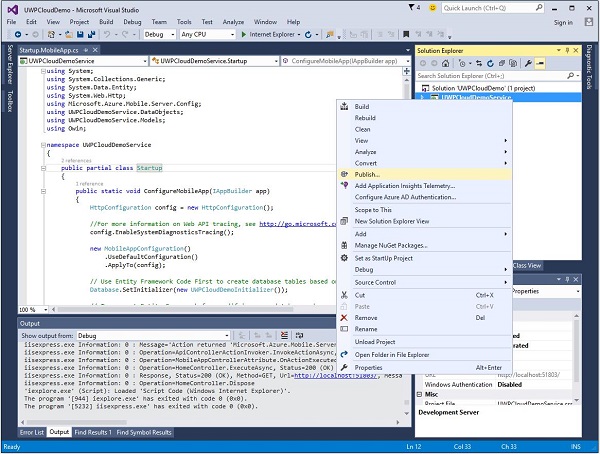
Select Publish option from the menu. You will see the following dialog.
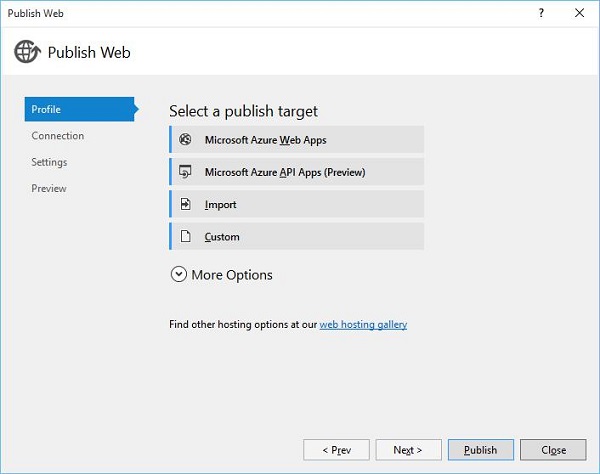
Select the first option − Microsoft Azure Web Apps. The following dialog box will open.
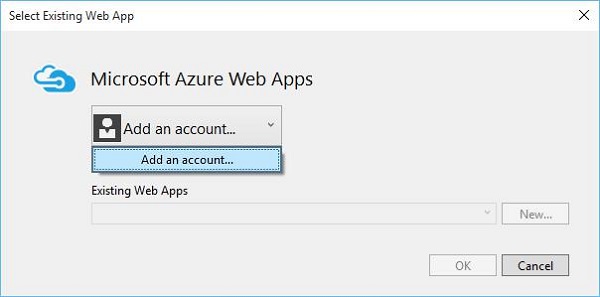
Now click on the Add an account option from the menu to add Microsoft Azure account.
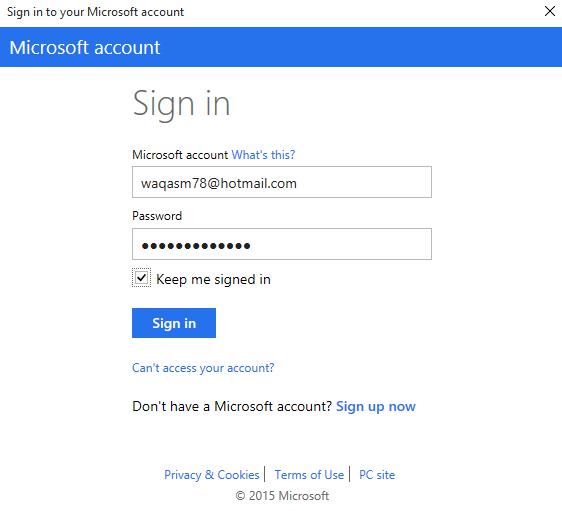
Specify your credentials and click Sign in. The following dialog window will open.
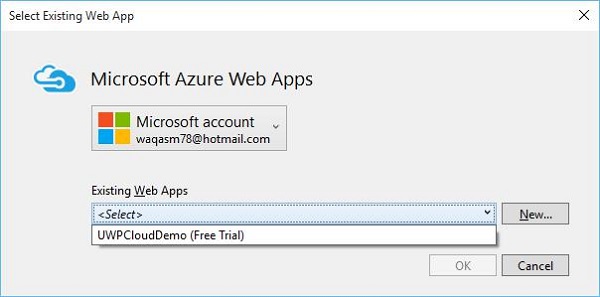
After signing in, select your application from the menu Existing Web Apps and click Ok.
The dialog shown below displays some information related to your application such as name, server name, URL, etc.
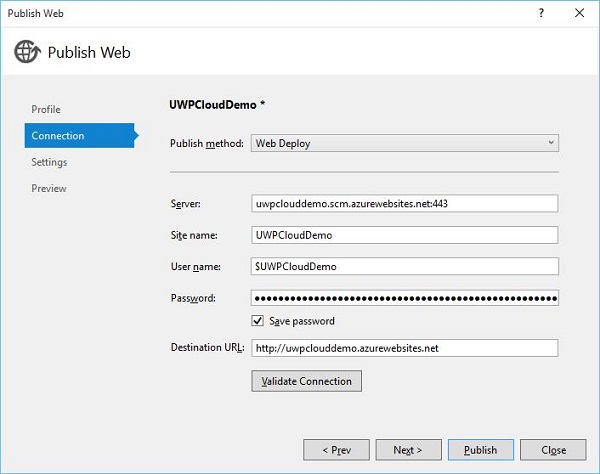
Now, click on the Validate Connection button. After validation, click the Publish button and you will see that your application is now hosted on Microsoft Azure.