- SpecFlow - Home
- SpecFlow - Introduction
- Test Driven Development
- Behaviour Driven Development
- SpecFlow - Visual Studio Installation
- Visual Studio Extension Installation
- SpecFlow - Project Set Up
- Other Project Dependencies
- SpecFlow - Runner Activation
- SpecFlow - HTML Reports
- SpecFlow - Binding Test Steps
- SpecFlow - Creating First Test
- Configure Selenium Webdriver
- SpecFlow - Gherkin
- SpecFlow - Gherkin Keywords
- SpecFlow - Feature File
- SpecFlow - Step Definition File
- SpecFlow - Hooks
- SpecFlow - Background Illustration
- Data Driven Testing with Examples
- Data Driven Testing without Examples
- Table conversion to Data Table
- Table conversion to Dictionary
- Table with CreateInstance
- SpecFlow - Table with CreateSet
- SpecFlow Useful Resources
- SpecFlow - Quick Guide
- SpecFlow - Useful Resources
- SpecFlow - Discussion
Selected Reading
SpecFlow - Visual Studio Extension Installation
As mentioned earlier, Visual Studio extension allows a lot of added features required for test automation. This extension is available for Visual Studio 2017 and 2019.
Installation
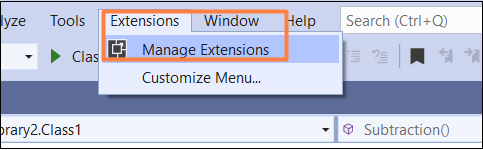
Open Visual Studio and navigate to Extensions menu, then click on Manage Extensions option.
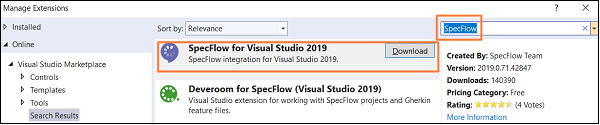
Manage Extensions pop-up comes up. Type SpecFlow in the search box. Once the search results get populated. Click on Download.
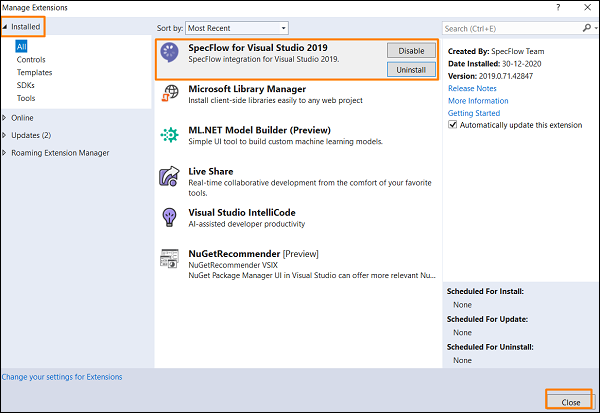
Once the download is completed, we need to restart Visual Studio. As the installation is done, if we again go to the Manage Extensions pop-up, we can find this extension within the Installed tab.
Also, we can find the options to Disable and Uninstall now for the SpecFlow. Click on Close to exit.

Advertisements