- SpecFlow - Home
- SpecFlow - Introduction
- Test Driven Development
- Behaviour Driven Development
- SpecFlow - Visual Studio Installation
- Visual Studio Extension Installation
- SpecFlow - Project Set Up
- Other Project Dependencies
- SpecFlow - Runner Activation
- SpecFlow - HTML Reports
- SpecFlow - Binding Test Steps
- SpecFlow - Creating First Test
- Configure Selenium Webdriver
- SpecFlow - Gherkin
- SpecFlow - Gherkin Keywords
- SpecFlow - Feature File
- SpecFlow - Step Definition File
- SpecFlow - Hooks
- SpecFlow - Background Illustration
- Data Driven Testing with Examples
- Data Driven Testing without Examples
- Table conversion to Data Table
- Table conversion to Dictionary
- Table with CreateInstance
- SpecFlow - Table with CreateSet
- SpecFlow Useful Resources
- SpecFlow - Quick Guide
- SpecFlow - Useful Resources
- SpecFlow - Discussion
SpecFlow - Other Project Dependencies
We need to have a project reference to the class library we have created for the SpecFlow project. This is important for testing the class within the class library in the project.
Add Project Dependencies
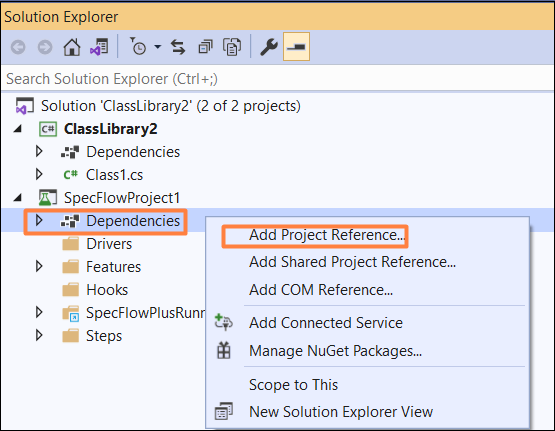
Click on the project SpecFlowProject1 within Solution Explorer. Then right-click the folder Dependencies. Choose the option Add Project Reference.
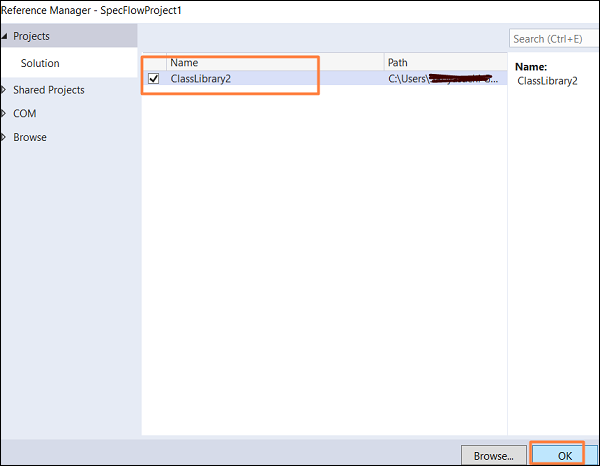
The Reference Manager pop-up opens. Select the checkbox for the class library and then click on OK.
Building and Running Tests
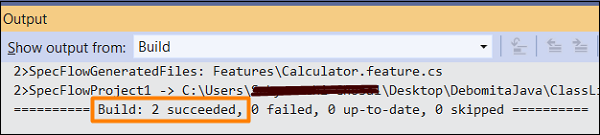
Next, go to the Build menu and select Build Solution. We should get Build succeeded message as output.
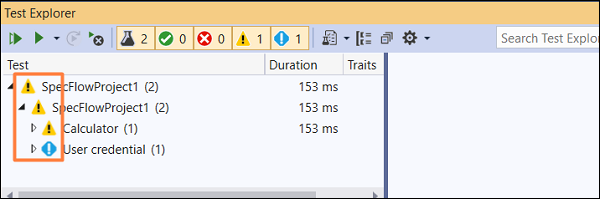
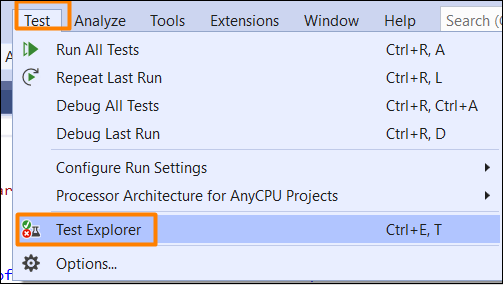
Navigate to the Tests menu and choose the Test Explorer option.
We should be able to find the Features added to the SpecFlow project. Execute them via the Run All Tests in View option. The status of the execution shows as Not Run as the tests have still not been executed.
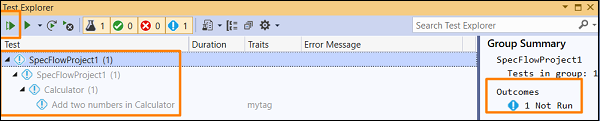
The exclamation symbol before a Feature suggests, test execution is pending for that Feature.